

Tonight the Art With Heart team are sharing amazing projects featuring Stampin’ Up! Designer Series Paper, most of which is in the current promotions where you can buy 3 packs of Designer Series Paper and receive a pack for free! You can select many of the DSP packs from the Annual Catalogue but only until the 30th of September.
I took advantage of this awesome sale to purchase four packs that I didn't yet own, one of which being the gorgeous Woven Threads DSP. The patterns look like worn rugs that are hundreds of years old. Lots of gorgeous, muted colours and beautiful texture to the paper. I chose a piece of Pretty Peacock DSP that has a fabulous medallion design that's in a lighter shade of the same colour.
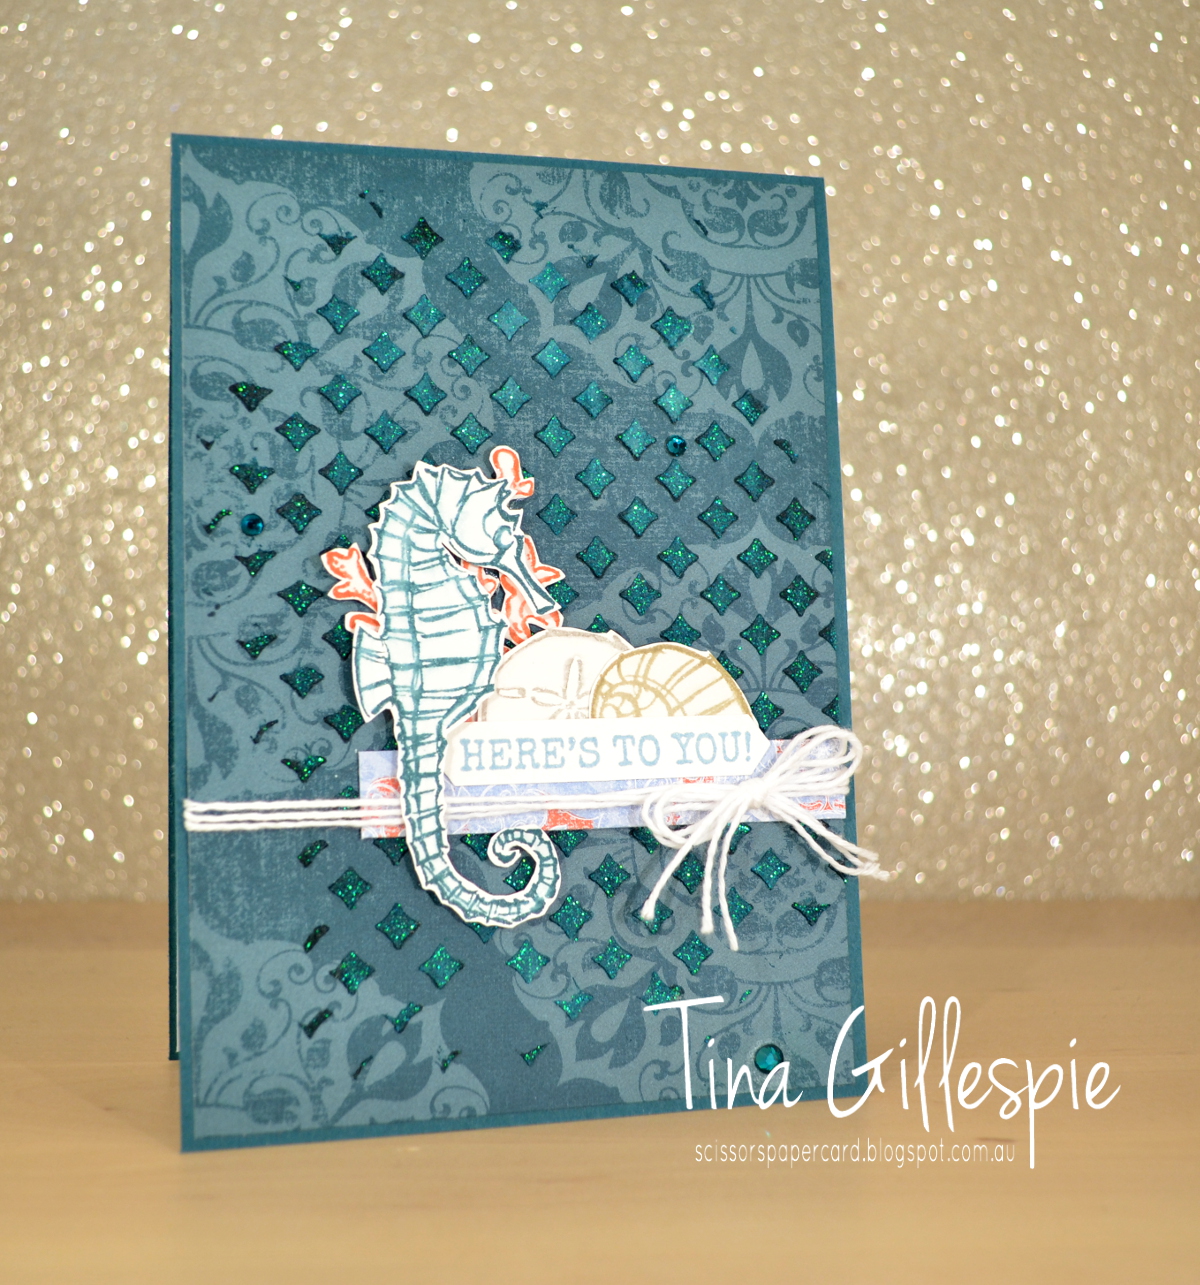
I had a plan to add some Shimmery Embossing Paste over the top of the DSP, but otherwise no idea beyond that! To colour the embossing paste, I tapped my Pretty Peacock ink pad over the top of the Pattern Party mask and then scooped out some of the paste. As I spread it over the mask and onto the DSP, it picked up the colour on the mask. I love how this gives uneven colour to the paste - it's lighter through the middle where I first applied the paste, but darker towards the edges, as I'd picked up more ink as I spread the paste.

I decided that the gorgeous blue/green made me think of the ocean, and so I reached for my Seaside Notions stamp set. Each image was stamped on Shimmery White cardstock and then I took an Aquapainter and ran it lightly over each image. It pulls a little colour in from the ink and is a really quick and easy way of adding some subtle colour.

When I'm stamping things like the shells and coral for the front, I always stamp a couple of extras. This means when I get to the inside I don't have to start stamping all over again, I can just go straight for fussy cutting and gluing. It saves so much time, especially if you're like me and like to clean and put away your stamps as soon as you can.
That's it for me this evening. Now it's time for you to hop on over to the lovely Rachel's blog. I wonder which DSP she's chosen to use?

If you find a broken link or have come to this blog hop from a different entry point, you can view the participants below:
Bye for now,
Tina
Wow, Tina, you've added so much dimension and interest with your embossing paste and your tip on how to quickly and easily add interest to the inside of the card too xx
ReplyDeleteTina you always come up with some fantastic ideas and I really like this DSP too! How cool does that embossing past look!!! Fantastic card! Love it!
ReplyDeleteOh wow, that glittery embossing paste looks stunning, Tina. Thanks for explaining how you coloured the paste too, I would never have thought to do that! This paper is just perfect with your sea scene.
ReplyDeleteWow, this is stunning Tina, I love the way you have added the embossing paste to the DSP, it really adds so much texture and almost makes it look like it's moving.
ReplyDeleteWow Tina - great card! I love the look of the sparkly embossing paste - gorgeous colour!
ReplyDelete