Hi!
How exciting - today is the first day of OnStage in Orlando. I wrote this post a couple of weeks ago, but still, I bet I'm going to be excited on the day!
Normally on a Friday I'd have the latest
Just Add Ink post for you, but to cater for OnStage, last week's challenge actually runs for two weeks. Click on the link to check out the challenge details.
Instead I have for you one of the swaps I made to take to Orlando. Did you know that most Americans have never heard of the chocolatey goodness that is a Tim Tam? Did you also know that you can buy a box of 150 individually wrapped Tim Tams at Officeworks? What a perfect opportunity to educate some people on the delights of Tim Tams!
I started by working out how I was going to package the Tim Tam. I ended up deciding to use my Envelope Punch Board and the
Crafty Owl's Box Buster to create a little box. This is the shape I ended up with, after starting with a 5 1/8" square piece of DSP.
I had to do some additional trimming on the bottom left and top right corners, as they wouldn't fold nicely into the box if I didn't. Once I'd folded along the score lines and snipped to create flaps, I turned the piece over and used my SNAIL to adhere some instructions to the inside of the box. Yep, I'm going to educate my fellow on how to do the Tim Tam Slam!
I then popped a Tim Tam into the box and folded the instructions over the top. I then started folding the box. I worked out that if I folded the larger long edge, followed buy the two short edges and finally the shorter long edge, I could get away with using one of my demo labels to hold the box closed.
If I tried folding in the short edges first there wouldn't be enough of the flaps exposed to stick to the label.
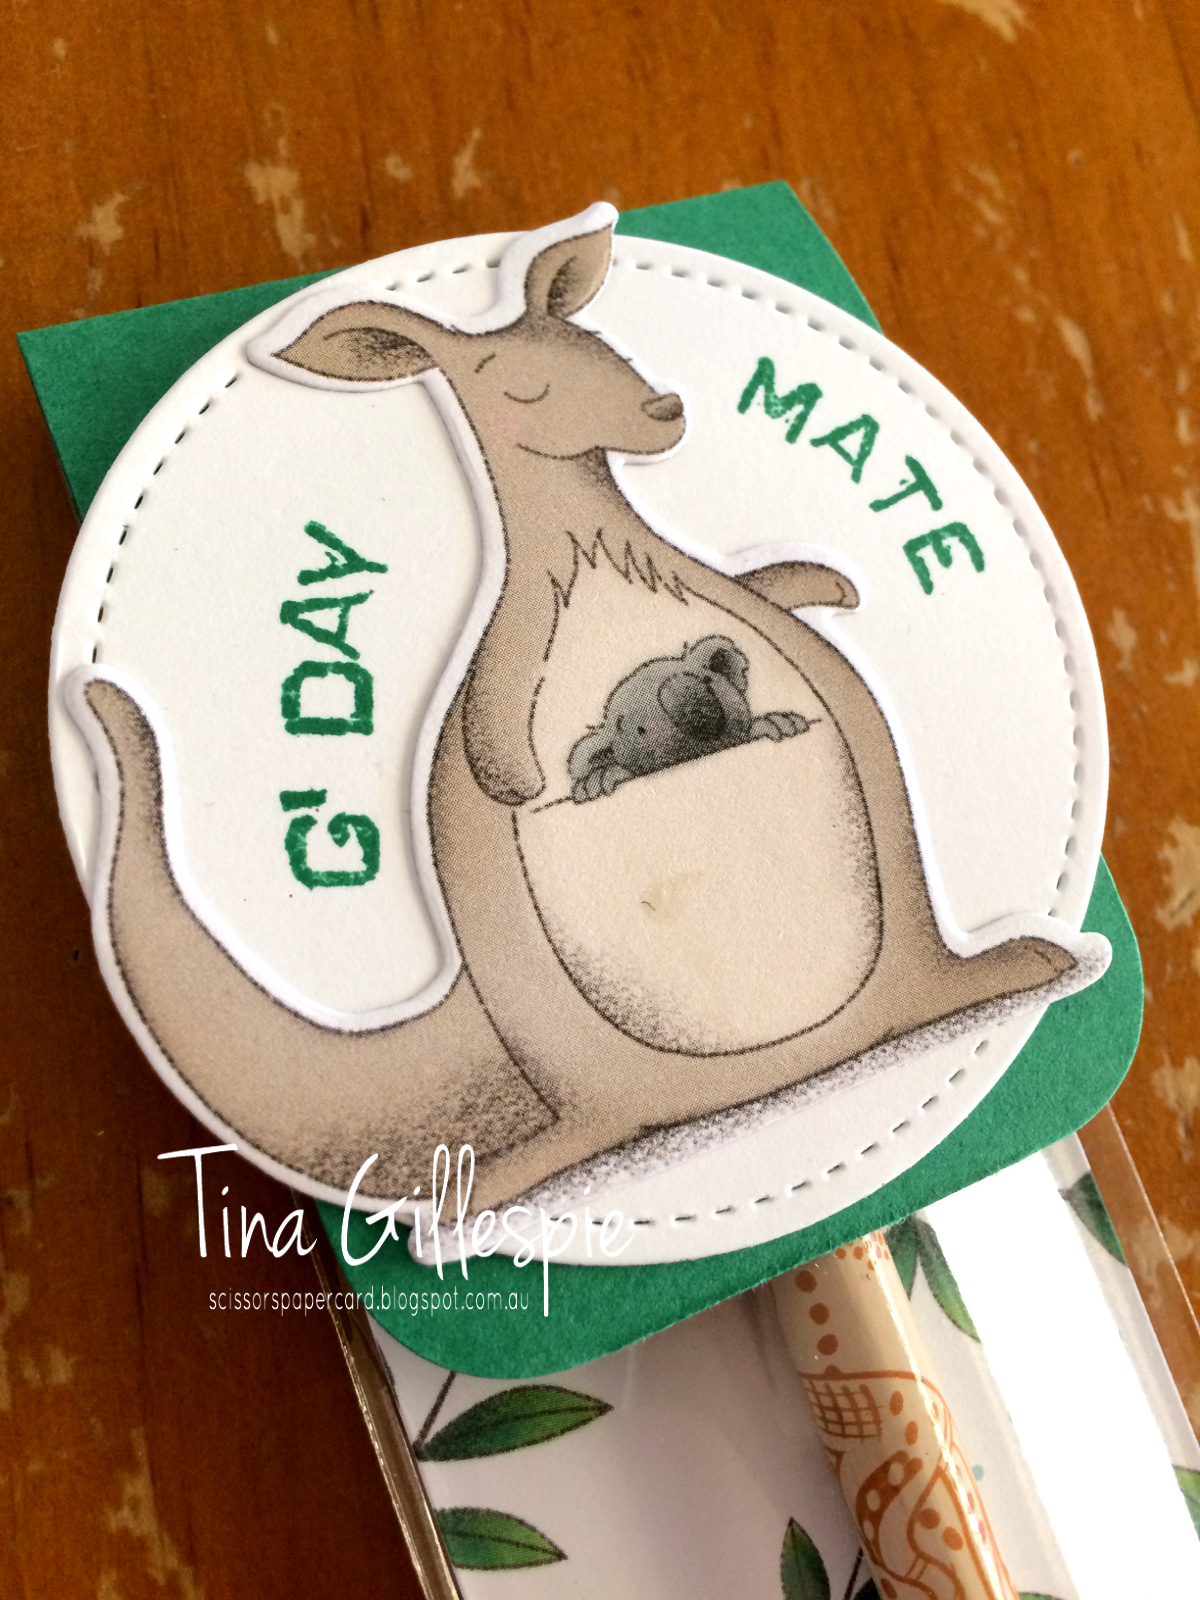
Here's the bottom of the box with my label attached. Now - how to decorate the top?
Aww, how cute! I made 40 of these swaps, as that's how many little kangaroos there are in two packs of the Animal Expedition DSP. I had very sore hands after hand cutting all 40 kangaroos and 80 branches! Thankfully, for the stamping I was able to use my Stamparatus for super quick production line stamping.
I'll be back on Monday with my other swap.
Bye for now,
Tina