Pages

Showing posts with label Large Letters Framelits. Show all posts

Thursday, 22 November 2018

AWH November Blog Hop: Sketch This

Hi!


Tonight the Art With Heart team are sharing creative projects featuring a card sketch. We hope you like how we have each put our own spin on the sketch and that it inspires you to get creative and make some fabulous cards. If you are inspired by the sketch, please share with us!


Just like last month, I decided to scrap a layout rather than make a card. I'm keen to get stuck into scrapping my USA trip, so this was just the starting point I needed. This page will be the opening page to my album.

scissorspapercard, Stampin' Up!, Art With Heart, Animal Outing, Labeler Alphabet, Twinkle Twinkle DSP, Large Letters Framelits, Watercolour Pencils, Scrapbooking

Can you see how I used the photos and postcard to replicate the main part of the sketch? I pretty much ignored the rest of the sketch as it didn't work with my page, but the most important part is included. I purchased the post card on my trip. I often do, as they photos are usually better than any I can hope to take! In this case though, the rustic flag appealed. Can you see that it's the flag painted onto some boards?

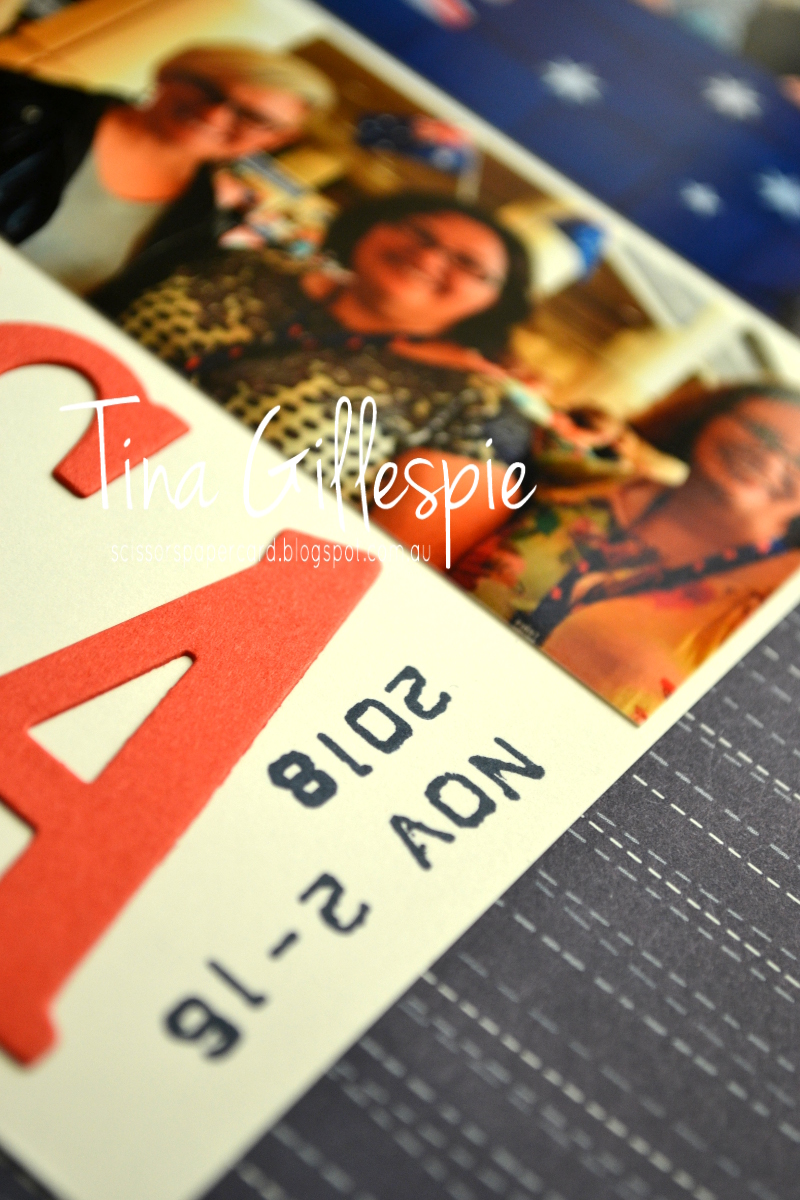
I then picked two photos that were the highlights from the two main parts of my trip. I had such a wonderful time travelling with Judy May, Kathryn Mangelsdorf and Rachel Palmieri, so I wanted to include them in this layout. The photo with the Aussie flag is from our visit to Stampin' Up!'s Home Office in Riverton, Utah, and the bottom photo is on the registration day of OnStage in Orlando, Florida, where we met Sara Douglass, the CEO of SU. You can see that I've cropped the photos to fit the sketch. How fabulous that the two photos I wanted to use worked perfectly!

scissorspapercard, Stampin' Up!, Art With Heart, Animal Outing, Labeler Alphabet, Twinkle Twinkle DSP, Large Letters Framelits, Watercolour Pencils, Scrapbooking

I üst had to include a kangaroo to go with the American feel of the page. The kangaroo featured heavily in my swaps and gifts, so it will also feature heavily in this album. I coloured is with my watercolour pencils and blended with my Wink Of Stella pen. I tossed up between my Blends and pencils, but in the end went with the pencils as I felt it worked better with the rustic look of the flag postcard.
scissorspapercard, Stampin' Up!, Art With Heart, Animal Outing, Labeler Alphabet, Twinkle Twinkle DSP, Large Letters Framelits, Watercolour Pencils, Scrapbooking

I love the Labeler Alphabet set! It's fabulous and versatile and will also feature heavily in the album, as it did on my swaps and gifts. And, yes, I did wear that flag headband for most of OnStage! It was a great way for people to find me, so I only took it off during the sessions so that I didn't annoy people sitting behind me.

Thats it for me for this month. You're now off to see what treasures Rachel Woollard has for you!

If you get lost along the way, here's the list of blogs participating in today's hop:

Rebecca Jacovou
Caroline Manwaring
Sharon Davern
Monika O’Neill
Sue Madex
Ros Davidson
Kate Morgan
Andrea Roberts
Tina Gillespie
Rachel Woollard 


Bye for now,

Tina

Thursday, 25 October 2018

AWH October Blog Hop: Pink

Hi!

Tonight the Art With Heart team are sharing creative projects featuring the colour pink. We hope our Blog Hop inspires you to get creative with the various shades of pink that Stampin’ Up! offer in our collection of 53 colours. 


Now, I must admit that when Ros first gave us the pink theme, my mind jumped straight to the entertainer, P!NK. I went to one of her concerts back in July and hadn't scrapped the experience yet, so I thought why not?

scissorspapercard, Stampin' Up!, Art With Heart, Scrapbooking, Swirly Bird, Large Letters Framelits, Silver Embossing Paste, Glimmer Paper

I chose Berry Burst for my colour pink, and complimented it with Basic Black and Silver Glimmer Paper. It's such a fun combo, and what else for an awesome entertainer such as P!NK? To create the title I cut each letter with my Large Letters dies and then simply trimmed of the serifs on each letter. The serifs are the little 'flicks' at the ends of the letters. It changes the look of the font quite a lot! Here's a tip: to adhere the photos and letters over the Glimmer paper, it is best to use a liquid glue as it grips better to the uneven surface of the glitter.

scissorspapercard, Stampin' Up!, Art With Heart, Scrapbooking, Swirly Bird, Large Letters Framelits, Silver Embossing Paste, Glimmer Paper

I had fun making the splatters on the page. I started by stamping the splatters from Swirly Bird in Memento ink. It was good, but not quite the right look. I got out my Silver Embossing Paste, and using my Aqua Painter, I flicked it over the top. Much better!

scissorspapercard, Stampin' Up!, Art With Heart, Scrapbooking, Swirly Bird, Large Letters Framelits, Silver Embossing Paste, Glimmer Paper

To get the spacing right on my text, I wrote it out on a piece of scrap paper, but starting at the bottom of the page and going up. By doing this, I knew where to start my top line so that my writing was perfectly spaced.

scissorspapercard, Stampin' Up!, Art With Heart, Scrapbooking, Swirly Bird, Large Letters Framelits, Silver Embossing Paste, Glimmer Paper

Did you notice the Black Glittered Organdy Ribbon at the top of the photo section? I couldn't resist adding a piece of my favourite ribbon, especially when it has the important purpose of hiding my ticket and a piece of the confetti that fluttered down during the concert. I made a little pocket for them  under the panel so I could keep the photos and ticket together, but keep the ticket hidden.

Well, that's it from me, you're now off to the next participant, the very talented Ros Davidson.  
         

If you find a broken link or have come to this blog hop from a different entry point, you can view the participants below:


Sharon DavernKate MorganAndrea RobertsTina GillespieRos DavidsonCatherine ProctorCaroline ManwaringRachel PalmieriSue MadexRebecca JacovouAlisha WatsonClaire DalyRachel WoollardMonika O’NeillJune Kempster

Bye for now,

Tina

Thursday, 12 October 2017

AWH October Blog Hop: Designer Series Paper

Hi!


Tonight the Art with Heart team girls are sharing some wonderful ideas to inspire you with our Designer Series Papers. This month is the start of the new Stampin’ Up! year and we have a special promotion on our Designer Series Paper, buy 3 get 1 FREE for the month of October and there is no limit!

I decided to go with the Just Add Colour SDSP. It wasn't a pack that originally took my fancy, but once I got hold of some and had a play, I was hooked!


scissorspapercard, Stampin' Up!, Art With Heart, Just Add Colour SDSP, Large Letters, Fabulous Flamingo, Watercolour Pencils

I especially loved the house paper, so that was the sheet I reached for when starting to think of ideas for this month's Blog Hop. I found this section that was easy to trim down to a small row.  It's slightly longer than a regular sized card, but that didn't worry me. I coloured the houses with my Watercolour Pencils, and used my Wink Of Stella pen to help blend them in places - especially the windows.

scissorspapercard, Stampin' Up!, Art With Heart, Just Add Colour SDSP, Large Letters, Fabulous Flamingo, Watercolour Pencils

Eclipse cards have been all the rage lately, so I decided to turn this card into one. After I'd coloured the houses, I used my Large Letters dies to cut the word 'home' into the panel. I then adhered the panel to a piece of Basic Black cardstock, and then adhered the letters back in place, but with Dimensionals so that they sat up. From the side you can see bits of black popping through, but from the front it is much less obvious,

scissorspapercard, Stampin' Up!, Art With Heart, Just Add Colour SDSP, Large Letters, Fabulous Flamingo, Watercolour Pencils

Does this house on the inside remind you a little of a castle? I think it's the roofline.

Well, that's it from me. Next you're off to the blog of Claire Daly. She's always got something amazing to show on her blog.


If you find a broken link or have come to this blog hop from a different entry point, you can view the participants below:

Friday, 18 November 2016

JAI #337: Just Add Two

Hi!


Yay! it's the tail end of the working week, and the weekend is just around the corner! I'm excited because Fantastic Beasts And Where To Find Them has just opened. Hopefully I'll get a chance to go see it with the family very soon.


http://just-add-ink.blogspot.com/2016/11/just-add-ink-337just-choose-two.html

But that's not why you are here - you're here for the new Just Add Ink challenge! This week Kim is challenging you to Just Add Two to your cards. What two? You have the choice of either doilies, die cuts or Designer Series Paper. Just choose two and off you go!


I ummed and ahhed a little before having a little bit of a brainwave while I was in the shower. It's a great place to think! I went with die cuts and DSP.
In order to fit all the letters in, I had to make my card a tad longer than usual. It's actually 7 inches in length, and the usual 4 1/4 inches tall. It will fit in a business sized envelope, so it will still be easy to post.

You can see in this picture that I popped all of the letters up on Dimensionals. The edge pieces of the sheets are great for this, as they are already smaller than whole Dimensionals so they fit nicely behind the letters. I don't like wasting things, and this is a fab way of using up the edge pieces.

Speaking of not liking to waste things....

I also used the negative piece created when I cut the letters. I made sure to cut them in a straight line so that I could use this piece.


I used lots of Dimensionals to pop the piece up from the DSP underneath, including the two pieces in the top of the R's.

I made both of the insides of the cards the same. The cute little holly sprig is from the Hostess set, Time Of Year. I had intended to use the Christmas banner image from the set on the front of the cards, but in the end I decided they looked OK without it.


Here are the two cards together so that you can see how they are opposites.


Which two items will you choose for this week's challenge? You can see what the Design Team have chosen over at the Just Add Ink blog.


Bye for now,


Tina