Pages

Friday 29 March 2013

JAI #159: Just Add A Bunny

Hi!

Woo hoo!  It's the long weekend - and an extra long weekend at that!


This week at Just Add Ink Kim has challenged us to Just Add A Bunny to your projects.  While it's an obvious reference to Easter, you don't need to make an Easter Card, you just need to include a bunny.


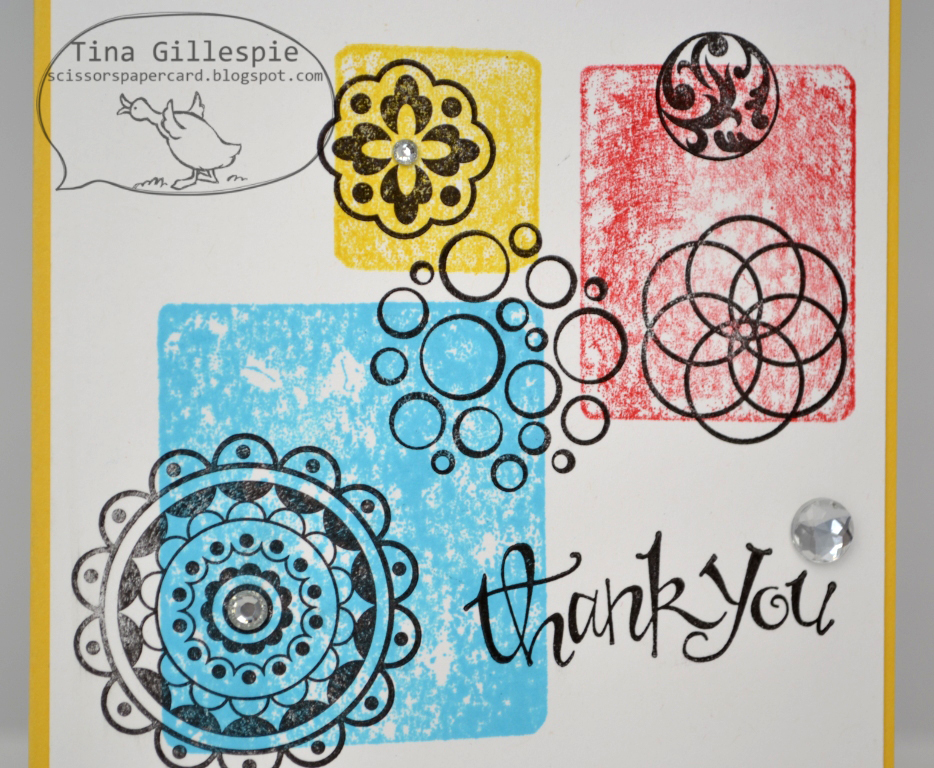
I made this basket as a sample for my support group.  They made two baskets each and the group facilitator provided some Easter Eggs to fill them. It was chaotic madness, but lots of fun!


The basket was made using 4 Scallop Envelope die cuts.  It makes a sweet little basket, perfect for  Easter.

I hope you can find some stamping time this extra long weekend so you can play along with us this week at Just Add Ink.

Bye for now,

Tina

Wednesday 27 March 2013

My Digital Studio

Hi!

I'm really excited today to tell you that My Digital Studio has finally arrived in Australia! I have been hanging out for this for ages, so I am over the moon.  I downloaded the software yesterday and luckily the kids were all at school today so I had time to have a play.


I have used MDS before, but this was the first layout I have completed on my own software. It's so much easier than using Photoshop, and at $24.95 compared to $200-800 it is an absolute bargain! You get heaps of content free with the software - including stamp sets, punches and DSP. There are heaps of templates that you can just add your photos and text to and then print.  So easy!

To allow for MDS in Australia Stampin' Up! have also introduced online shopping.  This means you can shop at home for all of our products at your own convenience and have them delivered direct to your door.  It also means the digital content can be downloaded instantly rather than waiting for discs to arrive in the mail.  It also means that there will be an ongoing Clearance Rack, where you can snap up bargains on retired products at discounted prices. It's all so very exciting!
Bye for now,

Tina

Friday 22 March 2013

JAI #158: Just Add A Sketch

Hi!

Apologies for the lack of posts lately - I have been madly preparing for my stall at a school fair on Saturday.


This week over at Just Add Ink the lovely Mae has designed a sketch challenge for your inspiration. Mae and I had a lovely day chatting and crafting recently as she passed through Adelaide on her big holiday.  I started the card for this challenge while she was here. Bur first, the sketch!


Isn't it great? I decided to go vintage and make a birthday card using some of the pretties I have been hoarding rather than using!


I really, really love the new flower trim! I also used some bits and pieces from the Artisan Embellishment Kit. To make the scalloped lace go further I cut it in half down the middle and used the seam binding ribbon to hide the cut.


I struggled with a sentiment on the front.  I tried a bigger sentiment but it just didn't work. In the end the cute little tag punchies worked beautifully.


A little more stamping to finish off the inside.

I hope you can play along this week with us at Just Add Ink. And if you're in the south of Adelaide tomorrow afternoon between 3 and 7pm and can come to the Emmaus Catholic School Earth Fair come and find me at my Stampin' Up! stall.

Bye for now,

Tina

Friday 15 March 2013

JAI #157: Just Add Green

Hi!

Do you celebrate St Patrick's Day? I don't so much, but it's a great excuse to drink a Midori and Lemonade or two as a nod to my Irish Ancestors.  Well, that's my story and I'm sticking to it!


This week Mae has challenged us to go green in honour of St Patrick's Day. Now, you don't need to make a St Patrick's Day card, but your card does need to be predominantly green. There are lots of greens in the Stampin' Up! palette, and I chose to go with Lucky Limeade.


I used some DSP from the Tea For Two pack.  It's fast becoming my favourite DSP. The only St Patrick's Day sentiment stamp I had was from Itty Bitty Sentiments, so I created a little banner for it.


I used the heart section of the Owl Builder Punch to create the four leaf clover on the flag - pretty easy peasy.


I'm sure the Irish need very little encouragement to celebrate, but I had no other sentiment suitable for the inside!

Stamps: Itty Bitty Sentiments, Topsy Turvy Celebrations
Ink: Lucky Limeade
DSP/Cardstock: Tea For Two DSP, Lucky Limeade, Very Vanilla
Other: Lucky Limeade Ruffled Ribbon, Pennant Builder Punch, Owl Builder Punch, Toothpick

I hope to see you over at Just Add Ink this week.

Bye for now,

Tina

Wednesday 13 March 2013

Filter Paper Flowers

Hi!

I had the pleasure of doing a party for a group of ladies last Friday night. I was so excited to be able to show off some of the new products from the Seasonal Catalogue. The card I demonstrated to them showed off the filter paper and how you can make gorgeous ruffled flowers from it.


I love how clean and simple this card is, but how effective the flower looks. Here's a closer look.


To create the flower I cut 8 layers of the filter paper using the Big Shot, set a brad through the middle and scrunched up the layers one at a time.  The layers are then fluffed out to achieve the desired look.

Stamps: Sassy Salutations
Ink: Island Indigo
Cardstock: Crumb Cake, Filter Paper
Other: Big Shot, Floral Frames Framelits, In Colour Brads, Glue Dots

Bye for now,

Toma

Monday 11 March 2013

Polished Stone Technique

Hi!

Last month my stamping ladies asked for a technique for their technique books, so I decided to try the Polished Stone technique with them.


Doesn't the Polished Stone panel look pretty? I used Tempting Turquoise and Wisteria Wonder reinkers combined with Platinum Shimmer Paint to achieve the look I was after.


The flower was stamped over the top using Black Stazon ink.


And stamped again on the inside to finish off the card.

Stamps: Just Believe
Ink: Island Indigo, Black Stazon, Tempting Turquoise, Wisteria Wonder
DSP/Cardstock: In Colour Patterns Stack DSP, Basic Black, Very Vanilla
Other: Word Window Punch, Modern Label Punch, Platinum Shimmer Paint, Dimensionals, Isocol, Cotton Ball

Bye for now,

Tina

Sunday 10 March 2013

JAI Scrap #15: Just Add A Sketch

Hi!

It's a long weekend here in Adelaide, so I'm trying to enjoy some down time and get some scrapping done.  How about you? Can you find some time to play along with us at Just Add Ink?


This month I was given the task of designing a sketch to inspire your scrapping. I had a blast doing it using some of my MDS content. I didn't put any embellishments on the sketch, but feel free to embellish as much as you'd like - interpret it as you will!


I decided to take a fairly literal interpretation with my layout.


I took the main photo of Alex at a circus we went to as a part of Santa's Magical Kingdom.  He was totally absorbed in the Ball Of Destiny. By the time there were three motorbikes roaring around the Ball he was on the edge of his seat. It was all so amazing, and I'm glad it was a moment (and facial expression!) I was able to capture.


I love the little strips of patterned paper in the layout. The Sale-A-Bration DSP provides lovely splashes of colour.  I felt that the Pool Party cardstock needed a little something though, but not something too full on to compete with the DSP. I decided to stamp with the splotchy stamp from French Foliage.


How will you interpret the sketch this month?

Stamps: French Foliage
Ink: Pool Party, Island Indigo
DSP/Cardstock: Sycamore Street DSP (SAB), Pool Party, Island Indigo
Other: Big Shot, Timeless Type Alphabet Dies (retired), Sycamore Street Buttons (SAB), Pool Party Baker's Twine

See you over at Just Add Ink!

Bye for now,

Tina

Friday 8 March 2013

JAI #156: Just Add A Colour Combination

Hi!

It's challenge time at Just Add Ink again!

 
This week Christine has challenged us to make a card using the following colour combination.  Isn't it gorgeous?

I loved the richness of the Early Espresso and Raspberry Ripple as a contrast to the softer Bashful Blue. The card I made was for my niece who turned 18.


It had been a while since I'd had a play with any of the newer In Colours so it was fun to get one out again.


Isn't the Raspberry Ripple Satin Ribbon lovely?


Some stamping and pearls finish off the inside.

Stamps: Bloomin' Marvelous (SAB), Memorable Moments
Ink: Raspberry Ripple, Bashful Blue
Cardstock: Early Espresso, Raspberry Ripple, Whisper White
Other: Big Shot, Finishing Touches Edgelit, Lots Of Tags Sizzlit, Extra Large Oval Punch, Large Oval Punch, Basic Jewel Pearls, Raspberry Ripple Stitched Satin Ribbon, Dimensionals

I hope you can play along at Just Add Ink this week.

Bye for now,

Tina

Monday 4 March 2013

Clear Block Stamping

Hi!

My stamping ladies often ask me to show them how to do different stamping techniques they've seen, or to make a card using a particular technique.  This last month one of my ladies asked about clear block stamping, and as it was a technique I hadn't really dabbled much with I was keen to give it another go.  I also had a request for a card using Circle Circus, so I decided to combine the two.


We discovered that when you are stamping with clear blocks the best way to get a good impression is to stamp with the Stampin' Pierce Mat underneath your cardstock. We stamped the clear blocks first and then the Circle Circus images over the top.


I used the thank you sentiment from Sassy Salutations on my card, but some of the ladies went with the happy birthday sentiment instead.  We then finished off the card with a bit of bling, including the new Large Rhinestone Basic Jewels.

Stamps: Circle Circus, Sassy Salutations
Ink: Tempting Turquoise, Real Red, Daffodil Delight, Basic Black
Cardstock: Daffodil Delight, Whisper White
Other: Clear Blocks, Stampin' Pierce Mat, Basic Jewels Rhinestones, Large Rhinestone Basic Jewels

Bye for now,

Tina

Friday 1 March 2013

Just Add Ink #155: Just Add A Sketch

Hi!


Challenge time at Just Add Ink again! This week Mae has designed a cute little sketch to inspire your papercrafting.


I decided to use the sketch to make a card for my parents-in-law who are celebrating their 39th Wedding Anniversary this week. That's a pretty big milestone!


As much as I love all of the new goodies from the catalogues, I decided to dust off some older favourites to use on the card. I needed the relaxation that I get from water colouring, so out came Pleasant Poppies.


I also used the gorgeous En Francais stamp for the background.  Can't remember the last time I used it, so it was well overdue!


I used a leftover piece of the water colouring for the inside - I didn't want to waste a scrap of it!

Stamps: Pleasant Poppies, Field Flowers, En Francais, Memorable Moments
Ink: Black Stazon, Riding Hood Red, Soft Suede, Old Olive, Sahara Sand
Cardstock: Water Colour Paper, Very Vanilla, Soft Suede
Other: Basic Jewels Pearls, Crumb Cake Taffeta Ribbon (retired), Blender Pen

I hope you can play along with us this week at Just Add Ink.

Bye for now,

Tina