Pages

Showing posts with label Detailed Deer Thinlits. Show all posts

Sunday, 17 November 2019

CTC #255: Night Before Christmas DSP

Hi!


Welcome once again to the newest CASEing The Catty Sunday Challenge Blog Hop. I'm just back from Sydney, where I joined my Stampin' Up! Demo friends for a day of fun, stamping and training and two new catalogues! I have so much news to share, but for now it's on with the Blog Hop! Have you come here from Siobhan's blog, or are you starting here? Either way, just keep going until you get back to where you started.


This week we are CASEing the Night Before Christmas DSP, and a layout from page 24 of the Holiday Catalogue. My eye was immediately caught by this silhouette card:


Isn't it gorgeous? I loved the sponged background and the silhouette of Santa and his sleigh, dashing across the snowy sky.

scissorspapercard, Stampin' Up!, CASEing The Catty, Detailed Deer Thinlits, So Many Stars, Pine Tree Punch, Christmas Card

I started my background by brayering a layer of Balmy Blue ink on Whisper White cardstock. I then used my Sponge Dauber to add a layer of Pretty Peacock ink. I've found that the darker ink blends better when it's applied over a lighter ink, verses directly to the cardstock. I finished the background by splattering both water and some Frost White Shimmer Paint over the sponged areas. Hopefully it looks like a snowy sky! The ground was just hand cut from a piece of Glimmer Paper

scissorspapercard, Stampin' Up!, CASEing The Catty, Detailed Deer Thinlits, So Many Stars, Pine Tree Punch, Christmas Card

I heat embossed the sentiment from So Many Stars in Silver Embossing Powder on a piece of Pretty Peacock cardstock. I wanted the banner to be there, but not glaring, which is why I chose Pretty Peacock card rather than something that would stand out more. I finished it off with a Whisper White twine bow and a small piece of Glimmer Paper peeking out from underneath.

scissorspapercard, Stampin' Up!, CASEing The Catty, Detailed Deer Thinlits, So Many Stars, Pine Tree Punch, Christmas Card

I used the offcut of Glimmer Paper from the front of the card to create another snowy hill on the inside. I brayered more Pretty Peacock ink onto a scrap of Whisper White card, and then splattered it with water before punching with the Pine Tree punch. A little brayered Balmy Blue ink along the bottom, and the inside was done!

After the hop, you can join in the fun in our Facebook group, where you can add your card to the group for this week's challenge. Can't wait to see you there!


It's time now to hop on over to the next stop in the hop, the very lovely Monique!


Bye for now,

Tina

Wednesday, 11 September 2019

AWH HOC Week 4

Hi!


Welcome to the new week of Heart Of Christmas by the Art With Heart Team. Have you been following along each week? It's great seeing everyone's cards each week, all so different, but all so beautiful.

Having said that, I nearly made a different card for this week's Blog Share, as I wan't sure this one was beautiful enough. Then I thought about how silly that was - our cards don't need to be spectacular all of the time, it's nice to make some simpler designs too.

scissorspapercard, Stampin' Up!, Art With Heart, Heart Of Christmas, Christmas, So Many Stars, Detailed Deer Dies, Night Before Christmas DSP, Rectangle Stitched Dies

I started with the die cut deer from the Detailed Deer dies. I cropped it with a Stitched Rectangle die, and then used the next size up to crop a piece of Pretty Peacock cardstock. I then used the die two sizes smaller than that one to create a frame of Pretty Peacock. It was wide enough to attach the Crumb Cake deer panel, but not so wide that it could be seen underneath. I hope you get what I mean!

scissorspapercard, Stampin' Up!, Art With Heart, Heart Of Christmas, Christmas, So Many Stars, Detailed Deer Dies, Night Before Christmas DSP, Rectangle Stitched Dies

This was all popped up over a piece of DSP from the Night Before Christmas pack. I guess if you wanted to step up the card, you could turn the deer into a shaker card by adding a piece of Window Sheet and some sequins to the card. It wouldn't be hard at all!

scissorspapercard, Stampin' Up!, Art With Heart, Heart Of Christmas, Christmas, So Many Stars, Detailed Deer Dies, Night Before Christmas DSP, Rectangle Stitched Dies

The Pretty Peacock panel that I used on the front was cropped from a larger piece of card, so I used the off cut to frame the Whisper White writing panel for the inside, along with the left over strip of DSP from the front of the card. So that the piece stood out from the Pretty Peacock base I trimmed it a little smaller and added a thin matt of Crumb Cake cardstock. Both sentiments on the card are from the So Many Stars stamp set.

So there's my simple card for this week's Heart Of Christmas Blog Share. I hope you like it! Now it's time to head on over to Claire's blog, where you can find the rest of this week's links.

Bye for now,

Tina

Wednesday, 14 November 2018

Copper For Christmas

Hi!


Hello, and welcome to the new Heart Of Christmas Blog Share. Have you been checking out the teams cards each week? You should if you haven't already. Plenty of gorgeous Christmas inspiration for you to see.

scissorspapercard, Stampin' Up!, Art With Heart, Heart Of Christmas, Dashing Deer, Merry Christmas To All, Detailed Deer Thinlits

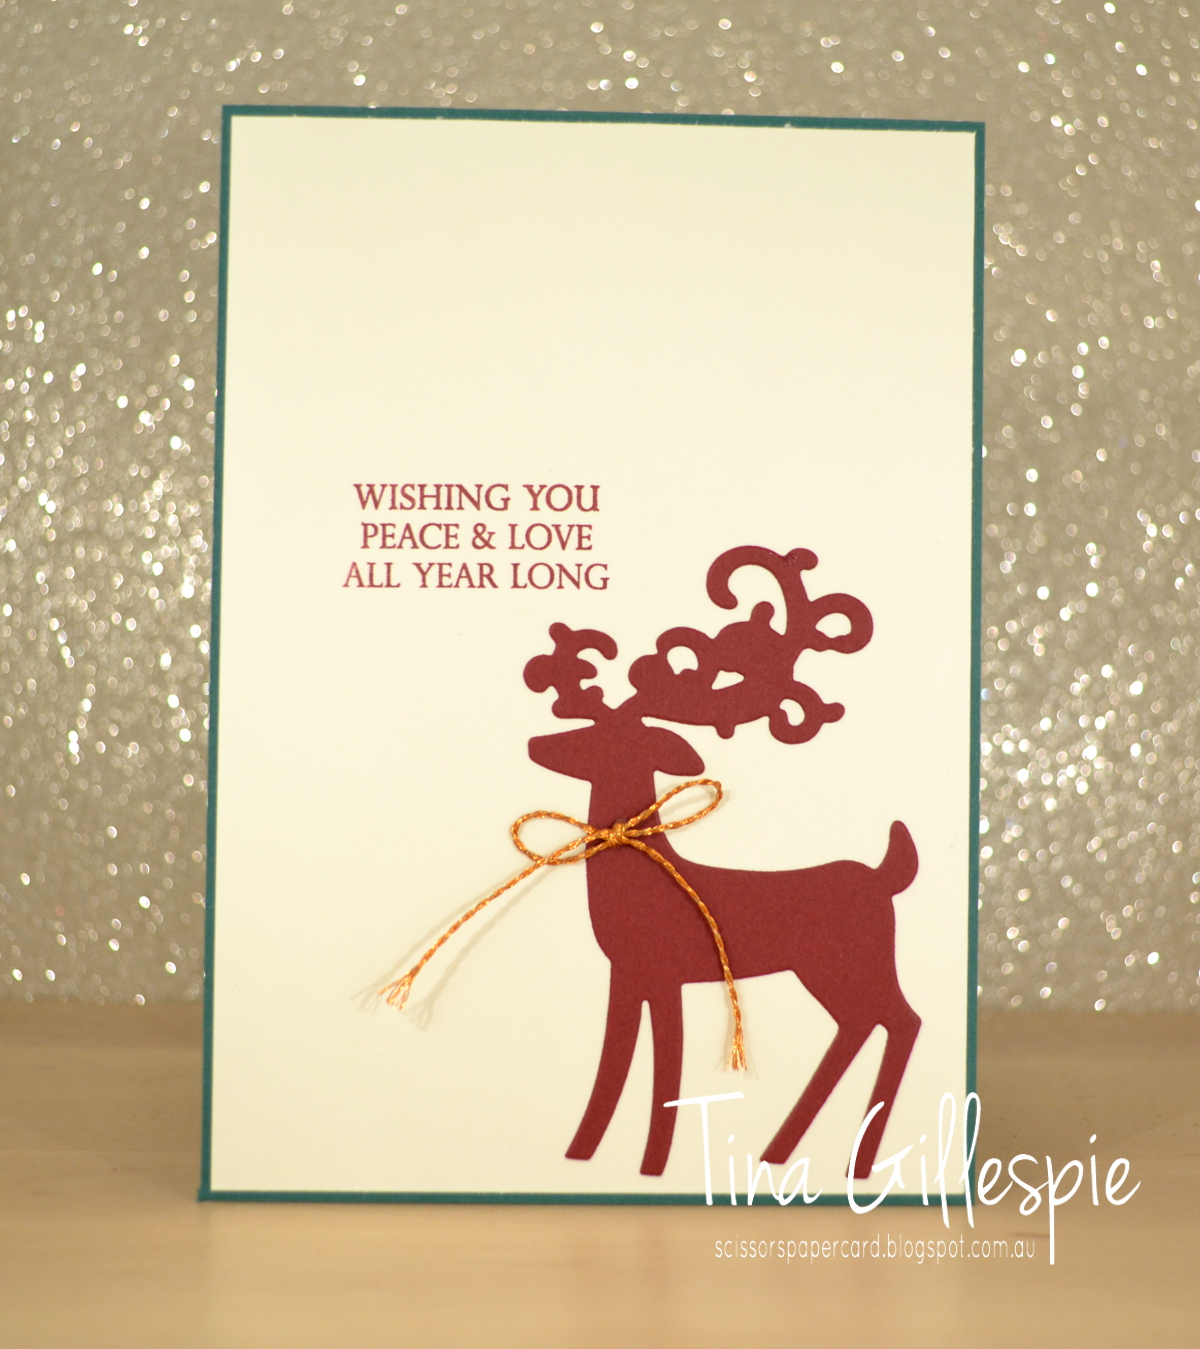
This week I went back to the Detailed Deer Thinlits. They are so beautiful! I had some copper ribbon left from the Notes Of Kindness card kit that I've been itching to use, so I decided to use it on this card. I hadn't yet decided to make it a shaker card, but as I had no other copper elements to add to the card except for the copper sequins, a shaker card it became! I think the copper works so beautifully with the rich tones of Tranquil Tide and Fresh Fig.

scissorspapercard, Stampin' Up!, Art With Heart, Heart Of Christmas, Dashing Deer, Merry Christmas To All, Detailed Deer Thinlits

I used the putty end of my Take Your Pick tool to lift most of the copper sequins out of my Metallics Assortment pack of sequins. The putty tip makes the job so much easier!

scissorspapercard, Stampin' Up!, Art With Heart, Heart Of Christmas, Dashing Deer, Merry Christmas To All, Detailed Deer Thinlits

I used the left over die cut from the front to complete the inside. I couldn't resist adding another copper bow!

That's it once again from me, but you can pop on over to Kate's Blog where you can see the rest of this week's cards.

Bye for now,

Tina

Wednesday, 3 October 2018

Getting Merry With Merlot And Champagne

Hi!


Welcome to a new week of Art With Heart's Heart Of Christmas Blog Share. Are you being inspired every week to start your Christmas cards? Have you started yet? I hope so on both counts!

 This week I have a very Big Shot heavy card - not much stamping at all!

scissorspapercard, Stampin' Up!, Art With Heart, Heart Of Christmas, Detailed Deer Thinlits, Merry Christmas Thinlits, Subtle DTIEF, Merry Christmas To All

I started with a Detailed Deer die cut from a piece of Merry Merlot cardstock. I wanted to use the negative on the front of my card and decided to back it with some foil card. I'd hoped to use Copper, but realised I don't actually own any! Oops! My next choice was Champagne. For a bit of added texture, I ran the Champagne Foil cardstock through the Big Shot with the Subtle DTIEF. How gorgeous does that look?

scissorspapercard, Stampin' Up!, Art With Heart, Heart Of Christmas, Detailed Deer Thinlits, Merry Christmas Thinlits, Subtle DTIEF, Merry Christmas To All


I just want to run my fingers over it! It's amazing how such a simple thing can add so much to a card.

scissorspapercard, Stampin' Up!, Art With Heart, Heart Of Christmas, Detailed Deer Thinlits, Merry Christmas Thinlits, Subtle DTIEF, Merry Christmas To All

I used the die cut deer to finish off the inside, along with another small strip of the Subtle embossed Champagne Foil.

This week the Blog Share is being hosted from the wonderful Ros's blog. Go and check it out - you're sure to find something amazing.

Bye for now,

Tina