Pages

Sunday 28 June 2020

CTC #274: Masculine Cards

Hi!


Sunday evening means that it's time once again for the new CASEing The Catty Sunday Challenge Blog Hop. This week we are taking a close look at the masculine cards in the Annual Catalogue.


I did my usual flick-through from the back of the catalogue, but I got to page 97 before I found a card that I was keen to CASE.


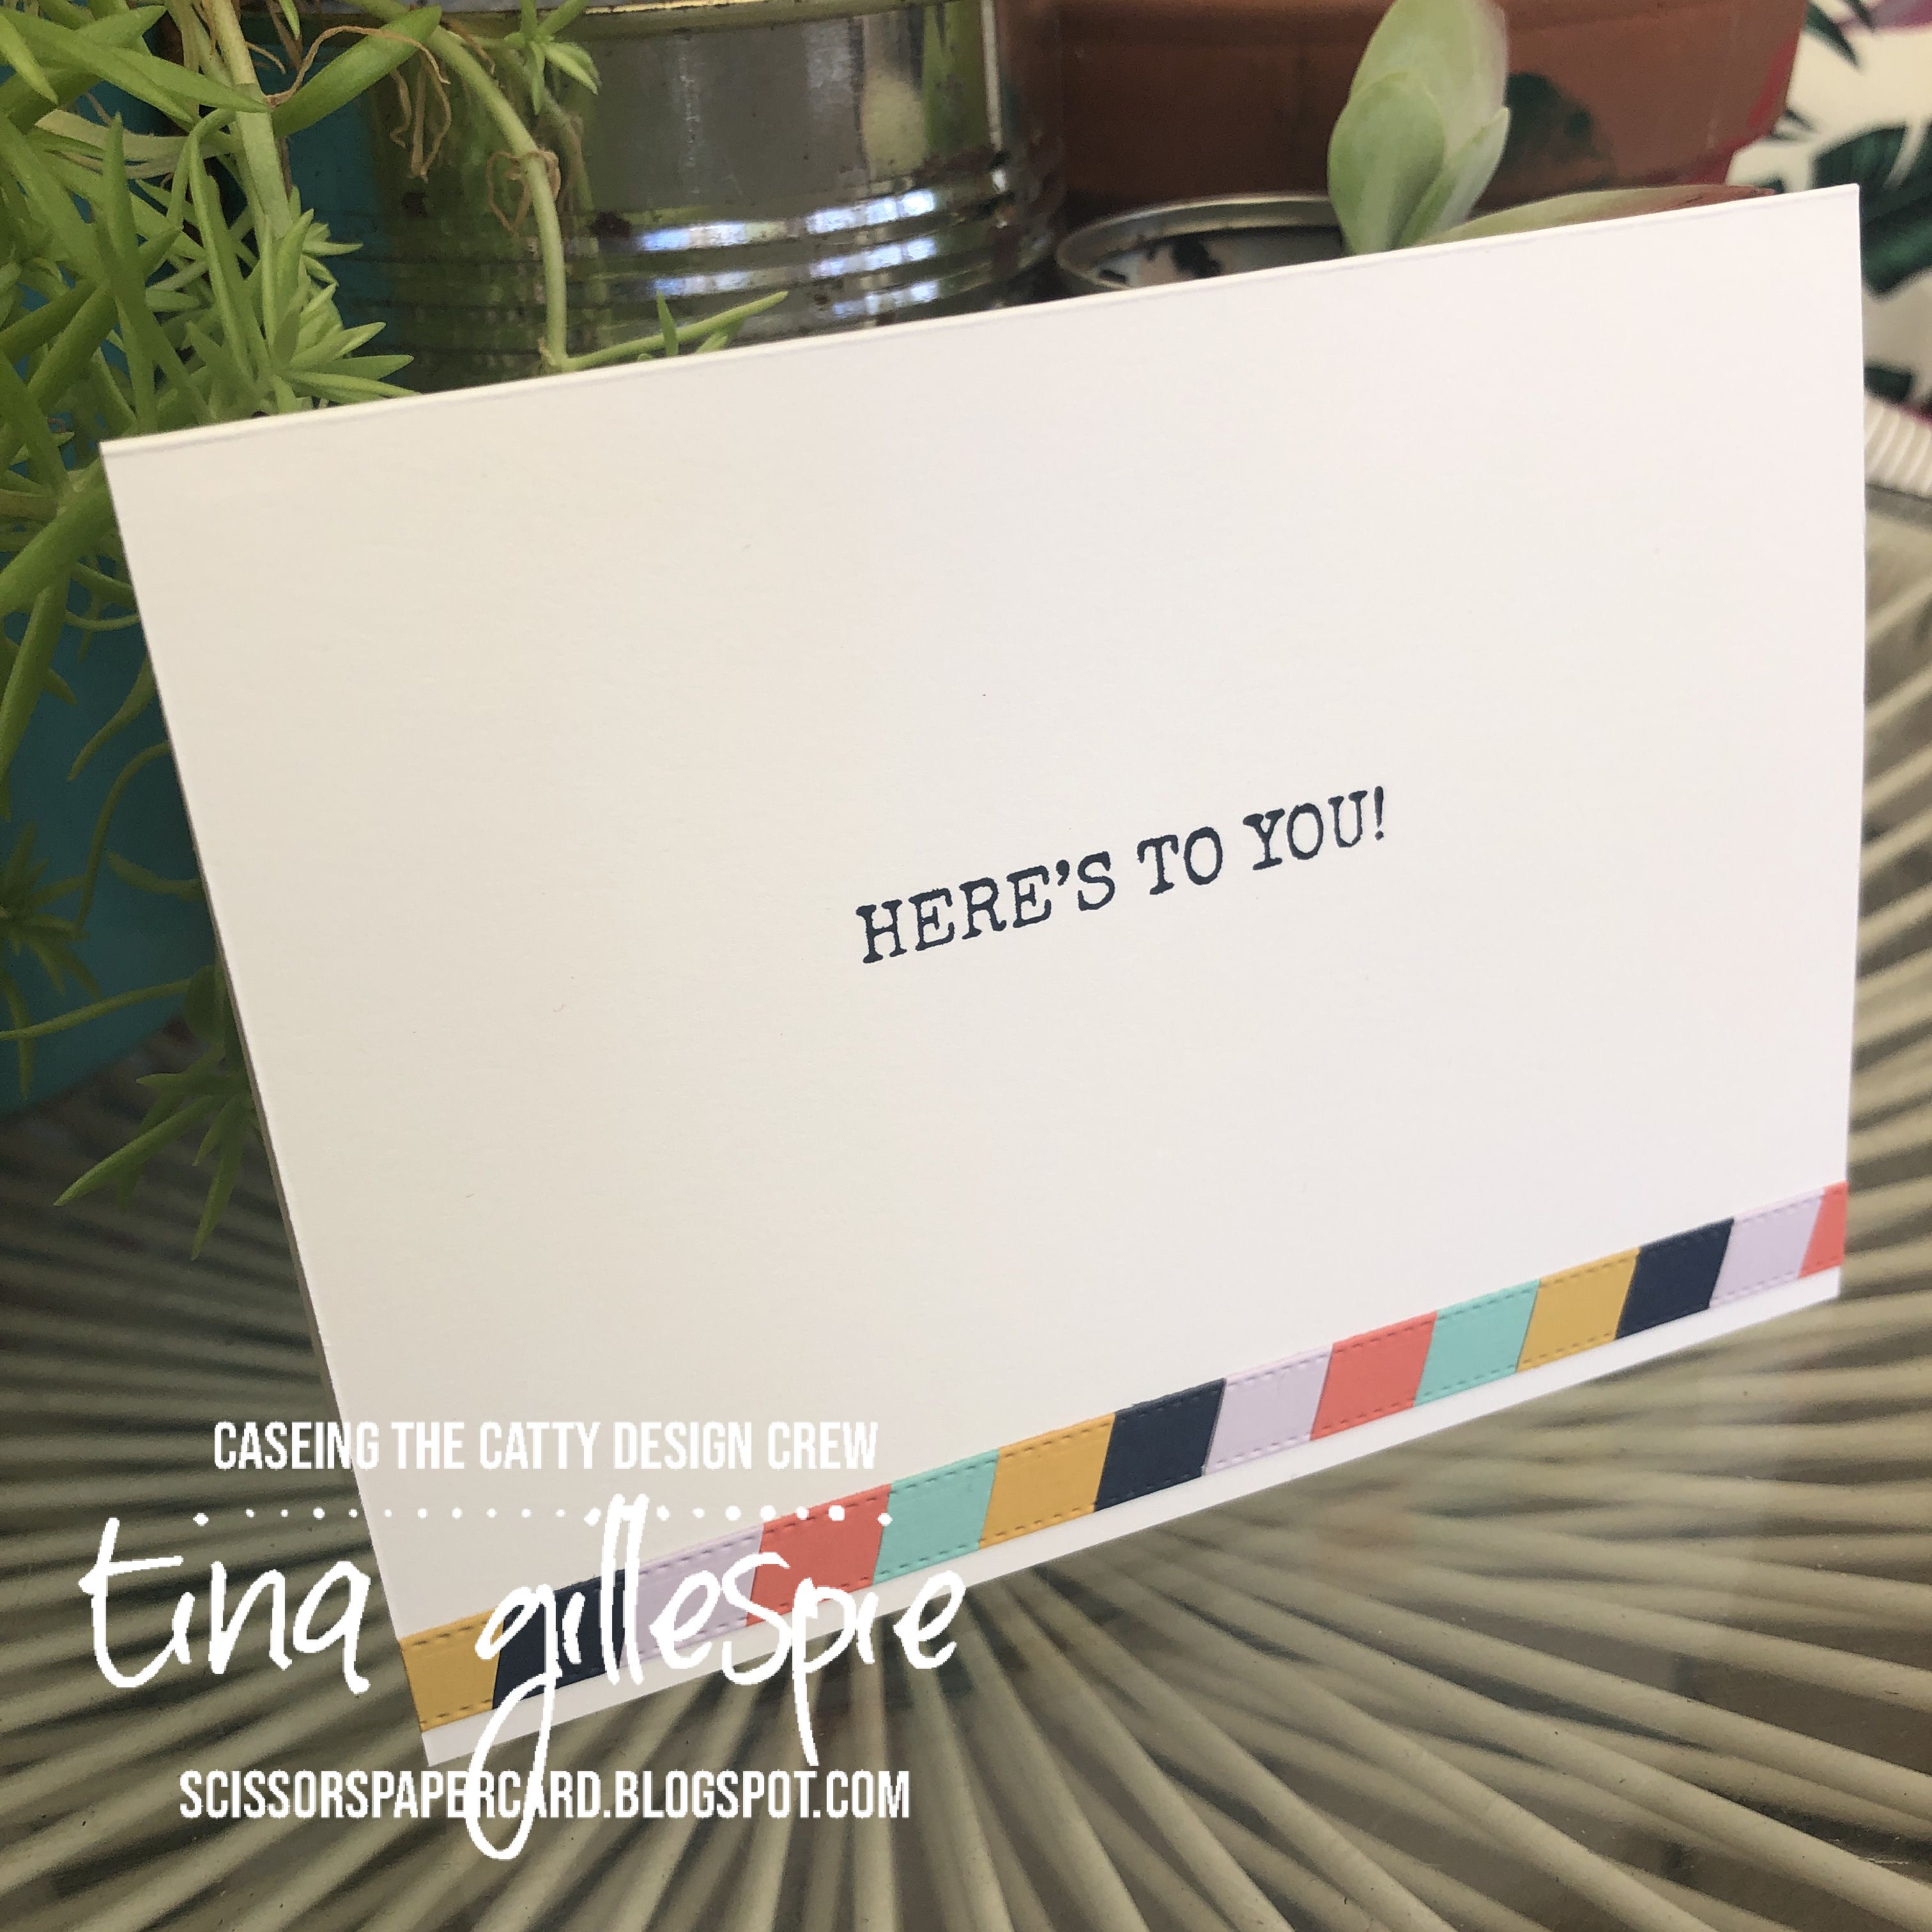
My eye was really caught by the colour scheme, and it also made me realise that it's been ages since I've played with my Stitched Stars Dies. The colours used were Misty Moonlight, Just Jade, Mint Macaron, Daffodil Delight and Silver Foil.

scissorspapercard, Stampin' Up!, CASEing The Catty, Itty Bitty Birthdays, Stitched Stars Dies, Stitched Rectangles Dies, Silver Foil

In the original card it was Daffodil Delight peeking through the openings created by the small stars cut into the card base. On my card, I used the Silver Foil behind an opening created by one of the larger star dies. I then used the next two largest stars to crop a narrow frame from Just Jade, which I adhered around the opening.

scissorspapercard, Stampin' Up!, CASEing The Catty, Itty Bitty Birthdays, Stitched Stars Dies, Stitched Rectangles Dies, Silver Foil

I was not intending to use Daffodil Delight on my card, but it seemed to work well on this trio of layered stars. A final trio of Misty Moonlight stars finished off the front of the card.

scissorspapercard, Stampin' Up!, CASEing The Catty, Itty Bitty Birthdays, Stitched Stars Dies, Stitched Rectangles Dies, Silver Foil

I had quite a few different stars left over - some were inside pieces of frames, others were stars I'd cut by didn't use on the front. The Mint Macaron star is inset into the Just Jade frame, with the Misty Moonlight star layered over the top. Insetting the Mint Macaron star allows more colour, but less bulk, on the inside. Perfect!

As always, our challenge runs through our Facebook Group. It's easy to join, and then you just add your card to the wall with a short explanation. Which of the masculine cards in the Annual Catalogue will you CASE this week? 


Don't go racing off just yet though - please do finish the Hop! Next up is Sandra, with a fun, geometric card. They are always a winner for masculine cards!


Bye for now,

Tina

Thursday 25 June 2020

JAI #511: Just Add Inspiration

Hi!


Yay, it's Friday! Time for the new Just Add Ink challenge, a gorgeous Inspiration Photo chosen by Rachael.


I have a couple of these plants - Mother-In-Law's Tongue? - but mine certainly don't look this healthy! I'm not a gardener, but I do try. I have managed to keep them alive, even if they are a little droopy.

Anyway, on to the challenge! I think Inspiration Photos are the challenges that I find hardest, and it takes a lot of thought to finally settle on a design. 

scissorspapercard, Stampin' Up!, Just Add Ink, Itty Bitty Birthdays, In Good Taste DSP, Forever Gold SP, Ornate Layers Dies, Pinewood Planks 3DEF, Sprig Punch

One thing I noticed about the photo was lots of long, tall lines. The plants themselves, and the candlesticks in the background. These were the inspiration for the strips on my card. They were cropped from the In Good Taste DSP using the stitched rectangle die in the Ornate Layers set. To make the middle one longer, I simply snipped in in half and hid the gap under the sentiment layers.

scissorspapercard, Stampin' Up!, Just Add Ink, Itty Bitty Birthdays, In Good Taste DSP, Forever Gold SP, Ornate Layers Dies, Pinewood Planks 3DEF, Sprig Punch

The second part of my card was all about the textures. I reached for my go-to embossing folder (Subtle) for the background, but as I flipped through my folders I saw my Pinewood Planks folder and thought that it suited the theme better. The retired Burlap Trim was a nod to the basket that one of the plants sits in, and the Sprig punched shapes were to add a little more of the green of the plants. Finally, the leaf from the Forever Gold SP added a touch of luxe.

scissorspapercard, Stampin' Up!, Just Add Ink, Itty Bitty Birthdays, In Good Taste DSP, Forever Gold SP, Ornate Layers Dies, Pinewood Planks 3DEF, Sprig Punch

I used another little strip of the wood DSP for the inside of the card. The sentiments, both front and inside, are from Itty Bitty Birthdays. 

It's time now to pop on over to the Just Add Ink blog, where you can see the rest of this week's Design Team cards. You can also link up your card for the challenge. I'd love to see what inspires you in the photo.

Bye for now,

Tina

Wednesday 24 June 2020

Colour Creations: Blackberry Bliss

Hi!


Is it cold and wet where you are? It's been a miserable week here in Adelaide, but that makes it perfect for crafting, or sipping a hot cuppa while viewing the new Colour Creations Showcase. This week we are creating with Blackberry Bliss. It's a gorgeous, deep purple.

scissorspapercard, Stampin' Up!, Colour Creations, Playful Alphabet Dies, Stitched Shapes Dies, Subtle 3DEF, A Good Man, Scalloped Tag Topper Punch

I can't seem to put away my new Playful Alphabet Dies. They are a nice, clean font, and I love the little details like the lower bar on the H. You ca't really see it, but this card also uses the new Foam Adhesive Sheets. They are fabulous for achieving dimension on a card.

scissorspapercard, Stampin' Up!, Colour Creations, Playful Alphabet Dies, Stitched Shapes Dies, Subtle 3DEF, A Good Man, Scalloped Tag Topper Punch

I used the largest Stitched Shapes Dies square to crop the Blackberry Bliss cardstock and then adhered around a quarter of one sheet of the Foam Adhesive Sheet to the centre of the back. I then placed the dies on top and ran it through my Big Shot. It cut through the card and the foam beautifully! All I needed to do was pop out the lettters/number and peel off the backing and attach it to the Subtle embossed card front.

scissorspapercard, Stampin' Up!, Colour Creations, Playful Alphabet Dies, Stitched Shapes Dies, Subtle 3DEF, A Good Man, Scalloped Tag Topper Punch

So that I didn't waste the cut letters/number, I quickly found a piece of Thick Whisper White card and made a tag using the Scalloped Tag Topper punch. I used a piece of retired Blackberry Bliss Twine to finish off the tag.

scissorspapercard, Stampin' Up!, Colour Creations, Playful Alphabet Dies, Stitched Shapes Dies, Subtle 3DEF, A Good Man, Scalloped Tag Topper Punch

The only stamping was on the inside - talk about a quick and easy card with lots of impact. You could easily whip this up in the 5 minutes before you ran out the door to a party!

Time now to pop on over to Catherine's blog, where you can find the rest of this week's Blackberry Bliss cards. I can't wait to see what everyone has made!

Bye for now,

Tina

Sunday 21 June 2020

CTC #273: CASE The Colours of the Playing With Patterns DSP

Hi!


Thanks for joining me on a cold and wet Sunday evening for the new CASEing The Catty Sunday Challenge Blog Hop. It's the perfect weather for a cuppa and a Blog Hop!


This week we are CASEing the colours in the Playing With Patterns DSP. As a side note - I realised as I was pulling out my cardstock that there is one colour from each of the colour families. I wonder if that was deliberate, or by chance?

scissorspapercard, Stampin' Up!, CASEing The Catty, Playful Alphabet Dies, Stitched Rectangle Dies, Label Me Bold, Seaside Notions, All Dressed up Dies

I didn't CASE one particular card, but I did take elements from a few. The diagonal stripes from the card on page 100, and the patterns peeking through the letter die cuts on page 101. The letter dies are from the new catalogue, and are fabulous! $59 for the 58 alpha, numerical and punctuation dies in the set. Bargain!

scissorspapercard, Stampin' Up!, CASEing The Catty, Playful Alphabet Dies, Stitched Rectangle Dies, Label Me Bold, Seaside Notions, All Dressed up Dies

I started my card by cutting 1cm strips of the different colours in the DSP, except Whisper White. I then adhered a piece of Adhesive Sheet to a piece of copy paper and layered the cardstock strips on an angle. I used copy paper so that I could easily die cut the piece using my Stitched Rectangles Dies. Another layer of cardstock might have been too thick to cut. Once cropped, I adhered it straight to the card base. The Playful Alphabet Dies were used to crop the word 'Happy' from a piece of Thick Whisper White that had been cut using a smaller Stitched Rectangles Die. This piece was popped up over the base.

scissorspapercard, Stampin' Up!, CASEing The Catty, Playful Alphabet Dies, Stitched Rectangle Dies, Label Me Bold, Seaside Notions, All Dressed up Dies

When I was planning my striped piece for the front, I ensured that I made it slightly bigger, so that I could have a piece for the inside of my card. I don't have the patience to do a tiny strip like this on it's own! It was cropped using the bag strap die from the All Dressed Up Dies.

That's all from me tonight. To enter our challenge, all you need to do is to make your card, photograph it, and then post it to the wall in our Facebook Group. Just tell us which card you are CASEing and you're done! Easy!


Next up is the fabulous Shannon, with a card that I absolutely adore. The bundle she's used is near the top of my 'must have' list!


Bye for now,

Tina

Thursday 18 June 2020

JAI #510: Just Add A Fancy Fold

Hi!


Yay, it's one of my favourite times of the week - Just Add Ink time! This week Jo has challenged us to Add A Fancy Fold to our creations!


I do enjoy a good Fancy Fold, although it's been a while since I've made one. I tossed up making a Bridge Fold card using the World Of Good suite, but in the end I reached for my In Good Taste DSP and the Forever Gold Laser Cut Specialty Paper.

scissorspapercard, Stampin' Up!, Just Add Ink, Peaceful Moments, In Good Taste DSP, Forever Gold SP

 A bit of googling for a Fancy Fold that I hadn't tried before lead me to Qbees Quest and her tutorial for a card she called a Pull Out Fancy Fold Card. It looked a fairly easy one to try, and I was right. I changed mine to a 5" square card, to better suit the Forever Gold element.

scissorspapercard, Stampin' Up!, Just Add Ink, Peaceful Moments, In Good Taste DSP, Forever Gold SP

I used my Layering Circles Dies to cut a hole in the centre of the In Good Taste DSP, which I then adhered to the Early Espresso card base. I then used the same die to cut a hole in the card base, lined up with the DSP. The same die was also used to crop the centre of the Forever Gold element.

scissorspapercard, Stampin' Up!, Just Add Ink, Peaceful Moments, In Good Taste DSP, Forever Gold SP

A slightly smaller card base in Whisper White was adhered to the inside of the Early Espresso base, with the front piece folded back on itself. The Gold paper, cropped from the front element, was adhered to the WW flap by lining it up through the front opening.

scissorspapercard, Stampin' Up!, Just Add Ink, Peaceful Moments, In Good Taste DSP, Forever Gold SP

Here's the card fully open. Another piece of the wood In Good Taste DSP was added to the inside. I think it breaks up the white card nicely.

I quite enjoyed making this Fancy Fold card, so thanks for the challenge, Jo! To see the rest of this week's Design team cards, please pop on over to the Just Add Ink blog. You can also link up your own Fancy Fold card there. Which Fancy Fold will you choose? There are lots to pick from!

Bye for now,

Tina

AWH June Creative Showcase: New Catalogue Products

Hi!


Welcome to the Art With Heart Team Creative Showcase. This month the team are featuring projects using their favourite products from the new Stampin’ Up! 2020-21 Annual Catalogue. The new catalogue is full of amazing new stamp sets, some bundled with dies or punches. The range of kits, papers and accessories complete the range of products you will see featured in this Showcase.

Once again, I have been short on time, so I chose to CASE the die cut Sunflower card from page 13 of the Annual Catalogue.


One of the many benefits of being a Stampin' Up! Demonstrator is access to the many resources that SU provide to help us. One of which is a document which lists the supplies used to create cards featured in the Annual Catalogue. It certainly makes CASEing a whole lot easier!

scissorspapercard, Stampin' Up!, Creative Showcase, Celebrate Sunflowers, Sunflowers Dies, Stitched So Sweetly Dies, Subtles DSP

Unusually for me, I kept my card very close to the original card. This was my first play with the Celebrate Sunflower bundle, and I've been a little intimidated by it. CASEing is a great way to break the ice and get to know the bundle. 

scissorspapercard, Stampin' Up!, Creative Showcase, Celebrate Sunflowers, Sunflowers Dies, Stitched So Sweetly Dies, Subtles DSP

I've used Daffodil Delight, Bumblebee, Basic Black and Early Espresso for the bloom, and Old Olive with Shaded Spruce for the leaves. The sentiment was stamped on Sahara Sand card using Early Espresso ink. I had to use retired Balmy Blue DSP, as I don't have any of the new Subtles DSP. I also used some Champagne Rhinestones, as I don't have the embellishments used on the original card.

scissorspapercard, Stampin' Up!, Creative Showcase, Celebrate Sunflowers, Sunflowers Dies, Stitched So Sweetly Dies, Subtles DSP

I kept the inside very simple, just a little strip of the gingham DSP along the bottom to finish it off. I couldn't decide what else to add - maybe a partial die cut sunflower?

That's all from me, next up is the lovely Vicki Boucher.


If you get lost, or a link is broken, here is the complete list of blogs for tonight's Showcase.

Wednesday 17 June 2020

Colour Creations: Bermuda Bay

Hi!


Thanks for join gin me once again for the Colour Creations Showcase. This is Week Three, and we are all looking at the gorgeous Bermuda Bay. I decided to pair it with the Under My Umbrella bundle.

scissorspapercard, Stampin' Up!, Colour Creations, Under My Umbrella, Stitched Rectangles Dies, Subtle 3DEF, Stampin' Blends

I started by making the background for my umbrella. I used a sponge brayer to ink some Whisper White card, and then splattered some fine drops of water over the top. I also splattered some Frost White Shimmer Paint. I love the combined effect of the two together. I used my Stitched Rectangles Dies to crop the panel, and to create a frame to go around it. I popped up the frame using Adhesive Strips.

scissorspapercard, Stampin' Up!, Colour Creations, Under My Umbrella, Stitched Rectangles Dies, Subtle 3DEF, Stampin' Blends

The umbrella was coloured using my Bermuda Bay Blends and a no-line colouring technique. The sentiment was heat embossed using white embossing powder.

scissorspapercard, Stampin' Up!, Colour Creations, Under My Umbrella, Stitched Rectangles Dies, Subtle 3DEF, Stampin' Blends

When I made the background for the front of the card, I made a full sized card front. Instead of wasting the offcut, I cropped it again with the largest Stitched Rectangle Die and used it for the inside. It's way too pretty to throw out!

You can find the links for the rest of this week's Bermuda Bay creations over on Catherine's Blog. I love Bermuda Bay, so I'm keen to see what the rest of the group has made!

Bye for now,

Tina

Sunday 14 June 2020

CTC #272: CASE The Flowers Of The Annual Catalogue

Hi!


Gee, these Sunday evenings seem to roll around very quickly! Maybe it's just because it's nearly the end of the weekend that they seem to sneak up on us? Regardless, it's time for the new CASEing The Catty Sunday Challenge Blog Hop.


This week we are reverting back to one week long challenges, and the challenge this week is to CASE any project involving flowers from the Annual Catalogue. As ever, I started at the back of the catalogue, and got as far as page 132 before I found a card that I wanted to CASE.


I really liked the multicolour die cut, which in the sample was created by cropping some cardstock with the flower die and then using one of the new Water Brushes to apply the colour to the die cut. It allows you to target each area and colour accordingly. I was short on time this week, and not having the time to colour and wait for it to dry, I opted to use DSP to get a similar affect.

scissorspapercard, Stampin' Up!, CASEing The Catty, Many Layered Blooms Dies, Lily Impressions DSP, Itty Bitty Birthday, Ornate Frames Dies

I had to use the retired Lily Impressions DSP, as none of the new DSP packs that I own had enough of the colour variation I required to achieve the look.  I selected a paper that had quite a lot of colour and used the bottom layer of the Many Layered Blossoms Dies to crop it. I then cropped the top layer using plain Whisper White card, and adhered it over the top. The Adhesive Sheets made this very easy, and way less messy than liquid glue!

scissorspapercard, Stampin' Up!, CASEing The Catty, Many Layered Blooms Dies, Lily Impressions DSP, Itty Bitty Birthday, Ornate Frames Dies

The blooms were popped up over a Blackberry Bliss card base using Black Dimenisonals. The Ornate Frames Die label was a bit of a nod to the original card - it had a strip of contrasting colour down each side of the card.

scissorspapercard, Stampin' Up!, CASEing The Catty, Many Layered Blooms Dies, Lily Impressions DSP, Itty Bitty Birthday, Ornate Frames Dies

For the inside, I cropped a small section of the die with the same DSP, but then I used Blackberry Bliss for the top layer, as Whisper White would not have stood out enough on the WW writing panel. The stamped sentiment is from Itty Bitty Birthdays, as is the front sentiment.

You can join in our challenge each week by adding your card to the wall in our Facebook Group. All are welcome, no blog or fancy editing required! We'd love for more people to join in the fun - the more the merrier!


Before you go check it out, though, don't forget to finish the Hop! Next you're off to see what my good friend, Judy, has made. She's a fabulous gardener, so floral cards are right up her alley!


Bye for now,

Tina

Thursday 11 June 2020

JAI #509: Just Add Colour

Hi!


Woo, it's Friday, which, as always, meant it's time for the new Just Add Ink challenge. This week Di has put together a very sweet colour combination for us to use.


As soon as I saw the combo, my first thought was 'baby card', but clearly the rest of the DT thought 'floral card'. LOL! I teased them that out 'F' challenge was last week, not this week.

scissorspapercard, Stampin' Up!, Just Add Ink, Peaceful Moments, Subtle 3DEF, Stitched Rectangles Dies, Elephant Builder Punch, Baby Card

I've been chasing my tail all week, so quick and easy was definitely the go for this card. I used the just-retired Elephant Builder Punch for the card. It's so cute for baby cards! I think it will find a home in my stash for a while yet.

scissorspapercard, Stampin' Up!, Just Add Ink, Peaceful Moments, Subtle 3DEF, Stitched Rectangles Dies, Elephant Builder Punch, Baby Card

I embossed both the So Saffron layer (after I'd cropped it with the largest Stitched Rectangle Die) and the elephants with the Subtle 3DEF. You'll notice that I didn't emboss the elephant ears though. This was deliberate, to hopefully make them a little more visible from the elephant's bodies. The stamped sentiment is from the Peaceful Moments stamp set.

scissorspapercard, Stampin' Up!, Just Add Ink, Peaceful Moments, Subtle 3DEF, Stitched Rectangles Dies, Elephant Builder Punch, Baby Card

I used the same set for the inside sentiment too, along with another wee elephant. I stamped with Crumb Cake ink, but I think my ink pad needs reinking, as it's quite light. Luckily that works well for a baby card!

Time to head on over to the Just Add Ink blog, where you can see the rest of this week's Design Team cards. I hope you can find time to play along with us - it's a great colour combo to work with.

Bye for now,

Tina