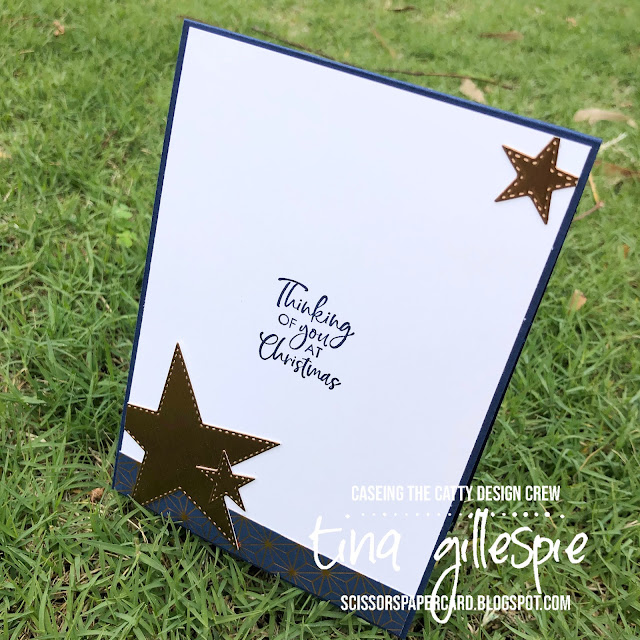
Hi!

Hooray for Colour Creations Showcase time! This week we are looking at Gorgeous Grape, which is a colour that I like, even though I don't use it much. It's in the Brights colour family and pairs beautifully with Highland Heather. Like all of my Colour Creations cards this year, I have opted to use it on it's own, with just neutral colours.

Hehe, I was watching The Block while I was making this card and guess what rooms they were working on? Yep, bathrooms! So many bathrooms feature subway tiles and it's a look I really like, so I decided to incorporate it into my card. I started with a 5 x 7 inch piece of Gorgeous Grape cardstock, which I backed with a similarly sized piece of Adhesive Sheet. I then chopped up the piece to create 10 strips that were 1/2 x 7 inches. These were then adhered to a 5 x 7 inch piece of Basic Black cardstock, leaving a small gap between each strip - the Adhesive Sheets make this a super easy task! After applying a second 5 x 7 inch piece of Adhesive Sheet to the back of this piece, I turned it sideways and cut it into 1/4 x 5 inch strips. As with the first strips, these were adhered to a second 5 x 7 inch piece of Basic Black cardstock, leaving gaps between each one. This time, however, I staggered the placement of the strips so that I got the brick wall pattern. All that was left to do was to trim the piece to be card front size and adhere it to my Basic Black base.

To finish the front, I selected a wreath design from my Forever Gold Laser Cut Paper pack and adhered it using some glue dots. A few flowers with Gorgeous Grape Rhinestones in the centre, a Gold Twine bow and a sentiment from A Good Man and it was done. I didn't want to cover up too much of the background!

The reason I created such a large background before trimming it down was so that I could use a left over piece on the inside. It's so much easier to do it all in one go, even if you end up needing a bit of muscle to trim all the layers down!
As always, Catherine is playing Hostess for our Creative Showcase. You can find the links to the rest of this week's Gorgeous Grape posts over on her blog.
Bye for now,
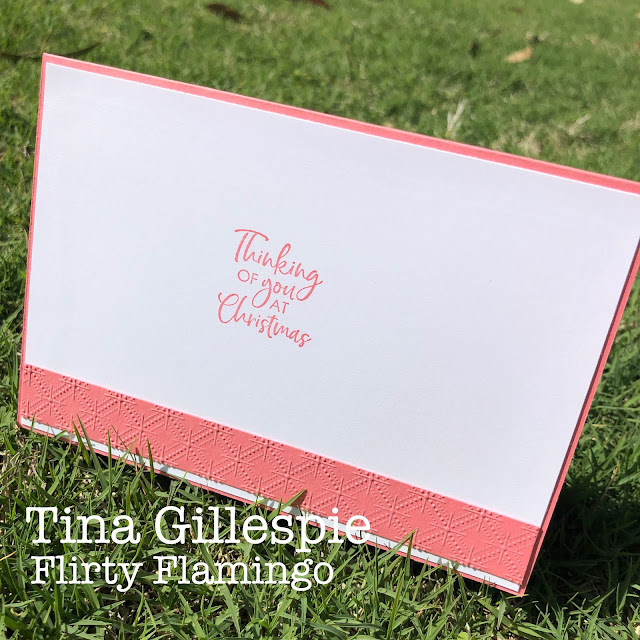
Tina