Pages

Sunday, 15 November 2020

CTC #294: CASE The Colours

 Hi!


Welcome back to the new CASEing The Catty Sunday Challenge Blog Hop. This week we have chosen a page in the Annual Catalogue, and we are CASEing the colour scheme of the cards on that page.


These cards are a great example of how to 'step up' a card design - start with a simple idea and add layers, elements and products to make it more detailed.

scissorspapercard, Stampin' Up!, CASEing The Catty, Beautiful Friendship, Story Label Punch

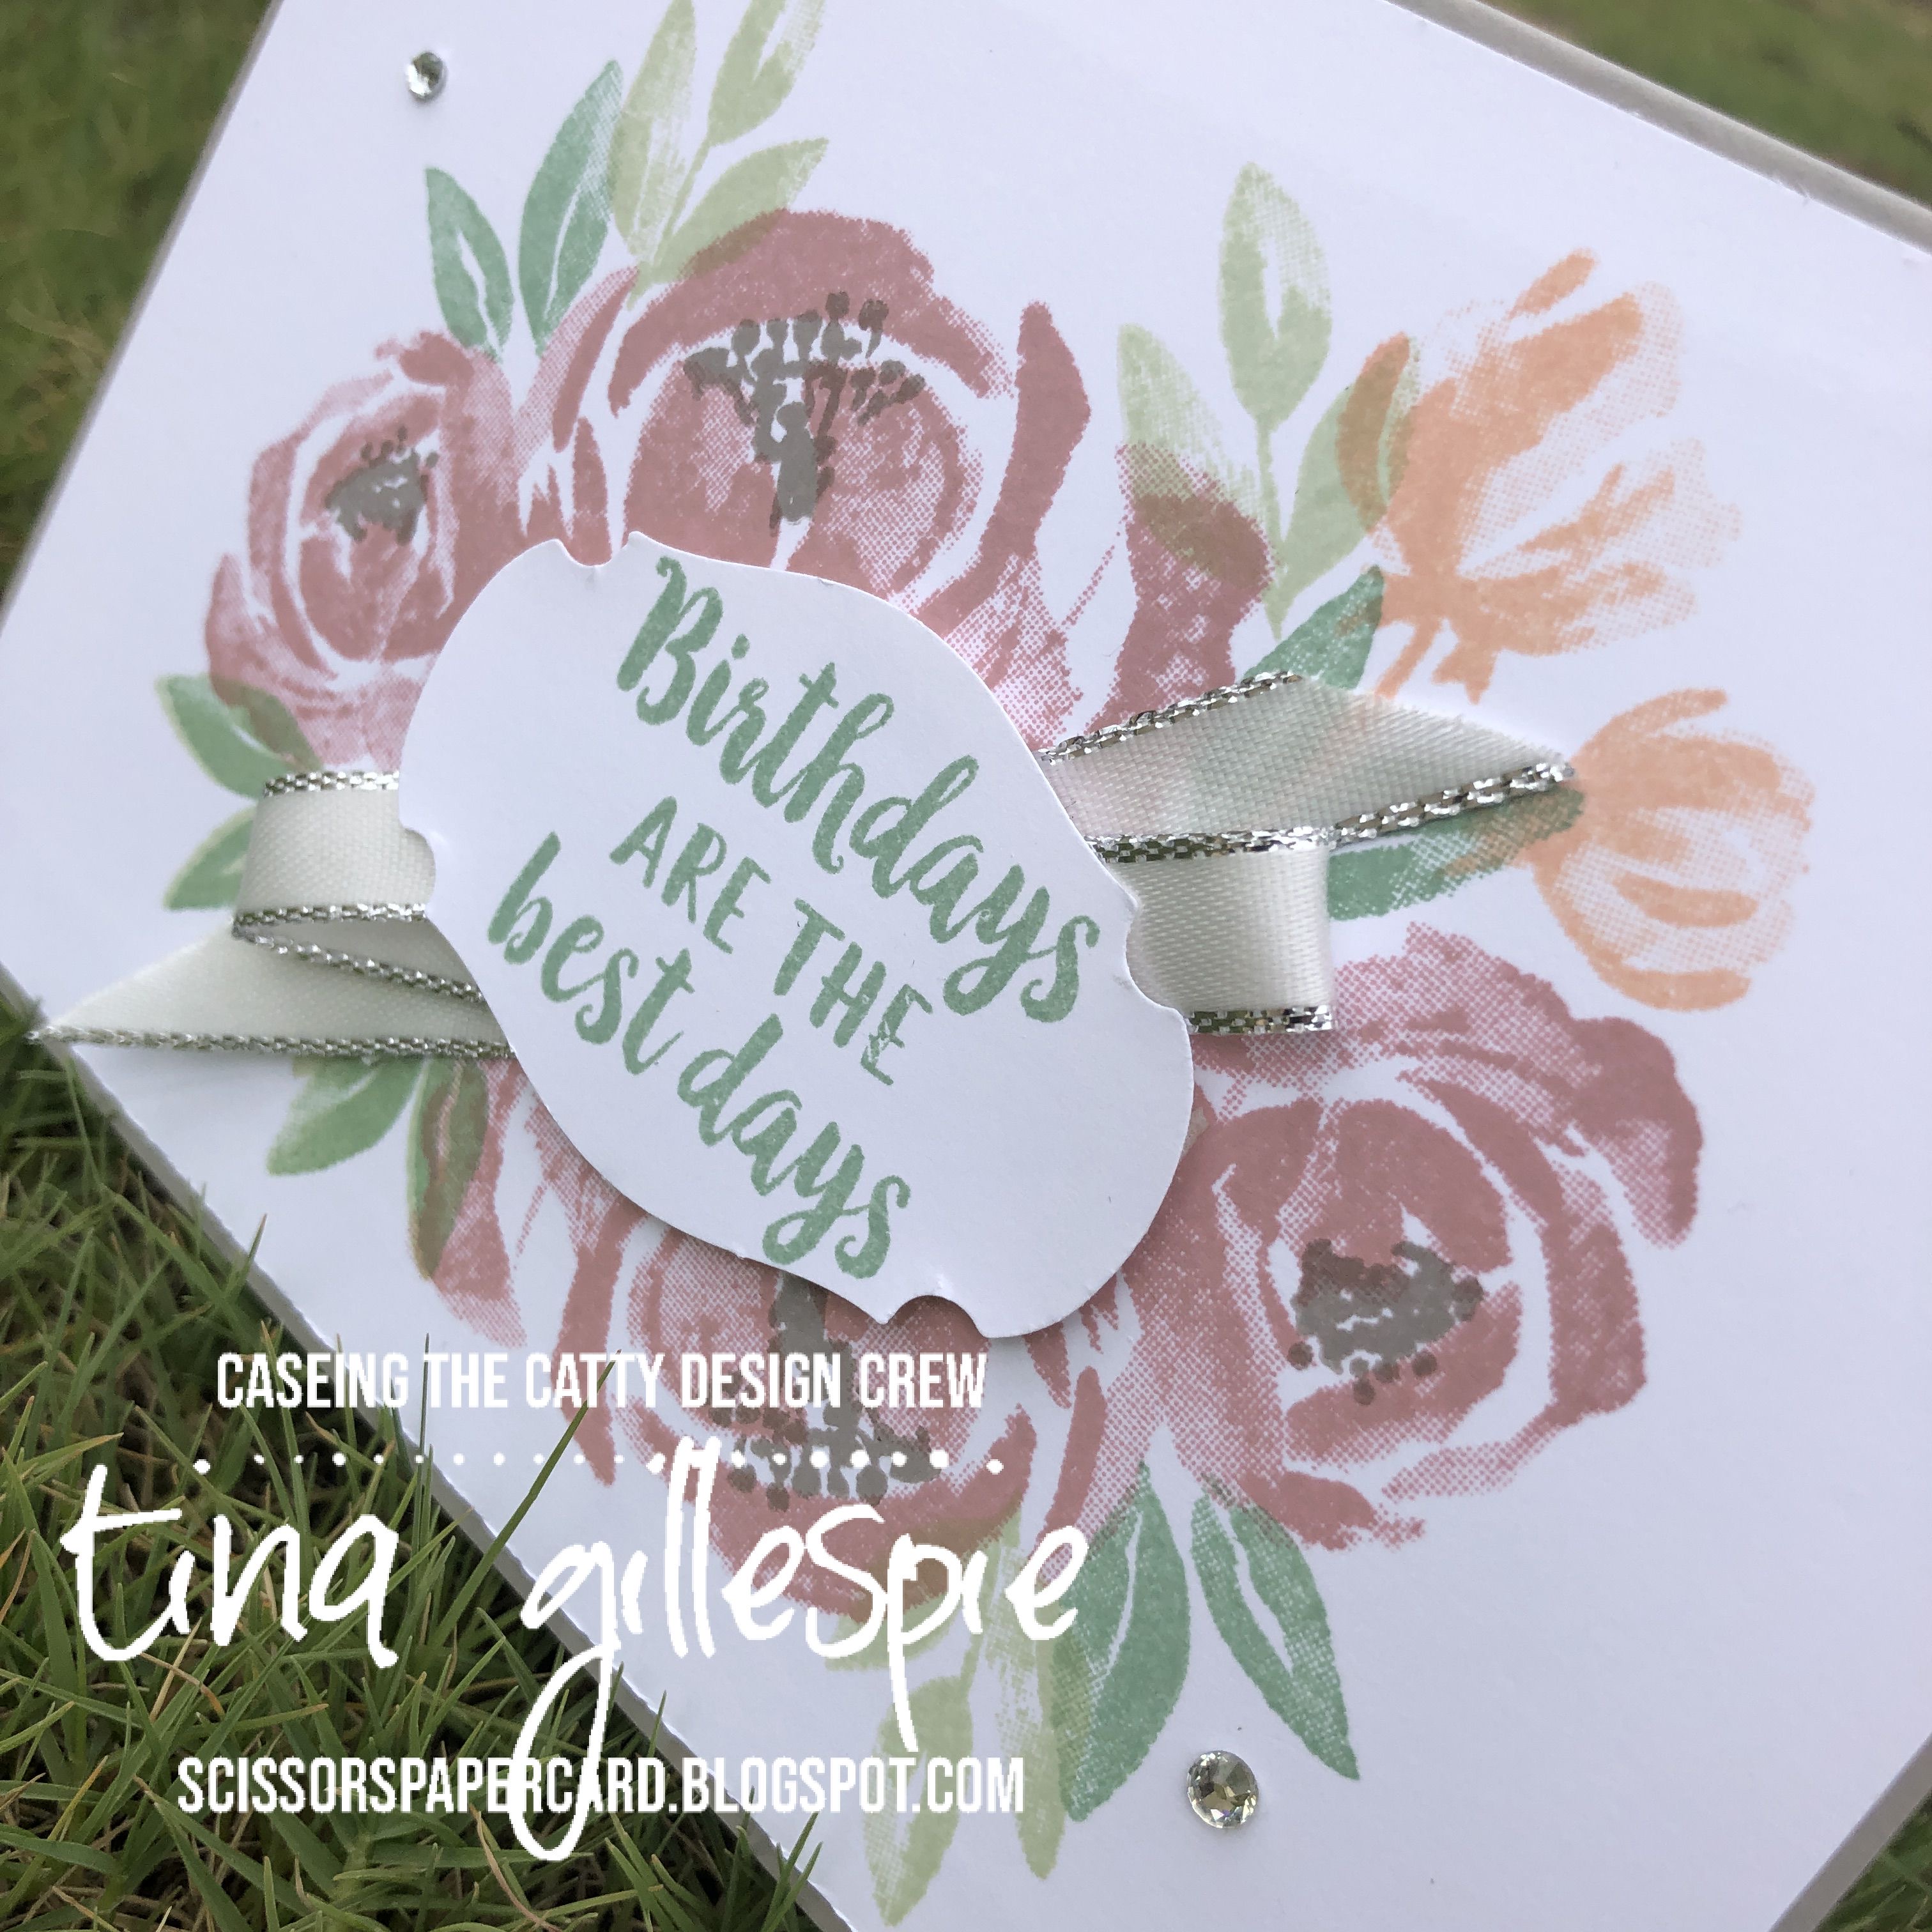
I haven't stamped with my Beautiful Friendship stamp set in a while, so I pulled it off my shelf for this challenge. It's a pretty set, and I thought that it would work well with the colour scheme of Blushing Bride, Petal Pink, Mint Macaron, Soft Sea Foam and Gray Granite.
scissorspapercard, Stampin' Up!, CASEing The Catty, Beautiful Friendship, Story Label Punch

I also haven't used my Story Label punch in a long time, so it was also dusted off for this card. A few rhinestones and a length of Sliver Metallic Edge ribbon, and the front was done!

scissorspapercard, Stampin' Up!, CASEing The Catty, Beautiful Friendship, Story Label Punch

I kept my stamping on the inside to one corner, so that I have plenty of room in which to write a birthday message when I give this card away.

As always, our challenge is run through our Facebook group, so you don't need a blog or a fancy camera or editing tools to join in. Just make the card, take a snap and add it to the group. Easy!


Before you race off to make your card, please do finish the Blog Hop. Next up is my fellow South Australian,  the wonderful Michelle Stradz. She's made a super sweet pair of cards.

Bye for now,

Tina

Thursday, 12 November 2020

JAI #531: Just Add Inspiration

 Hi!


Welcome back for the new Just Add Ink Challenge. This week Lou has found a super cute Inspiration photo. Aren't the pompom trees adorable?


It took a bit of thinking to work out what I was going to do this week, and then I saw a video by Alisa Tilsner where she played with Stampin' Blends and Isopropyl Alcohol to create cool backgrounds.

scissorspapercard, Stampin' Up!, Just Add Ink, Itty Bitty Christmas, Forever Gold SP, Stampin' Blends, Subtle 3DEF, Alcohol Ink Blended Background, Christmas

I chose to use the following Dark Stampin' Blends: Blackberry Bliss, Pumpkin Pie, Bermuda Bay and Magenta Madness. To get the background, I simply scribbled a small circle of colour onto Vellum Cardstock using the Blend, and then dripped a drop of the alcohol onto it. You need the good stuff from Bunnings, not the chemist's rubbing alcohol. Alisa played with hers more to get a more blended look, but I wanted the dots like the pompoms in the Inspiration Photo. It's such a cool effect!

scissorspapercard, Stampin' Up!, Just Add Ink, Itty Bitty Christmas, Forever Gold SP, Stampin' Blends, Subtle 3DEF, Alcohol Ink Blended Background, Christmas

The vellum was wrapped around a piece of Whisper White card, which I've embossed with the Subtle 3DEF. I then added a Forever Gold Laser Cut element over the top. I think it's meant to be a fern leaf, but I think it works nicely as a Christmas tree! I finished the front with a white heat-embossed sentiment from Itty Bitty Christmas.

scissorspapercard, Stampin' Up!, Just Add Ink, Itty Bitty Christmas, Forever Gold SP, Stampin' Blends, Subtle 3DEF, Alcohol Ink Blended Background, Christmas

While I was playing with the larger piece of vellum, I also made a smaller piece, so that I could use it on the inside. You can see that I've blended the colours more, rather than let them form circles. I just punched the vellum with my Pine Tree Punch and ran the tree through my Xyron sticker maker so that I could adhere it to the cardstock.

I definitely think I'll be trying this technique again! In the meantime, I'll be heading off to the Just Add Ink blog, where the rest of this week's Design team cards are linked. You can also link up your card for our challenge. What inspires you from the photo?

Bye for now,

Tina

AWH Creative Showcase: 5 Supplies

 Hi!


Thanks for joining me for the November Art With Heart Creative Showcase. This month we have been challenged to make a project using only 5 supplies. We decided that things like adhesives, snips, clear blocks, trimmers, etc did not count in our limit, but other things like DSP, ink, stamp sets, etc do count!

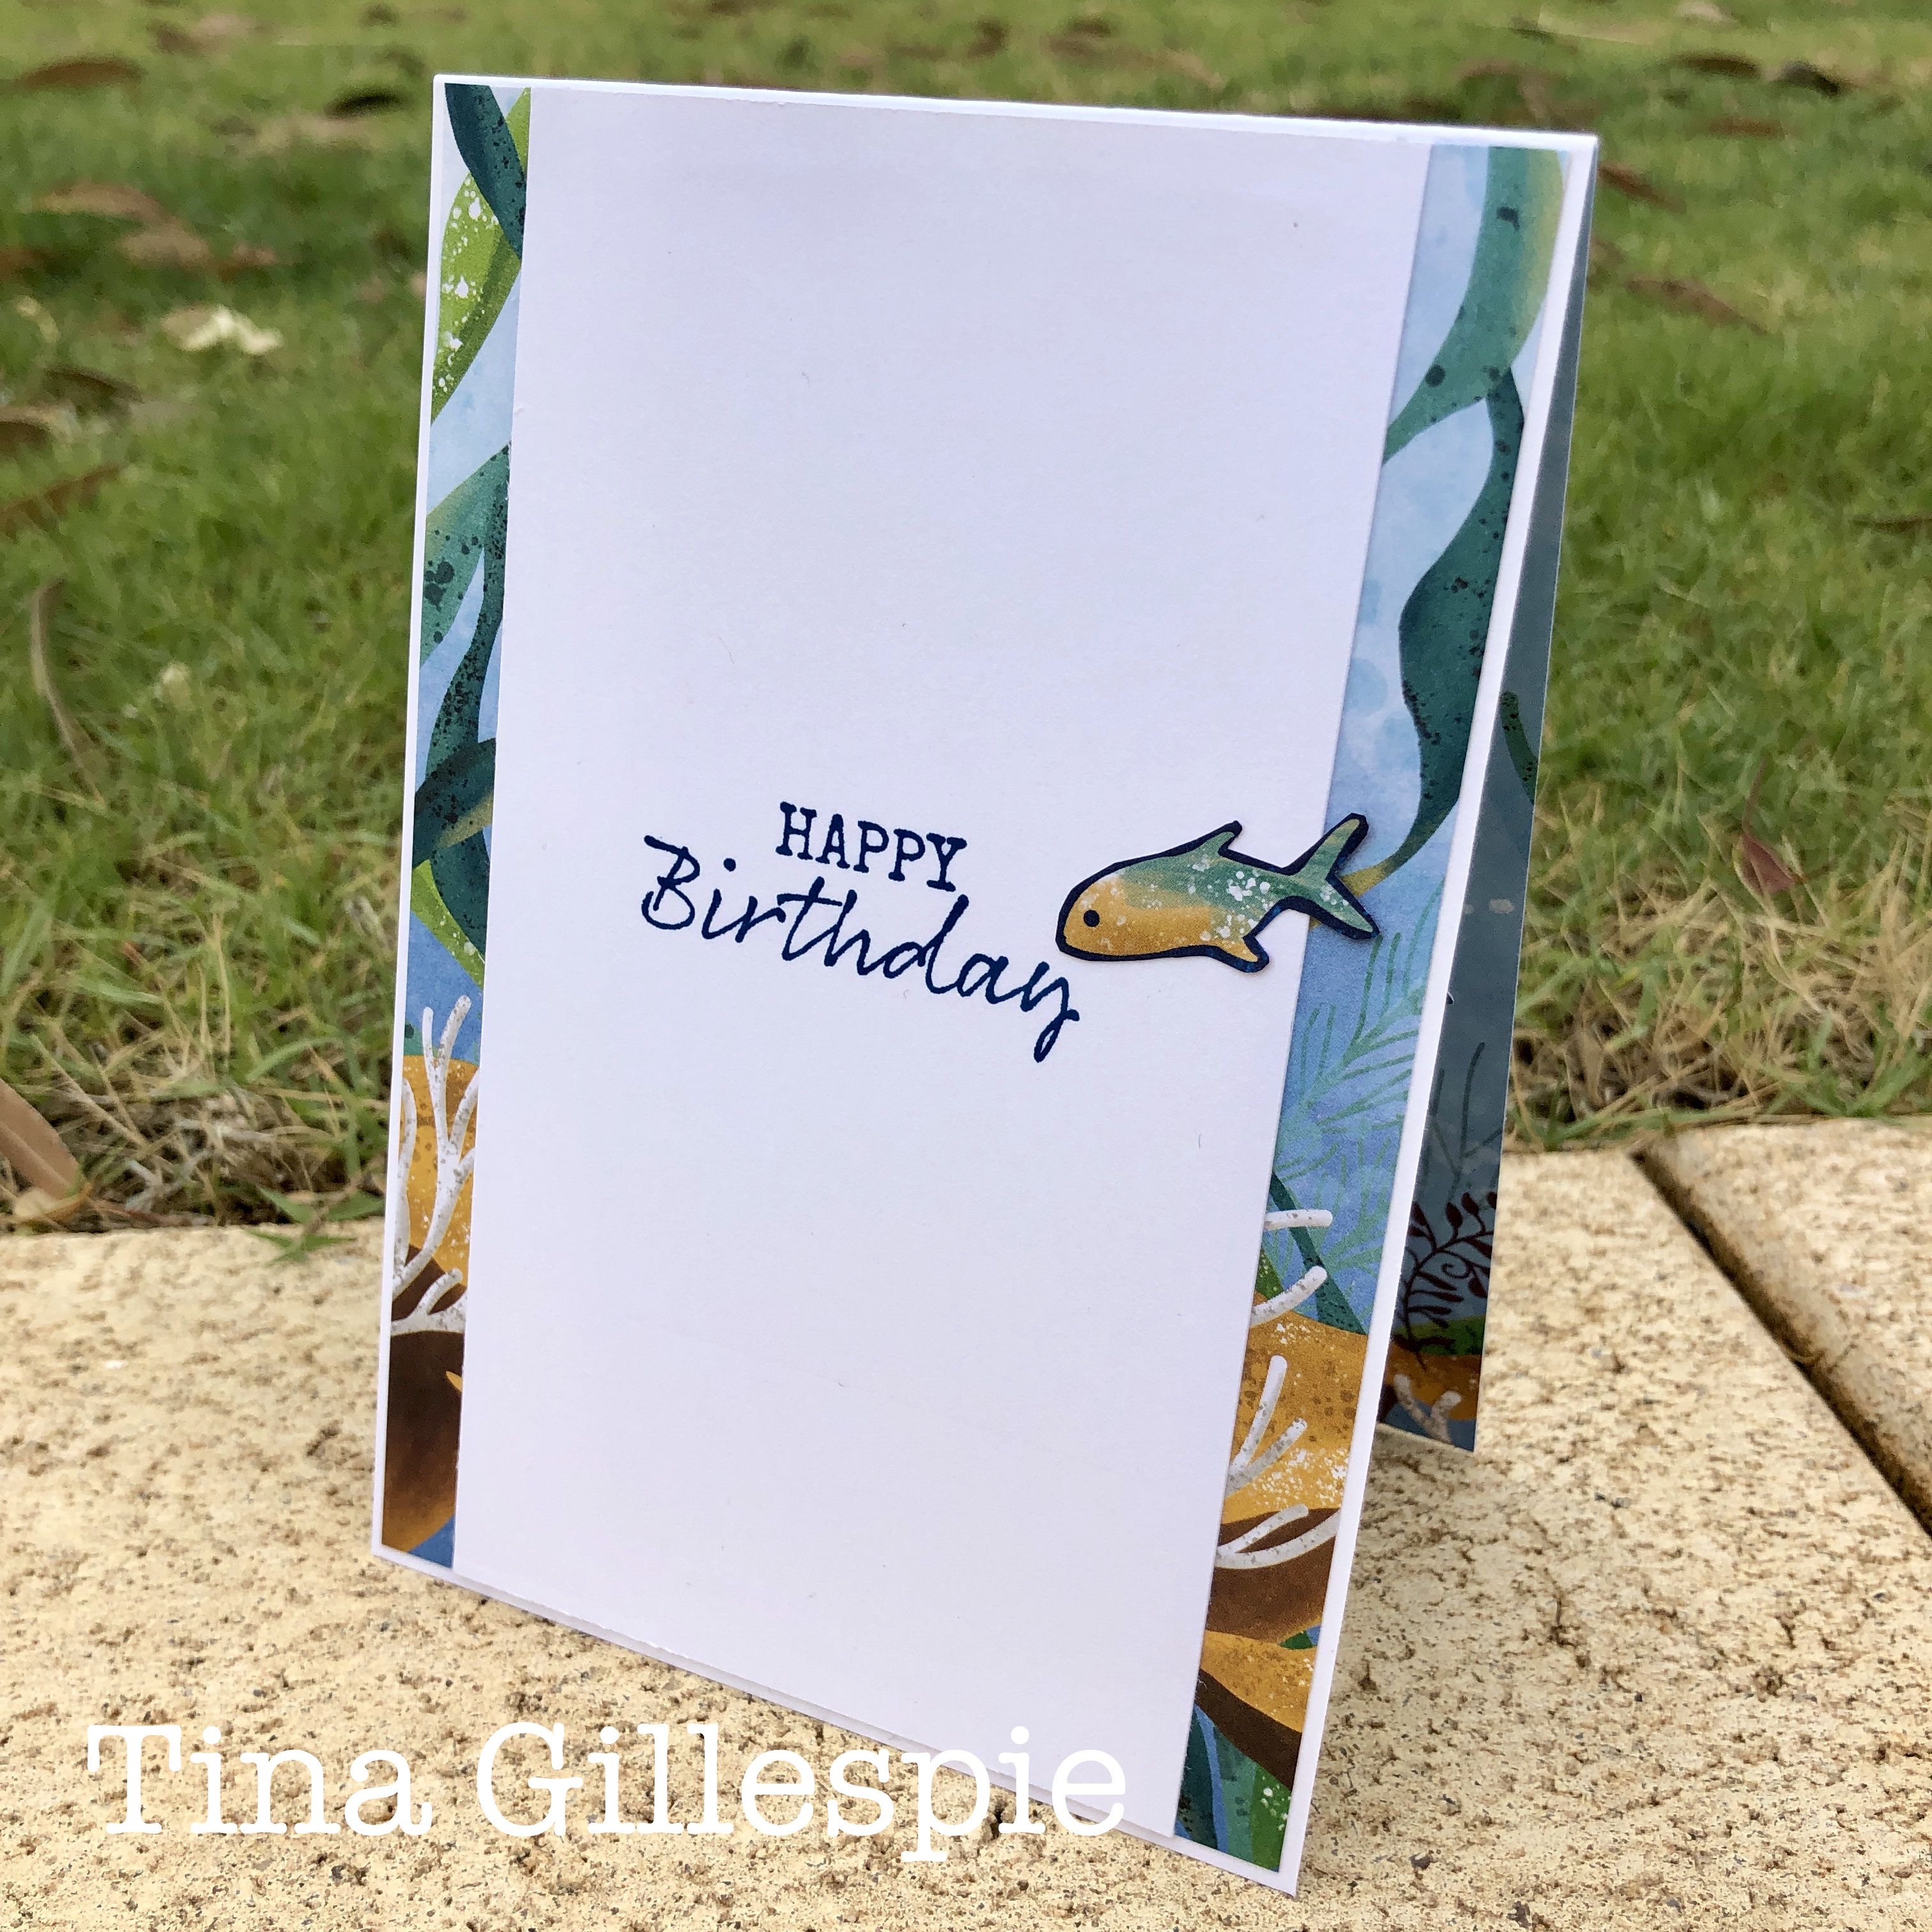
I decided to use the opportunity to crack open one of the DSP packs that I purchased in the recent DSP sale - Whale Of A Time DSP. I was really attracted to the scenes in the DSP, so that's the direction I went on my card. I actually came in 'under budget' on my supply list - I only used 4! They were the Whale Of A Time DSP, Thick Whisper White cardstock, Seaside Notions and my Pacific Point ink pad.

scissorspapercard, Stampin' Up!, Creative Showcase, Whale Of A Time DSP, Seaside Notions

I started by trimming the DSP to size and adhering it to a Thick WW card base. I trimmed an inch off either side of the DSP, as I wanted the beam of light at the top of the paper to stay in the middle of the card. Normally, I'd use a darker card base that coordinated with the DSP, but that would have been an extra item on my 5 supplies list. By making the DSP edge to edge, it doesn't matter what colour the base is!

scissorspapercard, Stampin' Up!, Creative Showcase, Whale Of A Time DSP, Seaside Notions

The fish were roughly cut from another sheet of the DSP and glued to some scraps of Thick WW, before being fussy cut and popped up on the front. I had planned to stamp the sentiments on WW, but they would have been a bit too glaring white. Instead, I stamped them on the water section of one of the pieces cropped from the sides of the DSP I used on the front. This way, they match perfectly! So that they matched the fish with the darker blue border, I glued the fussy cut sentiments to the dark blue part of the DSP that the fish came from. It's the sheet with the fish swimming around the edge. I then fussy cut them again to give the blue border.

Before I move on - did you catch the pun in the sentiment? Birthday 'fishes' to you! LOL!

scissorspapercard, Stampin' Up!, Creative Showcase, Whale Of A Time DSP, Seaside Notions

I had one last strip of DSP that I trimmed from the piece I used on the front of the card. I cut it in half and adhered one piece on either side of the inside, with a piece of Thick WW adhered over the top. It's a cool way to use a scrap, don't you think? I couldn't resist adding another little fishie!

It was a bit harder than I thought, making a card with limited supplies! I tend to make things up as I go along, but limited supplies requires a little more planning and thought. It was certainly fun to try though. I hope you're keen to see what the rest of the ladies participating in the Creative Showcase tonight have made. Pop on over to Rachel's blog, where you'll find the rest of this month's links.

Bye for now,

Tina

Wednesday, 11 November 2020

Colour Creations: Mango Melody

 Hi!


Thanks for joining me again for the new Colour Creations Creative Showcase. It's Mango Melody's turn to shine! It's a lovely orange that sits in the Brights Colour Family. I must say, it's overtaken Pumpkin Pie as my favourite orange.

scissorspapercard, Stampin' Up!, Colour Creations, Nothing's Better Than, Love You More Than Dies, Itty Bitty Birthday, Stitched Nested Labels Dies

I started with the Mango card base, sponging Mango ink through a mask to create the bubbles to fit in with my cocktail theme - I was hoping it would look like the bubbles in a fizzy drink. I realised later that it's a retired SU mask, but there's a similar one that is current that would work just as well. I sponged in an ombre pattern, so that it faded away towards the top.

scissorspapercard, Stampin' Up!, Colour Creations, Nothing's Better Than, Love You More Than Dies, Itty Bitty Birthday, Stitched Nested Labels Dies

I die cut three of the 'cocktails' words from the Love You More Than Dies and stacked them to get some dimension on the Stitched Nested Label Die cut. I curved the word as I adhered it to the label, just for something different! The cocktail image and stamped text is from the coordinating stamp set, Nothing's Better Than.

scissorspapercard, Stampin' Up!, Colour Creations, Nothing's Better Than, Love You More Than Dies, Itty Bitty Birthday, Stitched Nested Labels Dies

I added more bubbles on the inside to tie it in with the front, also fading them out as they go up the page, but much more quickly than on the front. The sentiment here is from Itty Bitty Birthdays, and I think it works perfectly with the cocktails theme!

That's all from me tonight, please pop on over to Catherine's blog for the rest of this week's Mango Melody cards.

Bye for now,

Tina

Sunday, 8 November 2020

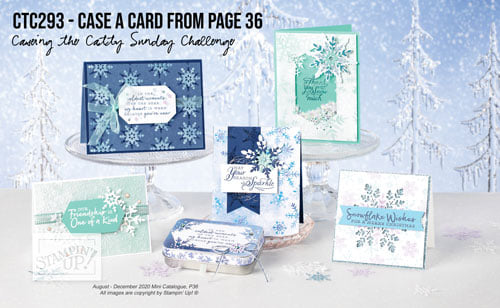
CTC #293: CASE A Card From Page 36

 Hi!


I'm back with you this week for the new CASEing The Catty Sunday Challenge Blog Hop. I had to miss last week, as my littlest boy had a few medical challenges. He's all good now though.


This week we are asking you to CASE a card from page 36 of the August - December Mini Catalogue. It features the Snowflake Splendor Suite of products. As pretty as they are, I don't have any of this suite, so I had to think a little bit out of the box.


I ended up choosing this card from the bottom left of the page to CASE, simply because of the ink blending. I do love an ombre background!

scissorspapercard, Stampin' Up!, CASEing The Catty, Peace & Joy, Joy To The World, Joy Dies, Winter Snow EF, Paper Pumpkin, Christmas

I had a piece of Whisper White card in my stash that had been embossed with the Winter Snow Embossing Folder when I had a stamping day with a friend recently. I used a blending brush to apply some Flirty Flamingo ink so that it was darker at the bottom and faded to white at the top. The original card has the fade going sideways, but I much prefer this way!

scissorspapercard, Stampin' Up!, CASEing The Catty, Peace & Joy, Joy To The World, Joy Dies, Winter Snow EF, Paper Pumpkin, Christmas

The 'joy' stamp and die is from the Peace & Joy bundle, but the wreath underneath is from the New Paper Pumpkin kit, Joy To The World. They work so perfectly together! I layered it over a piece of Silver Foil and Coastal Cabana cardstock, both cut into banners using my Banners Pick A Punch.

scissorspapercard, Stampin' Up!, CASEing The Catty, Peace & Joy, Joy To The World, Joy Dies, Winter Snow EF, Paper Pumpkin, Christmas

The inside sentiment is also from the Joy To The World kit. I really love the neat, handwritten style font. And it works perfectly side by side with Peace & Joy - you will be seeing a lot more of it on my blog!

There are five different cards and a cute little tin that you can choose from to CASE. Which one catches your eye? You can participate in our challenge by posting a photo of your project to our Facebook group.


In the meantime though, please do continue with the Blog Hop. Technically, I'm the last stop, but if you started in the middle you can hop on through to Monique's blog. Her card is so cute, you won't want to miss it!

Bye for now,

Tina

Thursday, 5 November 2020

JAI #530: Just Add Stamps, Ink, Paper

 Hi!


Hooray for Friday and the new Just Add Ink challenge! My two boys have pupil free days today, so it's nearly like having a long weekend. Poor Ada still has to go to school though - I might have to find a treat for her to have after school.


This week we are going back to basics! Rochelle has challenged us to just use stamps, ink and paper - no ribbon, embellishments, embossing or die cuts! I decided to use my Nothing's Better Than stamp set, mostly because it hasn't seen ink in far too long!

scissorspapercard, Stampin' Up!, Just Add Ink, Nothing's Better Than

I can't seem to use this set without reaching for retro colours. Today I've used Flirty Flamingo with Coastal Cabana and a tiny hint of Mango Melody. Such a fun colour combo!

scissorspapercard, Stampin' Up!, Just Add Ink, Nothing's Better Than

Seriously, who couldn't do with a cocktail right now? With ever-changing rules around COVID, trying to plan Christmas, kids finishing school (one completely) and a couple of medical issues - adulting sure is hard! 

I really love the way that the filler stamp for the cocktail glass has the ice cubes built into it - no need to stamp them over the top, or emboss them for the white lines. I fussy cut the image out, even though there's a die. That would be cheating for the purposes of this challenge though!

scissorspapercard, Stampin' Up!, Just Add Ink, Nothing's Better Than

I stamped the Samp cocktail on the inside - why change a good thing when you're on to a winner? LOL! The sentiment was made by using individual words from two different sentiments. Such a bonus of stamping with photopolymer stamps! It's a much quicker and easier process than with rubber stamps.

That's all from me for now, please do head on over to the Just Add Ink blog, where you will find the rest of this week's Design Team cards, and you can also link up your card for the challenge. Remember, just stamps, ink and paper!

Bye for now,

Tina

Wednesday, 4 November 2020

Colour Creations: Magenta Madness

 Hi!


Thanks for joining me for the new Colour Creations Creative Showcase. I nearly didn't make it in time for this week (it was a super crazy weekend), but thankfully I was just able to squeak in. The colour of the day is Magenta Madness, another of our new In Colours. It's a quite neon pink colour - definitely a bold choice!

scissorspapercard, Stampin' Up!, Colour Creations, Blossoms In Bloom, Many Layered Blossoms Dies, Silver Foil

I had these Silver Foil pieces left over from another card that I recently made. I'd used an Adhesive Sheet on the back, which kept all of the pieces in their correct place. I simply applied some Press'n'Seal to the front of the foil, flipped it over and removed the backing of the Adhesive Sheet and the flipped it again to adhere to the Magenta Madness card base. All I had to do then was (very carefully!) peel back the Press'n'Seal, making sure that the foil stayed in place on the card base.

scissorspapercard, Stampin' Up!, Colour Creations, Blossoms In Bloom, Many Layered Blossoms Dies, Silver Foil

I then used the same Many Layered Blossoms die to cut the Basic Black outline and adhere it over the top. I really love the drama of the colours. The sentiment, from the coordinating Blossoms In Bloom stamp set, was heat embossed in white on a strip of Basic Black, finished off with a few Magenta Madness Enamel Dots.

scissorspapercard, Stampin' Up!, Colour Creations, Blossoms In Bloom, Many Layered Blossoms Dies, Silver Foil

I had one sweet little bloom left for the inside. I'd already discarded the little silver pieces from the centre of the blossom, so I used my Light Magenta Madness Stampin' Blend to colour the inner sections.

That's all from me for tonight, now it's time to pop on over to Catherine's blog, where you will find the rest of this week's Magenta Madness links.

Bye for now,

Tina