Welcome to a new challenge from Just Add Ink!
This week Karren has challenged us to use stencils in our card making. There are so many ways to use stencils - you can use embossing paste with them, sponge or mist through them, or even brayer over them.
After a bit of thought, I decided to try a new to me technique. Not sure what it's called, but I really enjoyed it!
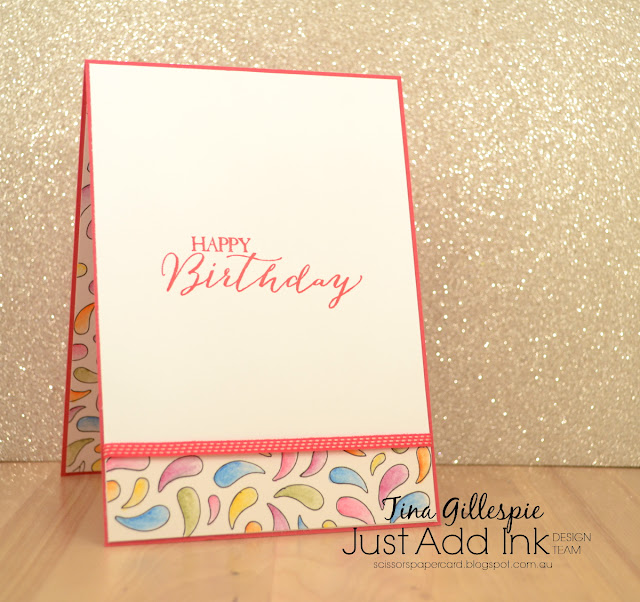
To get this look, I placed my stencil over some Shimmery White yardstick and then used my 0.01 Journaling Pen to outline each of the shapes in the stencil. It's a retired stencil from the last Holiday Catalogue in the Seasonal Masks pack. I then removed the stencil and used my Watercolour Pencils and Blender Pen to colour each shape.
I picked a point on my card, which was the top left corner. I used my Pencil to colour the section of the drop shape that was closest to that point, and then blended away from the point with the Blender Pen.
I used a small piece of Shimmer White that I've coloured the same way for the inside. I had only intended to trace a few of the drop shapes in each corner, but Ada insisted I needed to bring in the ribbon from the front of the card, so she made sure I did the inside 'right'. LOL.
The rest of the Design Team have had a marvellous time adding stencils to their cards this week. You can pop on over to the Just Add Ink blog to see what they've done. I hope we inspire you to play along with Karren's challenge this week.
Bye for now,
Tina


Wow! What an effective, & fun (I bet it was) effect you've achieved, Tina. I love all the colours...I totally need to give this a try. I'm with Ava, the inside looks great finished this way! x
ReplyDeleteOoh this is so bright and happy Tina with all those colourful drops filling the card. xxx
ReplyDeleteWow, Tina this is so soft and pretty! Outlining each droplet is such a striking effect and your colouring has added such a lovely softness them all. Such a lot of work but so worth it! xx
ReplyDeleteOMG Tina! That background is amazing! What an absolutely fabulous way to use a stencil - one I am now going to attempt. I love how you coloured each droplet and adore your colour combination, such a vibrant and fun card.
ReplyDeleteWow, this is gorgeous and such a great way to use a stencil! Love these colours you've chosen!
ReplyDeleteFabulous technique Tina - whatever it is called. I love the shading you achieved with the blender - gives such great depth.
ReplyDeleteLoving that effect Tina! Looks like a lot of work, but l can see how relaxing it would be. xx
ReplyDeleteThis is such a fab card and it makes me feel so happy. I think it's because I think of Jelly beans when I see it lol xx
ReplyDeleteThis is so colourful and so creative, nothing like a bit of down time spent colouring! Great technique!
ReplyDeleteYour card is so happy and colourful Tina! Love it 😄 x
ReplyDelete