Pages

Monday, 19 January 2015

Housewarming In A Hurry

Hi!

Today's card was one I made in about 10 minutes flat.  Rob was invited to a mate's housewarming party and I put off doing the card until the last minute, as I was a bit stumped for ideas.  Thankfully inspiration struck in the end.


Too easy, right?  I made this card  few months ago when all I had to represent houses was the What's Up punch.  Imagine how great it would look now if I'd used the new You Brighten My Day Sale-A-Bration set?  It includes a cute little house stamp that fits perfectly into this punch.  Oh well!


The stamp I used on the front comes from the Everyday Occasions Cardmaking Kit.  It's a great kit to get - if you use the kit as intended you can make 20 cards - more if you get a bit creative!


No sentiment is impossible when you have the Alphabet Rotary Stamp!

Bye for now,

Tina
Friday, 16 January 2015

Neutral Perfect Peacock

Hi!

Are you a lot like me? Do you waste spend a lot of time blog surfing and looking at cards on the Internet?  Sometimes too much time? Sigh....

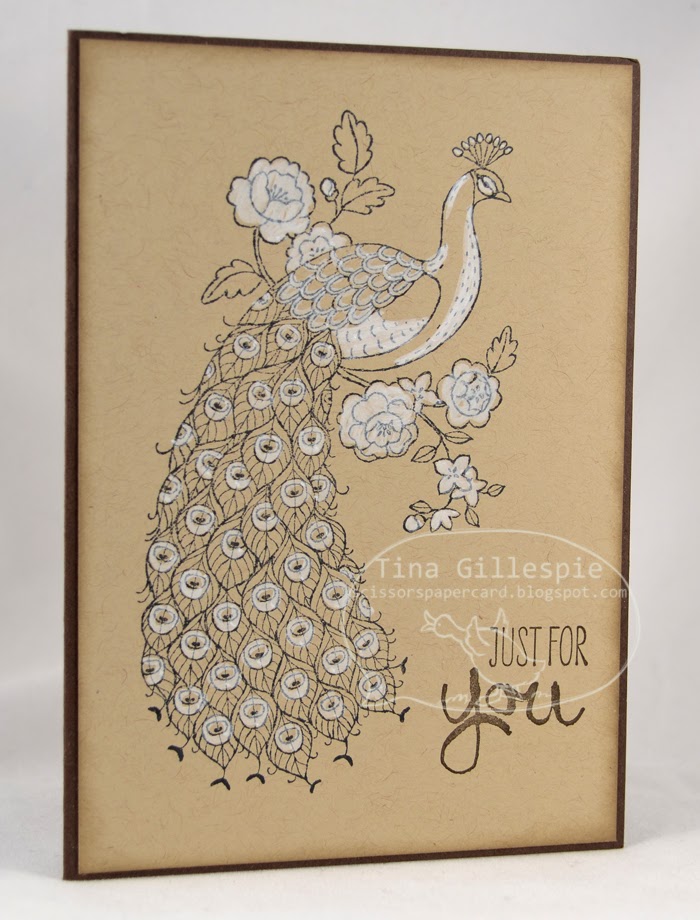
Often it is worth it as you find a lovely card to CASE.  The card I'm showing you today was made as a sample for a card class.  I found it while blog browsing, and it proved to be a popular one for my class ladies.


You can see the original card here. Sue is, in fact, my upline and I quite enjoy browsing her blog! There were a few differences, but only minor.  Sue coloured her card using a Blender Pen and Whisper White Craft Ink.  I used the Chalk Marker on mine.  I also stamped my sentiment straight onto the card, while Sue used some punches.


It's such a gorgeous stamp that it really doesn't need much to make it spectacular.


We stamped the peacock again on the inside in Crumb Cake ink on Crumb Cake cardstock to give a lovely, subtle image.  I think it looks really pretty.

Bye for now,

Tina

Wednesday, 14 January 2015

Love Is Kindness

Hi!

One of the first stamps that caught my eye in the new Occasions Catalogue was the single stamp Love Is Kindness. I thought it was really pretty and would make a feature on a stamp without much else on the card. Having said that, the first card I made with it used quite a lot of new product!


Isn't it great?  I carried over the newspaper theme to the background, by using the Dictionary Background stamp.


I coloured the tulip image using some of the new Blendabilities - Pink Pirouette and Wild Wasabi.  I also used the Smoky Slate set to create some highlights on the newspaper.  I'm loving the new, softer colours in the Blendabilities.


As I made this card I thought that it would make a great Mother's Day card too.  I wanted to test out the theory, so I made a second card.


I used the retired For My Family stamp set for the sentiment on the second card.  What do you think? Is it better as a birthday card or a Mother's Day card?

Bye for now,

Tina

Monday, 12 January 2015

Shabby Chic Cards

Hi!

Last year in one of my card classes I had a request for a shabby chic card.  It's not a style I make often, but it is a style I enjoy doing, so I was quite happy to grant the request.


I used the Lullaby DSP pack to provide the background and colour scheme for the card.  I'm a bit of a fan of pink and brown colour schemes - in this case it was Baked Brown Sugar and Crisp Cantaloupe.


We stamped with the two best sets for shabby/grungy cards - Gorgeous Grunge and Work Of Art.  Shabby Chic also requires a feminine touch, hence the butterflies, doily and pearl.


The inside was finished off with a sentiment from Remembering Your Birthday and some more butterflies.


I liked the card so much that I decided to make a second version, this time using the Gold Soiree Specialty DSP as a background.  I'm not sure which one I like best.  What do you think?

Bye for now,

Tina

Friday, 9 January 2015

Work Of Art Sunflower

Hi!

It seems a little strange to be posting something on a Friday that isn't a Just Add Ink challenge.  The Design Team are having a well-earned break and will return later in the month, but I'm just getting back into the swing of regular blogging and I didn't want to stop the momentum.  So today I have for you a card I made as a RAK for a friend.  What's a RAK? It's a Random Act of Kindness - a card out of the blue for no reason at all other than to let someone know you are thinking of them.  Guaranteed to put a smile on the recipient's face!


This was the first card I made when I received my Work Of Art stamp set.  I've seen cards like this around the 'net heaps, so I can't remember which specific one I CASEd unfortunately.


I really love the effect of the 'halo' around the centre of the flower.  Not quite sure how I managed that, but hey, I think it's great!


I used the Hostess set Hello There to create another, far smaller sunflower on the inside.  I had someone in mind when I made this card who loves sunflowers so it was really a no-brainer to include as many as I could on the card!

By the way, she loved the card.

Bye for now,

Tina

Wednesday, 7 January 2015

Some Embossed Kissing

Hi!

I'll bet you're thinking 'huh?' over the post title right? My stamping ladies did the same thing when I introduced them to the technique a couple of months ago.


In this card it is the focal tree that is Embossed Kissed. It's a pretty simple technique really. You just ink up a solid stamp in one colour and a fairly closed design embossing folder in another colour and then smooch the two together.


The ink on the embossing folder transfers to the stamp so then you can stamp on cardstock and get a really cool effect.  The only downside is that you need to clean both the stamp and the embossing folder each time you stamp - so not a great technique for mass produced cards!


Why don't you give Embossed Kissing a go? It's a lot of fun trying out different stamp/embossing folder combinations.  I used Festival of Trees, Decorative Dots, Garden Green and Cherry Cobbler.

Bye for now,

Tina

Monday, 5 January 2015

Creeper Card

Hi!

Do you have young children? If so, you're bound to know what Minecraft is.  My children play it lots.  Over the Summer holidays they have played it lots and lots. They talk to me about it lots too.  How about your children?  Anyway... Alex was invited to a mate's birthday party so I took the opportunity to make a punch art Creeper Card.


It's really easy to make, you just need a heap of different shades of green cardstock punched into 1 inch squares. I arranged them randomly to create the background.  I made this card ages ago, but I think I used Garden Green, Wild Wasabi, Old Olive and Pistachio Pudding.


I then used the 1 inch punch to create the face from Basic Black cardstock.  It took a bit of trial and error to get what I guess is the mouth bit right, but I did eventually.


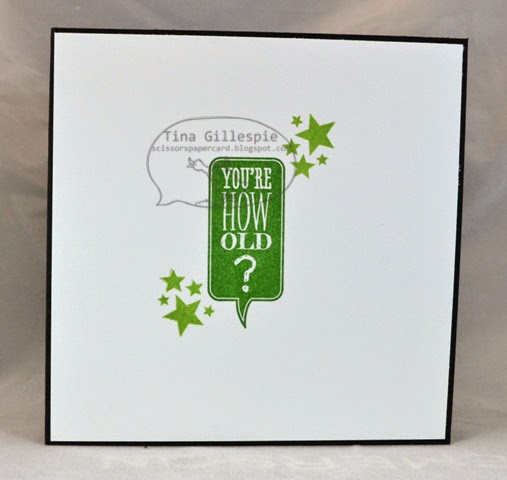
Kids are a bit obsessed with their age, so I thought that this stamp was perfect for the inside!

Bye for now,

Tina