
Today I have for you a fun set of cards that I CASEd from Leonie Schroder. I saw them on a demo Facebook group and thought they looked so fresh and fabulous - I just had to CASE them right away! Leonie CASEd the cards from Jennifer McGuire, who called it the Four From One technique.

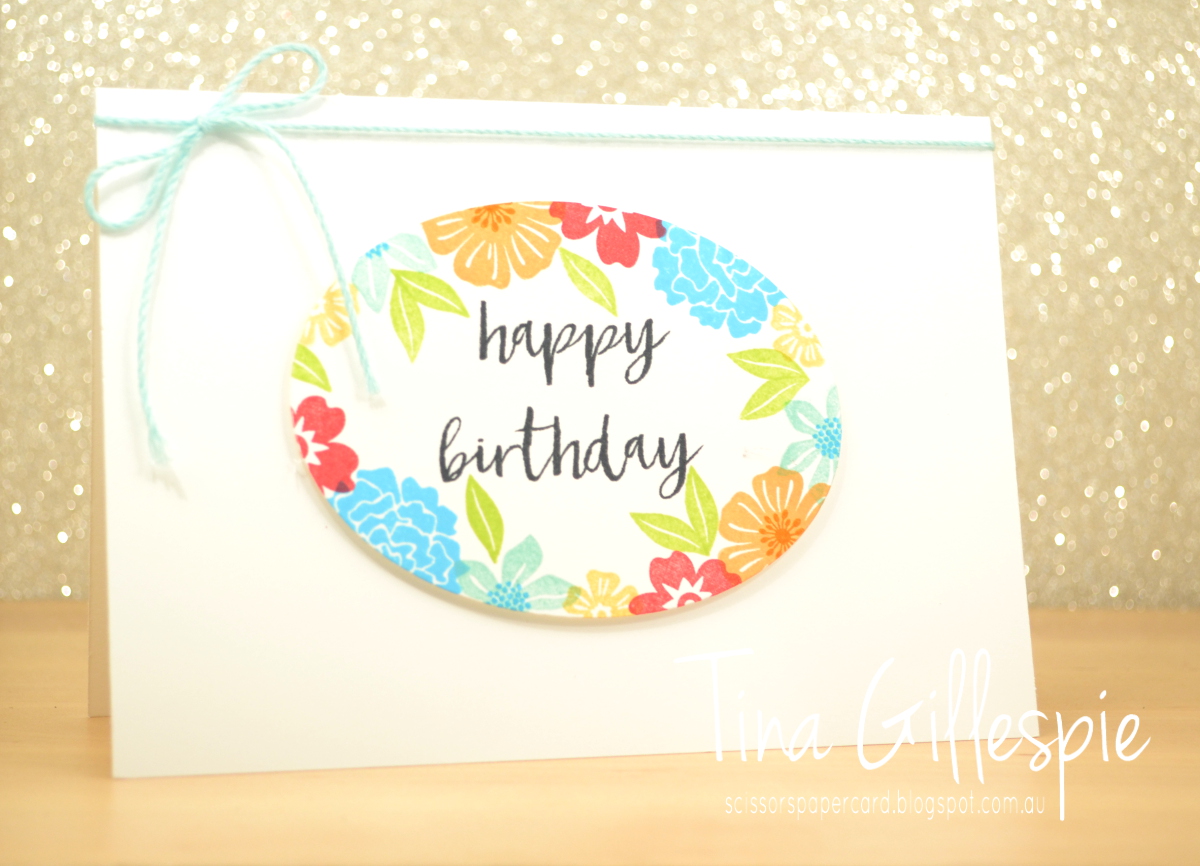
Basically, you cut one card front and die cut a shape into it. Jennifer and Leonie used hearts, but I went for an oval.
You then need to cut four card bases. I cut them from Thick Whisper White, and cut two in landscape orientation, and two in portrait orientation.

You then adhere the two pieces from the card front to two of the card bases using temporary adhesive. In my case, this was the oval and the card front with the oval hole. Next, you stamp around the shape, making sure that half the stamp is on either side of the edge of the shape.
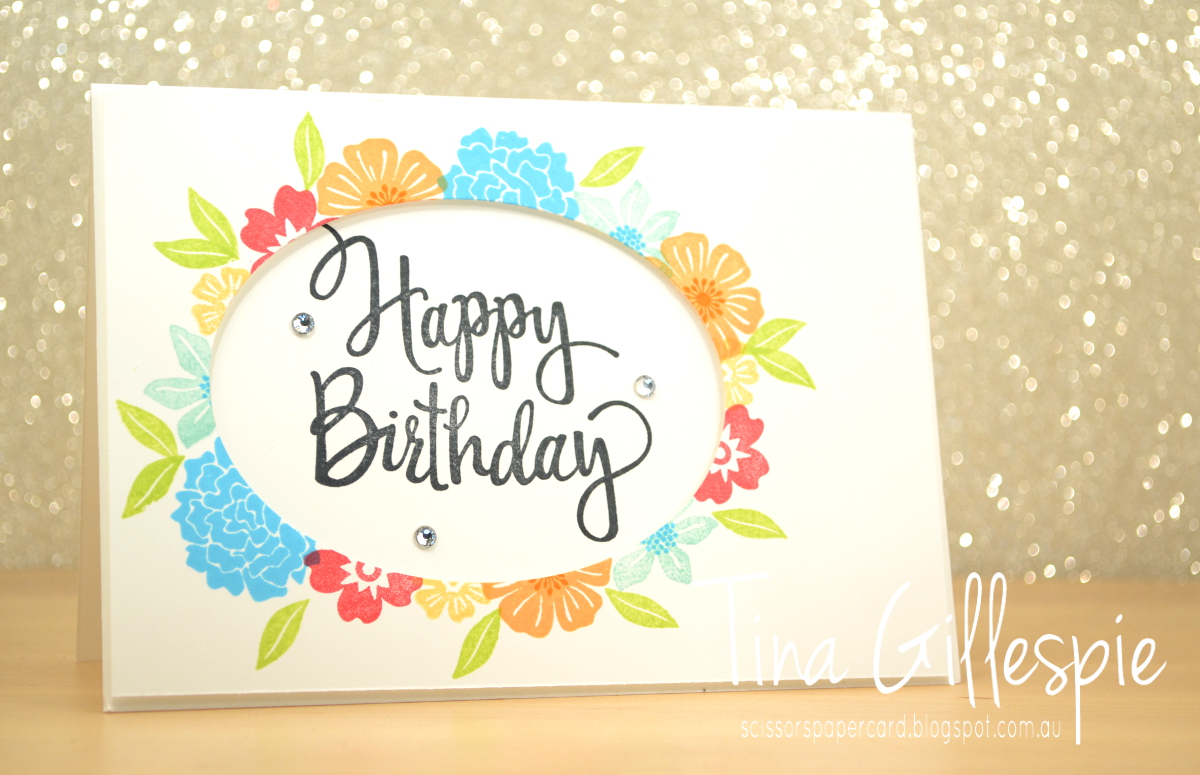
Once you've finished stamping, you carefully peel apart the layers. You should be left with two card bases that have been stamped, and tow pieces of card front that have also been stamped. On two pieces the stamping is on the outside of the oval, and on the other two, it's on the inside. All that's left to do is stamp the sentiments and assemble the two also cards. Oh, and embellish, if required.

I can't forget to stamp the insides either!

Here are the four cards together. If you look closely, you can see that the top and bottom card fronts were stamped together, and the two side cards were stamped together. It really is a super fun technique to try!
Bye for now,
Tina
No comments:
Post a Comment
Thanks for taking the time to comment. I really appreciate it.
In line with new Data Protection legislation (GDPR) by commenting you do so in the knowledge that your name & comment are visible to all who visit this blog and thereby consent to the use of that personal information for that specific purpose.