Pages

Showing posts with label Well Written Dies. Show all posts

Thursday, 13 May 2021

May Creative Showcase: New Annual Catalogue

 Hi!


Thanks for joining me for this month's Creative Showcase. Naturally, as the new Annual Catalogue began this month, we are focussing on products from that catalogue. I've been a bit slow off the mark with ordering from the catalogue, but I couldn't resist the gorgeous What A Year Memories & More card pack.

scissorspapercard, Stampin' Up!, Creative Showcase, What A Year Memories & More, Stitched So Sweetly, Brick & Mortar EF, Playful Alphabet Dies, Well Written Dies, Peaceful Moments

My sister recently purchased her first home, and so I thought that I would use one of the cards to make her a card of congratulations. This cute little card with the house was the perfect choice! The new Polished Pink cardstock was cropped using the largest Stitched So Sweetly die, and then I trimmed the card to fit inside the stitched line.

scissorspapercard, Stampin' Up!, Creative Showcase, What A Year Memories & More, Stitched So Sweetly, Brick & Mortar EF, Playful Alphabet Dies, Well Written Dies, Peaceful Moments

The only current embossing folder that I have is the Bricks & Mortar folder, which I thought was an apt choice for the background. The word home was cropped from Whisper White cardstock with some Foam Adhesive Sheet attached to the back using the Playful Alphabet Dies. I used the retired Well Written Dies for the cute little heart in the centre of the 'O'.

scissorspapercard, Stampin' Up!, Creative Showcase, What A Year Memories & More, Stitched So Sweetly, Brick & Mortar EF, Playful Alphabet Dies, Well Written Dies, Peaceful Moments

Nice and simple on the inside, with just the Congratulations sentiment from Peaceful Moments in Polished Pink ink. I didn't think we needed another bright pink in our range, but I am coming to like this pink!

You'll find the rest of the links for this month's Showcase over on Rachel's blog.

Bye for now,

Tina

Sunday, 21 February 2021

CTC #306: Bring The Bling

 Hi!


Phew! Where did that week go? I swear it was only a day or so ago that I was writing last week's CTC post! This week we are asking you to Bring The Bling - or in other words, to CASE a sparkly project!


There are lots of sparkly things in the Jan-June Mini, including the new Gilded Leafing,  Specialty Acetate, embellishments and Foil papers. I chose this card from the Bundles section of the Mini, as it has Gold Embossing.


I really loved how the images was stamped and chopped and put back together again. Whoever made this card is a very patient person! I am not, so I cheated and gained a similar effect by using a die cut over the chopped up background.

scissorspapercard, Stampin' Up!, CASEing The Catty, Sunflowers Dies, Well Written Dies, Well Said, Pearlescent Specialty Paper, Subtle 3DEF

The Sunflowers Dies had the best outline image in my collection for this sort of card. I cropped the outline from Basic Black cardstock and layered it over the top of my chopped up background. The word 'friend' was cropped four times and stacked to give a more dimensional sentiment.

scissorspapercard, Stampin' Up!, CASEing The Catty, Sunflowers Dies, Well Written Dies, Well Said, Pearlescent Specialty Paper, Subtle 3DEF

You might be saying 'but where's the bling?' The background paper is the new Pearlescent Specialty Paper. It has a gorgeous, subtle shimmer, but is very hard to photograph! The centre of the sunflower is also cut from the paper. 

scissorspapercard, Stampin' Up!, CASEing The Catty, Sunflowers Dies, Well Written Dies, Well Said, Pearlescent Specialty Paper, Subtle 3DEF

I had a couple of sunflower leaves that I'd also cut from Basic Black cardstock that I'd planned to try to use on the front of the card. I didn't like the look, so I used them on the inside instead. I'm not sure what I'll use this card for - it's probably more of a 'thinking of you' card than a birthday card.

Our challenge is run through our Facebook group. All you need to do is make your bling card, take a photo and add it to the group. Done!


But please do continue on with this week's Blog Hop before you dash off to get creating! Next up is the wonderful Rebecca, who has made a gorgeous card using a sparkly product that I considered using too.

Bye for now,

Tina

Sunday, 31 January 2021

CTC #303: CASE The Sale-A-Bration Catalogue

 Hi!


Thanks for joining me for the new CASEing The Catty Sunday Challenge Blog Hop. I nearly missed the deadline for this, as the Australia Day public holiday has thrown my week right out! Does that happen to you, especially when the holiday is in the middle of the week?


This week we are challenging you to CASE any project from the Sale-A-Bration Catalogue. It's a lot smaller than the Mini or the Annual, but it is still chock a block full of gorgeous projects to CASE.


I'm still in a tricky mood, so once again I started flicking from the front of the catalogue. This little gift box on the third page caught my eye because it uses flowers that are die cut from DSP rather than cardstock or stamped images. I think it's really clever, and a great way to get slight variations in colour without the mess of watecolouring or smooshing, or other techniques.

scissorspapercard, Stampin' Up!, CASEing The Catty, Perennial Petals Dies, Well Written Dies, Stitched Nested Labels Dies, Dainty Diamonds 3DEF, Ice Cream Corner DSP

The sample used flowers cropped from the Sale-A-Bration freebie DSP, Paper Blooms. I don't have that DSP, but the Ice Cream Corner DSP has pages with similar patterns. I'm guessing so that you can punch some ice cream shapes from it, but flowers and leaves work just as well! I used my Perennial Petals Dies to crop the flowers and leaves from the DSP. The white loopy bits layered over the flowers were cropped from Whisper White cardstock. A Rhinestone finished off each flower.

scissorspapercard, Stampin' Up!, CASEing The Catty, Perennial Petals Dies, Well Written Dies, Stitched Nested Labels Dies, Dainty Diamonds 3DEF, Ice Cream Corner DSP

I used my Dainty Diamonds Embossing Folder for the background, and my Well Written and Stitched Nested Labels Dies for the sentiment panel.

scissorspapercard, Stampin' Up!, CASEing The Catty, Perennial Petals Dies, Well Written Dies, Stitched Nested Labels Dies, Dainty Diamonds 3DEF, Ice Cream Corner DSP

Another flower and strip of embossed card finished off the inside. I didn't stamp anything on the inside - in fact, there's no stamping at all on this card!

What inspires you from the Sale-A-Bration Catalogue? I can't wait to see what you make. Just add your photo to our Facebook group.


Before you dash off the get stamping, please do finish our Blog Hop! Next up is the lovely Sandra with her super adorable card! Hop on over *wink*!


Bye for now,

Tina

Thursday, 21 January 2021

AWH January Creative Showcase: New Catalogues

 Hi!


Thanks for joining me for the first monthly AWH Creative Showcase for 2021. This month we are focussed on the two new catalogues: The January-June Mini Catalogue, and the Sale-A-Bration Catalogue. There is a wealth of inspiration and gorgeous product in both. 

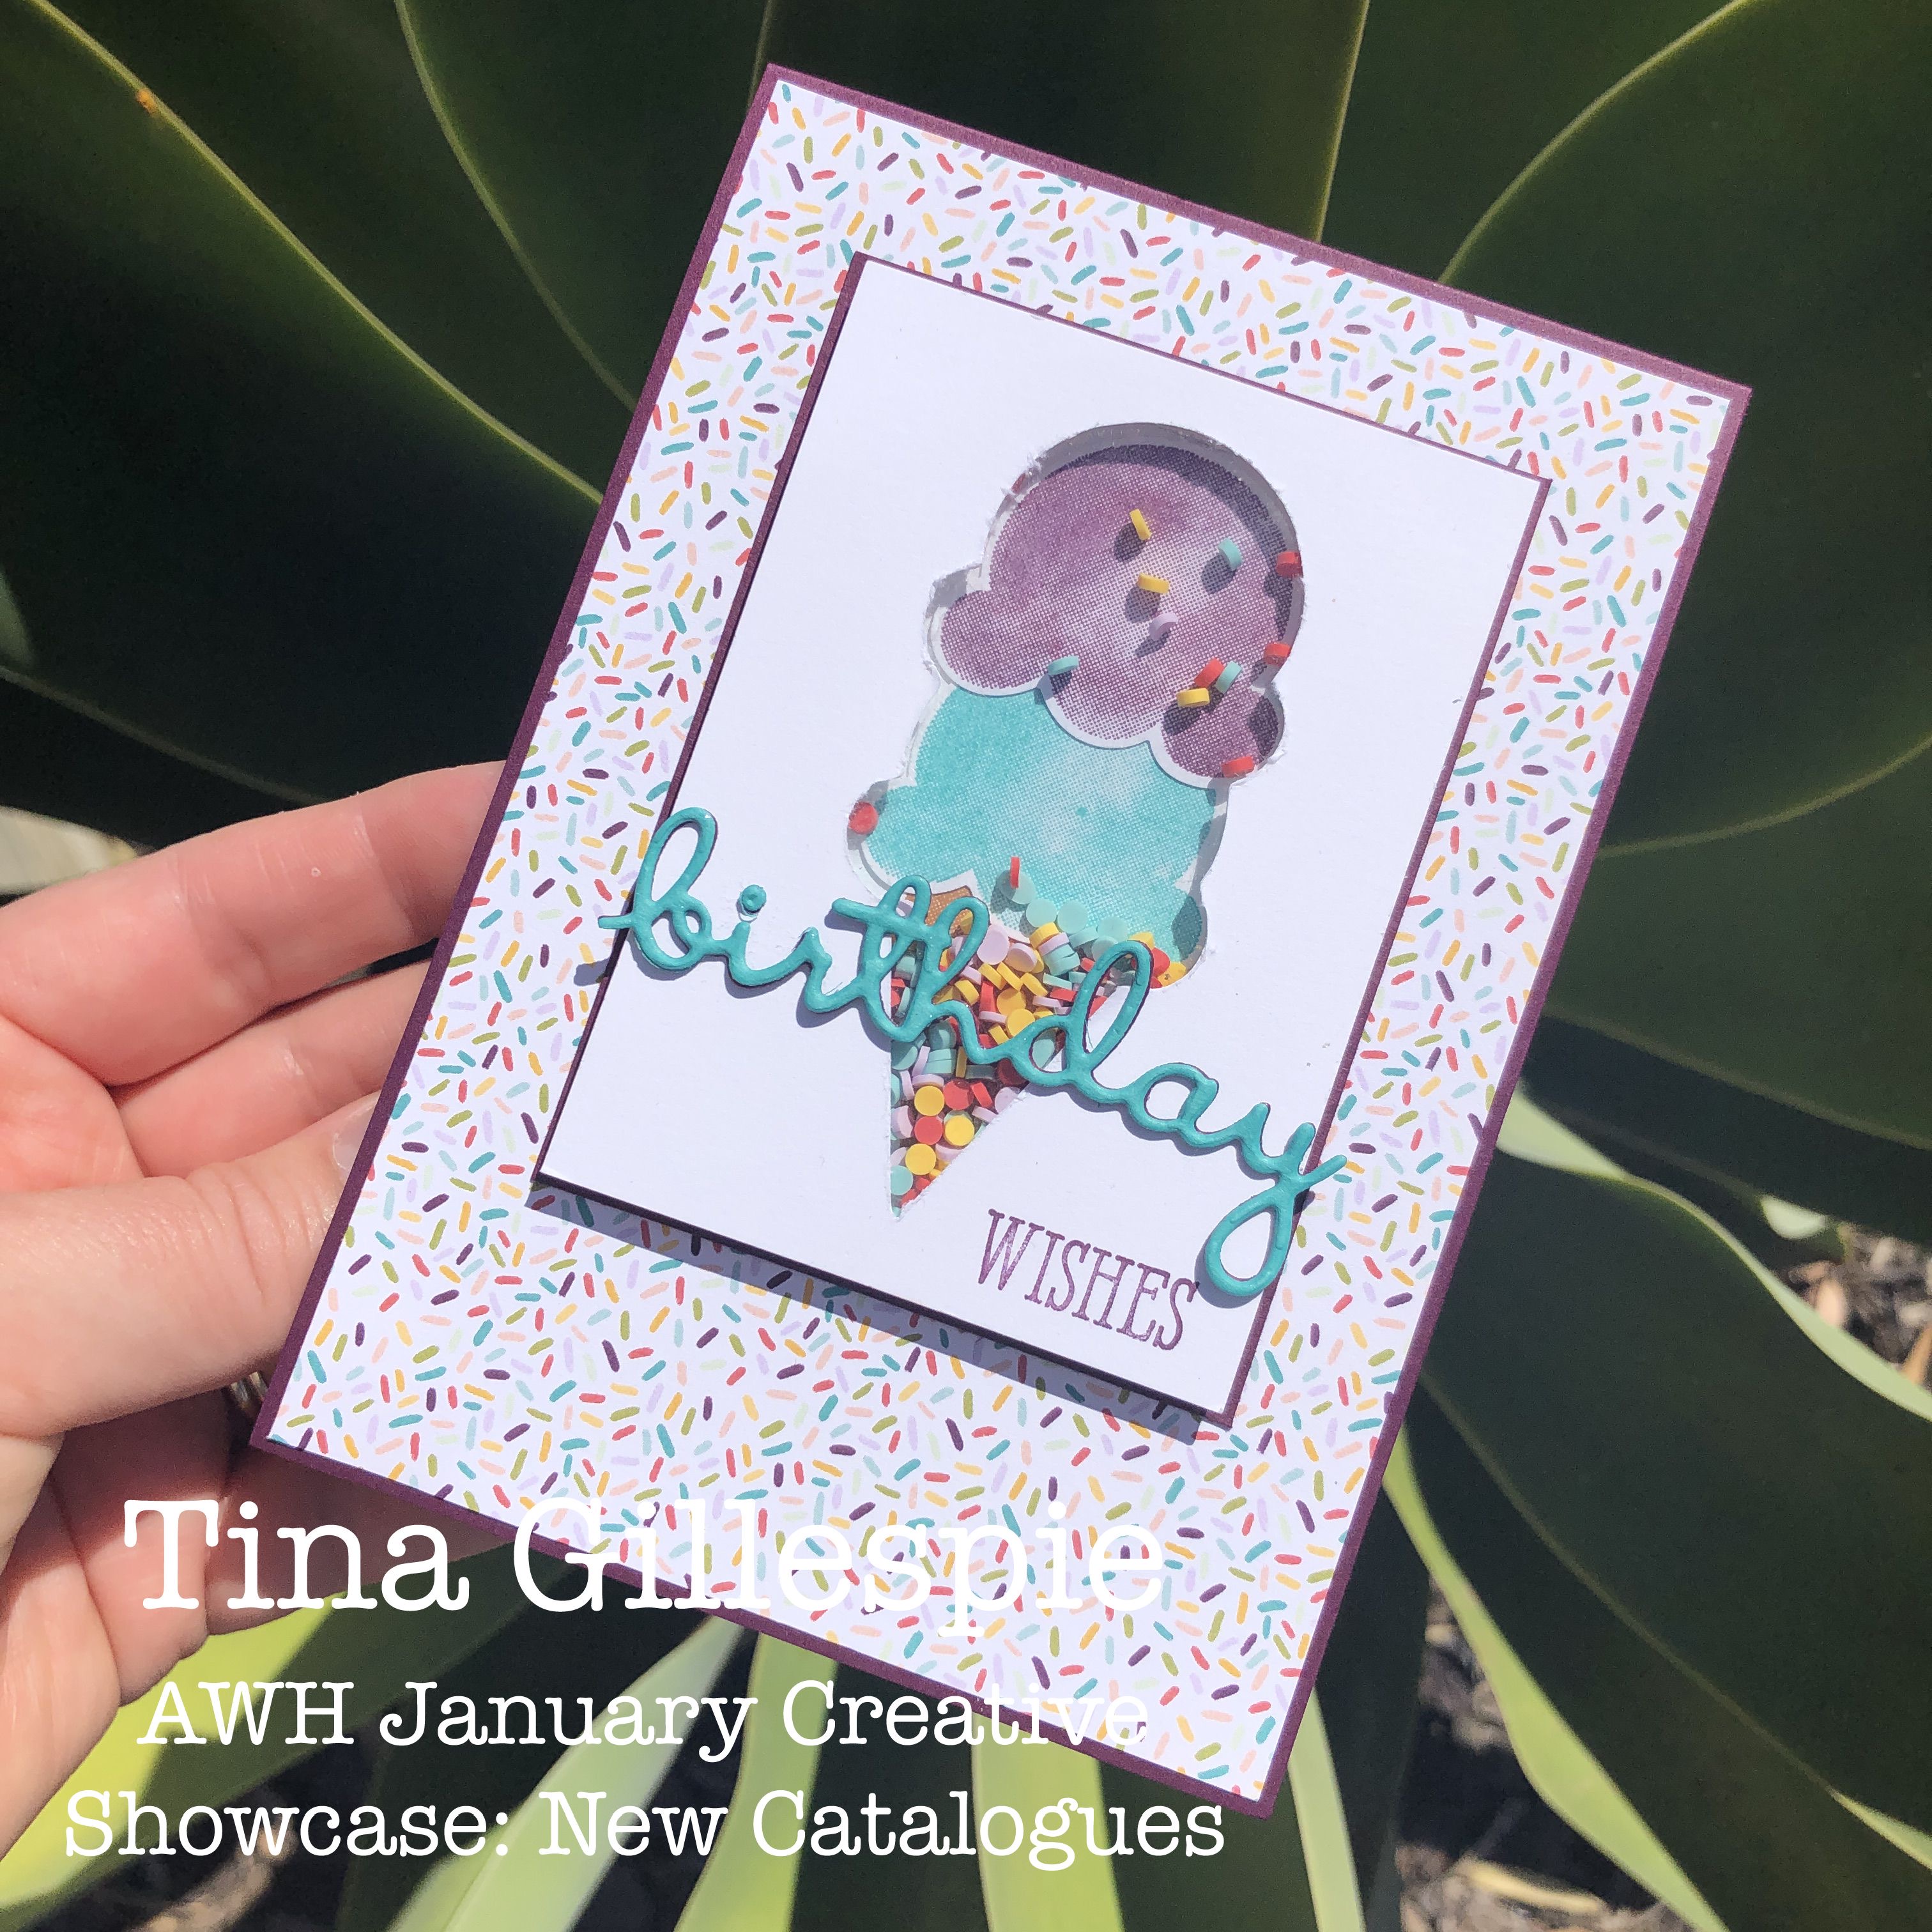
A couple of months ago, when I first saw the catalogue, my eye was immediately caught by the new Ice Cream Corner Suite. It's rare that I buy a whole suite, but I couldn't resist this one. I especially like the cute Ice Cream Corner Sprinkles. They aren't sequins, but more a tiny rubbery disc. They look cute glued on as sprinkles on an ice cream, but I wondered how they'd go in a shaker card.

scissorspapercard, Stampin' Up!, Creative Showcase, Sweet Ice Cream, Well Said, Ice Cream Corner DSP, Well Written Dies, Shaker Card

Wonder no more - they are great! They don't have the static issues that a lot of other shaker 'fillers' have. To create the opening for my shaker element, I punched some of the ice cream shapes and used temporary adhesive to hold them to my Thick Basic White Cardstock. I used my electronic cutting machine to scan the shape and then cut it out. If you don't have a machine, you could trace around the shape with a pencil and use your Snips to cut it out.

scissorspapercard, Stampin' Up!, Creative Showcase, Sweet Ice Cream, Well Said, Ice Cream Corner DSP, Well Written Dies, Shaker Card

The trickiest part was getting the ice cream and the cone I'd stamped and punched for the back of the shaker lined up with the opening. This is where liquid glue is very handy, as it gives you time to adjust the position of the piece. I finished the front with a die cut from Well Written Dies. You may see that I tried it first in Blackberry Bliss, but I didn't like it so I just adhered a Bermuda Bay die cut over the top. The Blackberry layer is a bit like a shadow.

scissorspapercard, Stampin' Up!, Creative Showcase, Sweet Ice Cream, Well Said, Ice Cream Corner DSP, Well Written Dies, Shaker Card

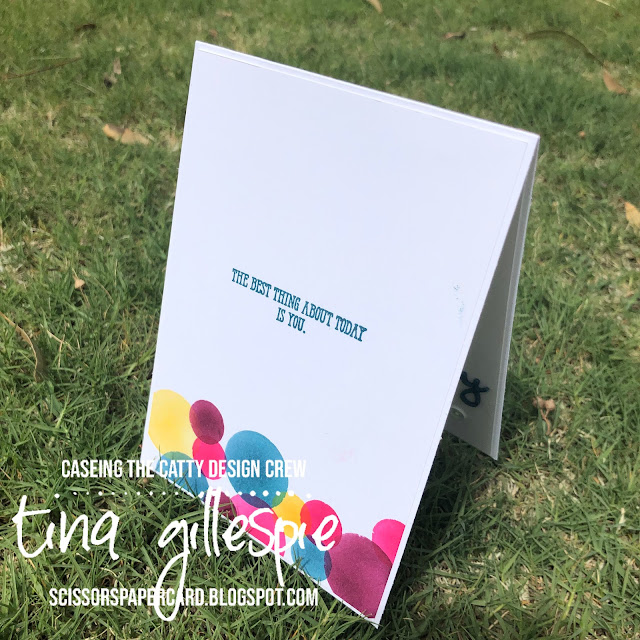
Hehe, I couldn't help but use this combination of sentiment and sprinkles on the inside. It was just too cute to resist!

That's all from me for tonight, but please pop on over to Rachel's Blog, where you'll find the rest of the links for this months' Creative Showcase. There's lots of wonderful ways to see the new products used.

Bye for now,

Tina

Sunday, 18 October 2020

CTC #290: CASE The Colours of Plaid Tidings DSP

Hi! 

Thanks for joining me on a Sunday evening for the new CASEing The Catty Sunday Challenge Blog Hop. This week we are CASEing the colours of the Plaid Tidings DSP.


There are a lot of colours in the DSP, so there are plenty to choose from! I decided to go with some of the more jewel-like colours of Mango Melody, Melon Mambo, Rich Razzleberry and Pretty Peacock.

scissorspapercard, Stampin' Up!, CASEing The Catty, Well Said, Well Written Dies

I created a template from a piece of Window Sheet by die cutting a couple of circles from the sheet. I used the retired Circles Dies, as the smaller circles were the size I was after. I then just used blending brushes to apply the ink to the cardstock through the template. It's really interesting how the colours interacted where they overlapped.

scissorspapercard, Stampin' Up!, CASEing The Catty, Well Said, Well Written Dies

I cropped three of the 'birthday' dies, from my Well Written Dies, and stacked them to give them depth. I made sure I added a piece of Adhesive Sheet to the back of the Pretty Peacock cardstock before cutting so that I could layer them quickly and easily, without the fuss of liquid glue.

scissorspapercard, Stampin' Up!, CASEing The Catty, Well Said, Well Written Dies

I created the inside at the same time as the front so that I didn't have to keep cleaning the template. I can be a really lazy (or is it efficient?) crafter at times! The stamped sentiments (both on the front and inside) are from Well Said.

EDIT: I was asked about the Window Sheet template that I'd made to use in the creation of my circles. I just used circle dies to cut holes in the Window Sheet, and then applied the ink through the openings. I then shifted the template to add more circles, cleaning between each colour that I used. I hope that helps to explain a little better!


Our weekly challenges are so easy to enter - you just need a Facebook account. Make your card, join our Facebook group if you haven't already done so, and add your photo to the group. Done! We'd love to see what you make each week for our challenges.


I'm officially the last stop on the blog hop this evening, but if you've started part way though you can go back to the start to see what the lovely Siobhan has made. If I'm the last stop for you, go get creating!

Bye for now,

Tina

Wednesday, 1 July 2020

Colour Creations: Blushing Bride

Hi!


Thanks for joining me once again for the new Colour Creations Showcase. This week we are looking at the second Subtle on the alphabetical list of colours - Blushing Bride. It's a soft pink, that I'd describe as dusty pink. What about you?

scissorspapercard, Stampin' Up!, Colour Creations, Stitched be Mine Dies, Well Written Dies, Subtle 3DEF, Shimmer Paint

I recently purchased the Be Mine Stitched Dies, mostly because they were the old style dies and were fairly heavily discounted. I don't make many hearts cards, but they are handy to have on the odd occasion that I really need them. Blushing Bride week seemed to be a good week to crack them open for the second time. The connected hearts die that I've used was the die that appeals to me most in the set. I cut it four times from Blushing Bride cardstock and then glued them together in a stack. I'd originally planned to sponge some Blushing Bride ink on Whisper White card and lay the hearts over the top, but at the last minute I changed my mind.

scissorspapercard, Stampin' Up!, Colour Creations, Stitched be Mine Dies, Well Written Dies, Subtle 3DEF, Shimmer Paint

I used some gorgeous Frost White Shimmer Paint on a layer of Subtle embossed Blushing Bride card instead. It looks so pretty in real life, but is very hard to photograph! I used some Whisper White backed with an adhesive sheet to cut the word 'love' from the Well Written dies. There was a bit of card left over, so I cropped a few little hearts from the WW and inset them in the linked hearts.

scissorspapercard, Stampin' Up!, Colour Creations, Stitched be Mine Dies, Well Written Dies, Subtle 3DEF, Shimmer Paint

I purposely let the inside without a sentiment, as it's a more versatile card that way. I cut the linked hearts once again from Blushing Bride, but this time I left the hearts intact. I already had a million of them left over from the front, and I liked the way that it looked with the hearts still in place.

That's all from me this week! Time now to pop on over to Catherine's blog to see what the rest of the team have got up with with Blushing Bride.

Bye for now,

Tina