Pages

Showing posts with label Bloomin' Love. Show all posts

Monday, 16 October 2017

A Beautiful Bouquet CASE

Hi!

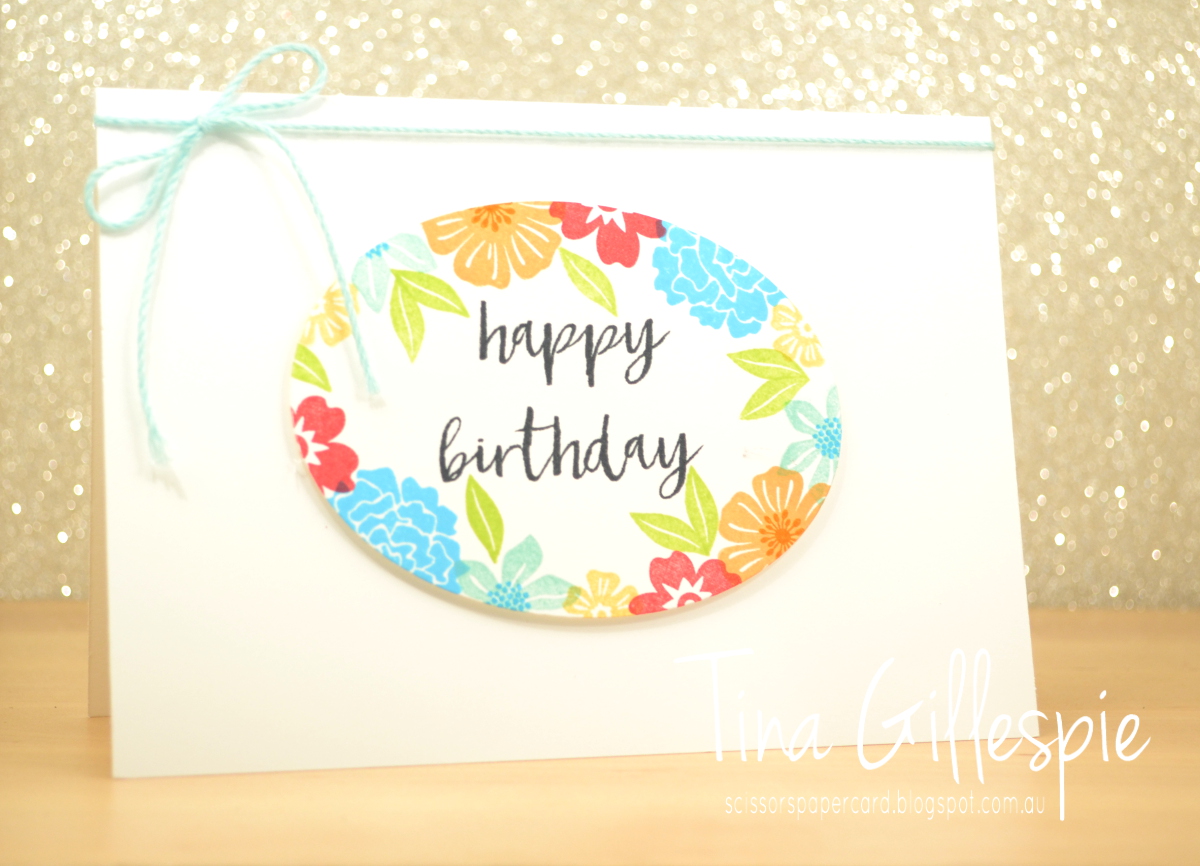
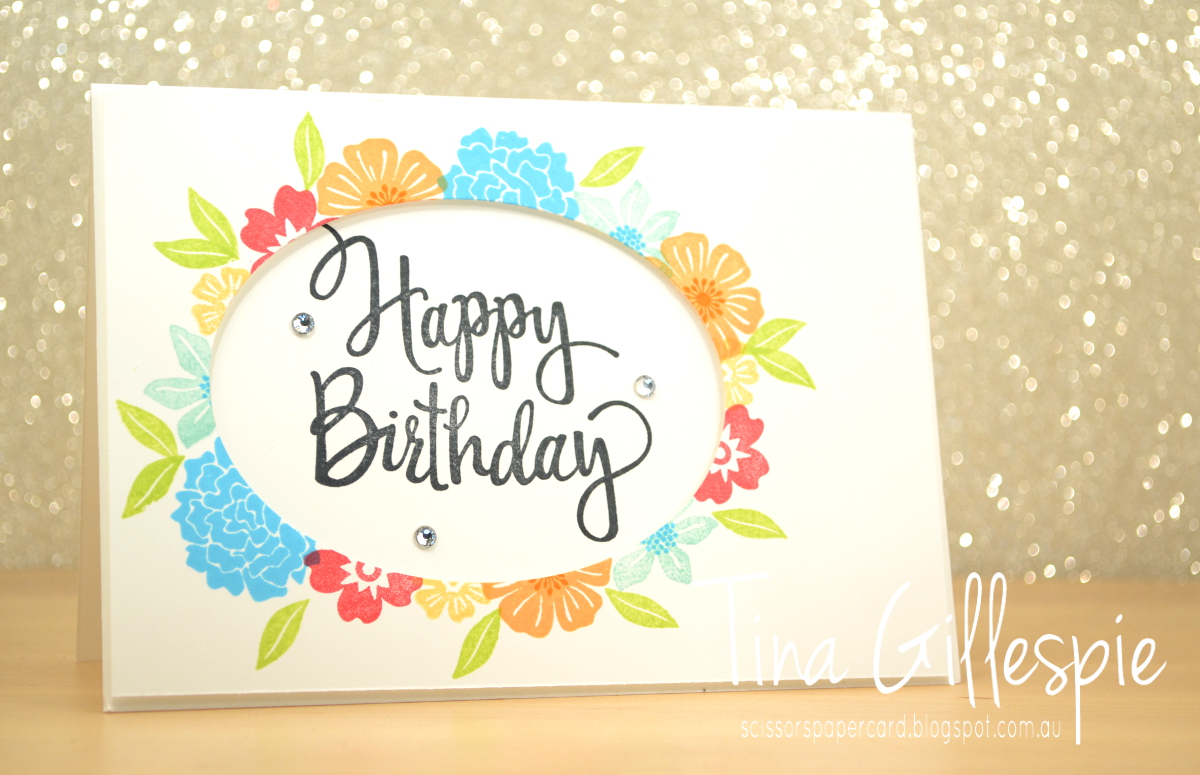
Today I have for you a fun set of cards that I CASEd from Leonie Schroder. I saw them on a demo Facebook group and thought they looked so fresh and fabulous - I just had to CASE them right away! Leonie CASEd the cards from Jennifer McGuire, who called it the Four From One technique.

scissorspapercard, Stampin' Up!, Beautiful Bouquet, Bunch Of Blossoms, Bloomin' Love, Milestone Moments, Stylised Birthday

Basically, you cut one card front and die cut a shape into it. Jennifer and Leonie used hearts, but I went for an oval.
scissorspapercard, Stampin' Up!, Beautiful Bouquet, Bunch Of Blossoms, Bloomin' Love, Milestone Moments, Stylised Birthday

You then need to cut four card bases. I cut them from Thick Whisper White, and cut two in landscape orientation, and two in portrait orientation.

scissorspapercard, Stampin' Up!, Beautiful Bouquet, Bunch Of Blossoms, Bloomin' Love, Milestone Moments, Stylised Birthday

You then adhere the two pieces from the card front to two of the card bases using temporary adhesive. In my case, this was the oval and the card front with the oval hole. Next, you stamp around the shape, making sure that half the stamp is on either side of the edge of the shape.
scissorspapercard, Stampin' Up!, Beautiful Bouquet, Bunch Of Blossoms, Bloomin' Love, Milestone Moments, Stylised Birthday

Once you've finished stamping, you carefully peel apart the layers. You should be left with two card bases that have been stamped, and tow pieces of card front that have also been stamped. On two pieces the stamping is on the outside of the oval, and on the other two, it's on the inside. All that's left to do is stamp the sentiments and assemble the two also cards. Oh, and embellish, if required.

scissorspapercard, Stampin' Up!, Beautiful Bouquet, Bunch Of Blossoms, Bloomin' Love, Milestone Moments, Stylised Birthday

I can't forget to stamp the insides either!

scissorspapercard, Stampin' Up!, Beautiful Bouquet, Bunch Of Blossoms, Bloomin' Love, Milestone Moments, Stylised Birthday

Here are the four cards together. If you look closely, you can see that the top and bottom card fronts were stamped together, and the two side cards were stamped together. It really is a super fun technique to try!

Bye for now,

Tina

Monday, 5 June 2017

Tranquil Tulips in Watermelon

Hi!

Today I have a card for you that uses a lot of new product from the new Annual Catalogue. It's always such an exciting time of year when you get to see all of the new stamps and papers.


Today's card features a new Hostess set called Tranquil Tulips. I think it's going to be a favourite! I've paired it with the new Delightful Daisy DSP.


Tranquil Tulips is a photopolymer set, so lining up the layers is a breeze. There are 5 layers in this main panel: The stems, leaves, two different layers to the tulips, and finally the stamens.

 
I can really see myself having fun with this set!
 
Bye for now,
 
Tina

Monday, 28 November 2016

A Bloomin' Hearts CASE

Hi!


Today is the last day to grab a bargain in the Online Extravaganza - have you had a look yet? Today's card uses one of the products that is discounted by 30%, the Bloomin' Heart Thinlit Dies. I also used the coordinating stamp set Bloomin' Love.


The card is actually a CASE of this card made by Valerie Moody, a member of Stampin' Up!'s Artisan Design Team. I loved the white on white elegance of Valerie's card.


The Real Red heart was stamped with the heart from Bloomin' Love before being cropped with the Sweetheart punch, The little birdie comes from the Tree Builder punch.


I'm not usually one for lovey-dovey cards, but it can be handy to have a few in your stash for the odd occasion that you need one.


Bye for now,


Tina

Friday, 6 May 2016

JAI #310: Just Add A Sketch

Hi!


Here we are, another Friday, which means another Just Add Ink challenge - are you ready?


This week it's my challenge, and I have a sketch for your inspiration. Take a peek at this:

What do you think? I decided to go off on a bit of a tangent and use a different shape for my card.


I also decided to turn it into an easel card. To get the octagonal shape I die cut a square using my Squares Collection Framelits. I then turned the framelit and ran it through the Big Shot again. Easy!


The flowers were stamped using the Petite Petals stamp set in Blushing Bride, Pear Pizzazz and Blackberry Bliss, which I stamped off first. Small pearls in the centre of each flower finish each flower off.


I used some of the new Blushing Bride Glimmer Paper on the front of my card. It's so pretty!


The Just Add Ink Design Team have done a fantastic job, as usual, with the sketch. You can see their cards on the Just Add Ink blog.


Bye for now,


Tina

Friday, 19 February 2016

JAI #299: Just Add Inspiration

Hi!


Oh my! I just realised that Just Add Ink is only one challenge away from our 300th challenge! How exciting! But first we have our 299th challenge, which is a gorgeous Inspiration photo chosen by Jan.


Mmmmm, don't those drinks look amazingly yummy? They look like they'd be very refreshing on a hot summer day. My first thoughts when looking at the picture were vellum and a watercolour wash, so that's what I went with for my card.


I selected one of the UV Resist cards from the Memories In The Making Project Life Collection, which is a Sale-A-Bration choice. The little tear droppish shapes reminded me of watermelon pips, so I thought it worked well with the inspiration photo. I used Watermelon Wonder ink and an Aqua Painter to create the wash background.


This was the Valentine's card I made for Rob. He hadn't seen the inspiration photo, but when I gave it to him he said that it made him think of watermelon and Dr Who. I was pleased he said watermelon, but then my brain registered the Dr Who bit. Huh? He explained that the early TARDIS had a circular motif on the walls! I used the Large Polka Dot TIEF on my background. It's funny how these things work out!


I don't often make Valentine's cards, as it's not something Rob and I celebrate. I was pleased to note that Rob had it on his bedside table, so he obviously liked getting it!

What inspiration do you take from the photo? The Design Team had a lot of fun with it. You can see their work on the JAI Blog.  I hope you can share your card with us at Just Add Ink.

Bye for now,

Tina