Pages

Showing posts with label Point and Click. Show all posts

Monday, 5 January 2015

Creeper Card

Hi!

Do you have young children? If so, you're bound to know what Minecraft is.  My children play it lots.  Over the Summer holidays they have played it lots and lots. They talk to me about it lots too.  How about your children?  Anyway... Alex was invited to a mate's birthday party so I took the opportunity to make a punch art Creeper Card.


It's really easy to make, you just need a heap of different shades of green cardstock punched into 1 inch squares. I arranged them randomly to create the background.  I made this card ages ago, but I think I used Garden Green, Wild Wasabi, Old Olive and Pistachio Pudding.


I then used the 1 inch punch to create the face from Basic Black cardstock.  It took a bit of trial and error to get what I guess is the mouth bit right, but I did eventually.
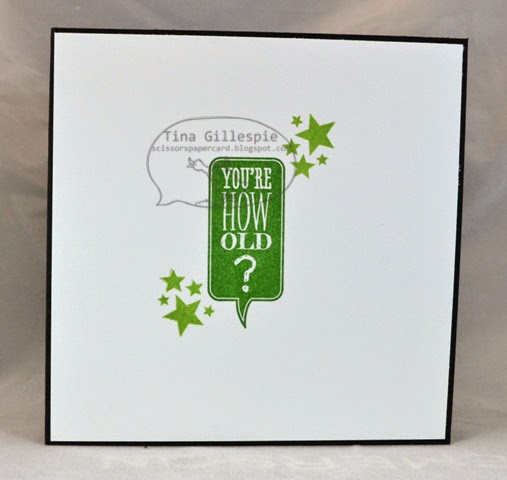

Kids are a bit obsessed with their age, so I thought that this stamp was perfect for the inside!

Bye for now,

Tina

Wednesday, 5 November 2014

Layout 80: Sweet Moments

Hi!

I've been a bit slack in keeping up with my scrapping lately, and my self-challenge to scrap 100 layouts this year.  I am getting close to my target, but the end of the year is rapidly approaching!  Today's layout came about as I had a left over photo from a recent mini album project that I didn't want to waste.


I started with a base of the Typeset Specialty DSP and then used the Dots Decorative Mask, my Lost Lagoon inkpad and marker and a sponge dauber to create a background.  I tilted the mask a bit so that the dots weren't too evenly lined up and then I randomly daubed a few, traced a few with the marker, and on some dots I did both.  I wanted a fairly rough look to the background.  I then stamped over the top with some of the stamps from Kinda Eclectic.


In a couple of places I punched the side of the SDSP with my trusty Spiral Border Punch.  I'm so pleased that this punch has made a come back - it was one of my old favourites that I could never bear to part with.


I wanted to do a little journalling, but I couldn't work out where to place it, so I ended up going with the old hidden journalling trick by creating a tag to pop in behind the photo.  Easy!

Bye for now,

Tina

Monday, 27 October 2014

Happy Wonderful Christmas

Hi!

Today I have another Christmas card for you in Gold and Purple.  I used the lovely, rich Blackberry Bliss with Rich Razzleberry and Brushed Gold for this card.  I'm not usually a gold person, but I love this combination for a luxurious looking Christmas card.


This card is a CASE of one I found on Splitcoast Stampers.  You can see the original card here.  While the original creator went for more traditional colours I wanted to try the richer colour combination to see how it worked.  I was pleased with the result.


I also changed the main sentiment - I really love the Happy Wonderful Christmas saying. It's very cheerful and perfect for Christmas!  I used Crumb Cake ink to stamp the background stars.  It's a lovely subtle colour and it echoes the Brushed Gold nicely.


I hope this has given you a bit of inspiration for your Christmas cards this year.

Bye for now,

Tina

Friday, 12 September 2014

JAI #231: Just Add Colour!

Hi!

This week we have a colour combination challenge for you at Just Add Ink.  I love doing colour challenges as often the hardest part of a card is choosing the colour combo, but in a challenge the colours are chosen for you.  Easy!


This week Mae has chosen these bold colours for us to work with.  Usually my first step in doing a colour challenge is to look at the DSP I have to see if I can use any of it.  In this case I went straight for the Flowerpot DSP and the bold Crushed Curry Polka Dot paper to use as the base of my card.


Next step is the accessories that I can use.  I'd been Project Life-ing the night before and remembered that the Everyday Adventure kit also features Crushed Curry and Basic black.  The card I used works well on the card and really ties in to the sentiment I used!


I had to trim the card in half to stretch it for my card.  The 'missing bit' is behind the main panel, so no one would ever know it wasn't a whole piece.  I created the notecard paper using the Draw The Line photopolymer stamp set and my Spiral Border punch - a great combination!


I really love this little cluster of stars from the Project Life Point & Click stamp set - I've been using them on heaps of cards lately!

What will you do with the colours this week?  Can't wait to find out, so make sure you join in with the fun at Just Add Ink this week.

Bye for now,

Tina

Friday, 5 September 2014

JAI #230: Just Add Dad

Hi!

This week at Just Add Ink we have a bit of an obvious, but still very fun, theme for our challenge this wee.  We want you to Just Add Dad!  Yes, with Father's Day in a couple of days we want you to show us what you've made.  If you don't celebrate Father's Day a male card would be fine too.


I made this card for Rob for Father's Day.  His favourite colours are red, white and black because his favourite footy team is the St George Dragons.  I went for a few retired items on the card too, including the Real Red Coredinations cardstock and the For My Family stamp set.


I've also used a lot of new stuff, like the Typeset SDSP and the Point & Click photopolymer stamp set.  Rob loves maps, so I deliberately chose the map page from the Typeset SDSP pack.


I love this little star cluster and the way it highlights the inside sentiment.  The sentiment is from the Just Sayin' stamp set, but I chose to use a different word bubble that the one it was in.  I used my Real Red marker to selectively colour the stamp to just use the words and then used the speech bubble from Point & Click to frame it.  Love the photopolymer stamps for easy placement!

Can't wait to see what you've all come up with for the males in your life! See you over at Just Add Ink.

Bye for now,

Tina

Monday, 4 August 2014

Happy Birthday Rob!

Hi!

On Saturday my darling Hubby celebrated his birthday.  He got a bit of a sleep in, followed by gifts and cuddles in bed with me and the children.  He's a bit (ok a lot!) of a superhero geek, so a lot of his gifts were along those lines.  I just had to make a card to match.  After a little bit of research I settled upon a stylised logo for the thingy that Iron Man has in his chest that keeps him alive.


As it was round, I thought that the best way to go was to make an easel card.  The colours I used are Cherry Cobbler and Crushed Curry.  The Cherry Cobbler looks a lot like Bravo Burgundy in these photos though!


I didn't have an appropriate superhero sentiment stamp in my collection, but that was no worry as I was able to use my Alphabet Rotary Stamp to make one instead!  The little hearts are from the Point and Click Project Life Photopolymer stamp set.


One last shot!  After I'd made it I showed it to my kids, who are nearly as superhero geeky as their dad.  Neither knew what it was, but I'm pleased to say that Rob knew what it was straight away.  He even called it by it's correct name, which is an Arc Reactor. (I only knew that because he's sitting beside me as I type and I asked him!).  The circles were made with a mix of Circle Framelits and Circle Punches.  The hardest part was working out which sizes to use!

Bye for now,

Tina