Pages

Showing posts with label Remembering Your Birthday. Show all posts

Wednesday, 13 April 2016

Happy 13th Birthday Alex!

Hi!

This time 13 years ago I was cuddling a tiny little newborn. I can't believe that 13 years have passed since then. Alex has grown into such a handsome young man who has achieved a lot.


A special birthday requires a special card, and this is what I made for him.


One of Alex's passions is space and astronomy, so it was a bit of a no-brainer to use the constellation paper from the Going Places DSP Stack.


I also used the Large Numbers bundle to create the main panel. I know I say it all the time, but it's such a great bundle!


Happy 13th Birthday Alex!

Bye for now,

Tina

Wednesday, 13 January 2016

Going Places On Your Birthday

Hi!

Today I have a card for you that I made using a heap of new products from the Occasions Catalogue. I needed to make a card for my brother-in-law for his 40th birthday, and some of the new stuff fit the bill perfectly.


I used the new Number Of Years stamp set and the coordinating Large Numbers Framelits to create the main panel of the card. I hadn't intended to use the banner, but the word 'birthday' didn't stamp cleanly, so I had to cover it up. Not a bad fix, I think!


The DSP on the card is from the Going Places DSP stack. I think this page of schematic diagrams is one of my favourite designs in the pack. Lost Lagoon and Very Vanilla are a great combo, and pairing them with Basic Black adds a bold touch to the card - perfect for male cards!


The Going Places DSP Stack is a 6x6 inch pad, fabulous for cardmakers.  I always trim one side to 4 inches first, so that when I trim the other side I end up with a narrow strip that's also 4" wide - perfect for adding to the inside of the card! The inside sentiment is from Remembering Your Birthday.  I masked off the other words as I didn't want to use them on this card. My aim this year is to not have to use this 'belated' stamp again. Fingers crossed!

Bye for now,

Tina

Wednesday, 7 October 2015

A Princess Card

Hi!

Today I have a card for you that uses a lot of retired product.  I had to share it anyway as it's so very cute!  On Sunday we attended the birthday of a very gorgeous 4 year old who is mad on a certain movie - you know, the one that most 4 year olds are obsessed with and sing endlessly.  Thank heavens my children were too old for that movie!


Have you worked out the movie yet? If not I guess you'll just have to let it go...


The princess dress was based on this one, I made a few minor changes to suit the products I had. Once I'd put the dress together I spritzed it with a mix of Isocol and Champange Mist Shimmer Paint (sadly retired) to give it a bit of shimmer.  Hopefully you can see it in the picture.


The only snow flake stamp I have is the one from the Perpetual Birthday Calendar set.  I think it works beautifully on this card.

Happy Birthday Jasmin, I hope you had a great day!

Bye for now,

Tina

Wednesday, 23 September 2015

The Cardmaker's Children

Hi!

Do you know the saying about the cobbler's children? "The cobbler's children have no shoes". Sigh. I think the proverb could be applied to my house sometimes - the cardmaker's children have no cards. I often get so busy making cards for classes and other people that my own family tend to get neglected.  Today's cards are ones I made recently for Alex and Ada for their birthdays, which are in April and July respectively.  I know, parent of the year! To make matters worse, I showed them their cards and then told them they couldn't have them until I'd photographed them for blogging.  I think they are used to it by now!


Ada's card was made with the Hey Girl stamp set.  I would have been in big trouble if I'd used any other stamp set! I coloured it with my Blendabilities and then did a quick watercolour wash over the background, being very careful to NOT touch the Momento ink with my Aqua Painter.


Alex's card was CASEd from a fellow Demonstrator, Tracey Humphries.  I can't find a blog to link to though.  I saw her card in a closed demonstrator group. It's fantastically easy though - just the star within a heap of circles!  Awesome boy card.

EDIT: Tracey has a Facebook page here.


Having admitted being VERY late with my  two oldest children's cards, I will say that I was MUCH faster with Hudson's.  He turned 8 on Sunday and I made his card yesterday.  You'll have to wait until Friday to see it though, it's my Just Add Ink card for the upcoming challenge.

Bye for now,

Tina

Friday, 26 June 2015

JAI #268: Just Add A Sketch

Hi!

Are you ready for some fabulous Just Add Ink inspiraiton?  I am!  This week Narelle has designed an awesome sketch to guide our creativity.

Lots and lots of possibilities with this sketch.  I decided to make a colourful kids' card using the new Cherry On Top DSP Stack.


I didn't want the fabulous patterns competing with each other so I stuck to a fairly neutral pattern for the background and stepped it up on the next layer.


I used my Bermuda Bay Stampin' Write marker to only ink up the 'happy' bits of the stamp from Amazing Birthday.  The birthday on the flag came from Remembering Your Birthday.


I really love the fun colours in the Cherry On Top DSP stack. They are so perfect for kid's cards.

Why don't you pop on over to have a look at the rest of the Design Team at the Just Add Ink blog before you play along with us?

Bye for now,

Tina

Wednesday, 11 March 2015

Do You Ever CASE Yourself?

Hi!

Have you ever made a card that you really loved and thought you'd like to make it again?  I do it often, and even sometimes with my scrapbooking.  Today's card is a CASE of myself, with the original card being this week's Just Add Ink card that you can see here.


The main changes to the card are a different, softer colour scheme and no bling - can you believe that I ran out?  Nooooo!


On my original card I used the colours from the Inspiration picture as my colour scheme.  This time I used DSP from the Sale-A-Bration Best Year Ever DSP pack, so I used other colours from the pack on my card - Calypso Coral, Coastal Cabana, Sahara Sand and Whisper White.  The technique for layering the butterfly was the same.


I'm not sure which one I prefer -the original, bolder colour card, or the new, softer version.  What do you think?

Bye for now,

Tina

Friday, 16 January 2015

Neutral Perfect Peacock

Hi!

Are you a lot like me? Do you waste spend a lot of time blog surfing and looking at cards on the Internet?  Sometimes too much time? Sigh....

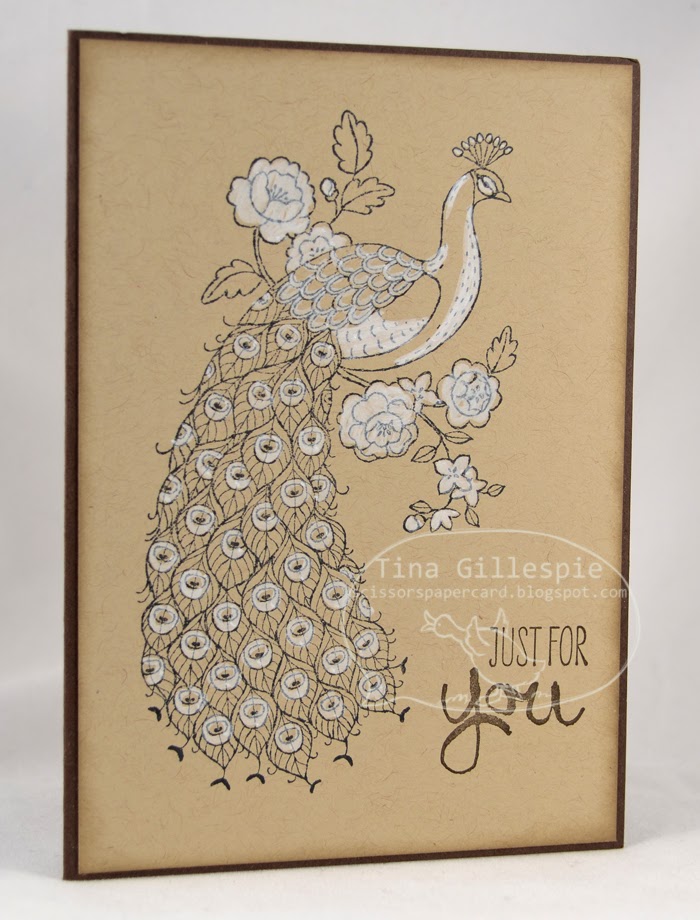
Often it is worth it as you find a lovely card to CASE.  The card I'm showing you today was made as a sample for a card class.  I found it while blog browsing, and it proved to be a popular one for my class ladies.


You can see the original card here. Sue is, in fact, my upline and I quite enjoy browsing her blog! There were a few differences, but only minor.  Sue coloured her card using a Blender Pen and Whisper White Craft Ink.  I used the Chalk Marker on mine.  I also stamped my sentiment straight onto the card, while Sue used some punches.


It's such a gorgeous stamp that it really doesn't need much to make it spectacular.


We stamped the peacock again on the inside in Crumb Cake ink on Crumb Cake cardstock to give a lovely, subtle image.  I think it looks really pretty.

Bye for now,

Tina

Monday, 12 January 2015

Shabby Chic Cards

Hi!

Last year in one of my card classes I had a request for a shabby chic card.  It's not a style I make often, but it is a style I enjoy doing, so I was quite happy to grant the request.


I used the Lullaby DSP pack to provide the background and colour scheme for the card.  I'm a bit of a fan of pink and brown colour schemes - in this case it was Baked Brown Sugar and Crisp Cantaloupe.


We stamped with the two best sets for shabby/grungy cards - Gorgeous Grunge and Work Of Art.  Shabby Chic also requires a feminine touch, hence the butterflies, doily and pearl.


The inside was finished off with a sentiment from Remembering Your Birthday and some more butterflies.


I liked the card so much that I decided to make a second version, this time using the Gold Soiree Specialty DSP as a background.  I'm not sure which one I like best.  What do you think?

Bye for now,

Tina

Friday, 31 October 2014

JAI #238: Just Add A Sketch

Hi!

Happy Halloween, for those that celebrate the holiday. I don't really, but Rob and the kids do, so celebrate it I must!  Anyway, it's time for another Just Add Ink challenge, and this time Kim has designed a great sketch to inspire our creativity.


I had lots of fun with this sketch.  I cut quite a few Word Bubbles and played around with the positioning of them on the card.  None of it looked right though until I added the On Film film strip underneath.


The Tangello Twist background was created using the zig zag stamp out of Work Of Art, just stamped repeatedly.  I was quite impressed with how well I was able to line it up without the use of my Stamp-a-ma-Jig!


I was able to use the Word Bubbles I'd cut for the front and not used on the inside.  I hate to waste things, so it was a great solution!


I hope you have time to play along with us this week. The Design Team has had a lot of fun with the sketch.  Why don't you pop on over to the Just Add Ink blog to have a look?

Bye for now,

Tina

Friday, 24 October 2014

JAI #237: Just Add Clear Block Stamping

Hi!

Are you ready for another Just Add Ink challenge?  This week Paula has challenged us to try some Clear Block Stamping.  Never heard of it? It's pretty much just what it sounds like - you ink up your clear block and stamp with it.  Easy peasy!


I decided to use my clear block stamping to create a background for a masculine card.  I used one of the smaller clear blocks and inked it in Cajun Craze, Tangerine Tango and Daffodil Delight (not at the same time!) before stamping the tree over the top in Memento ink.


I was originally going to use the stamped strip to create a banner for my card, but at the last minute I cut a small section off the bottom to create the piece for the sentiment.  The space in between looked a little bare so I added the Linen Thread and attached it with some staples.  It's a great way to embellish a male card without it getting too girly.


The Design Team have come up with some wonderful samples of Clear Block Stamping to inspire you this week.  Why don't you pop on over to the Just Add Ink blog to see for yourself? You're bound to come away inspired to stamp!

Bye for now,

Tina

Wednesday, 22 October 2014

A File Folder Card

Hi!

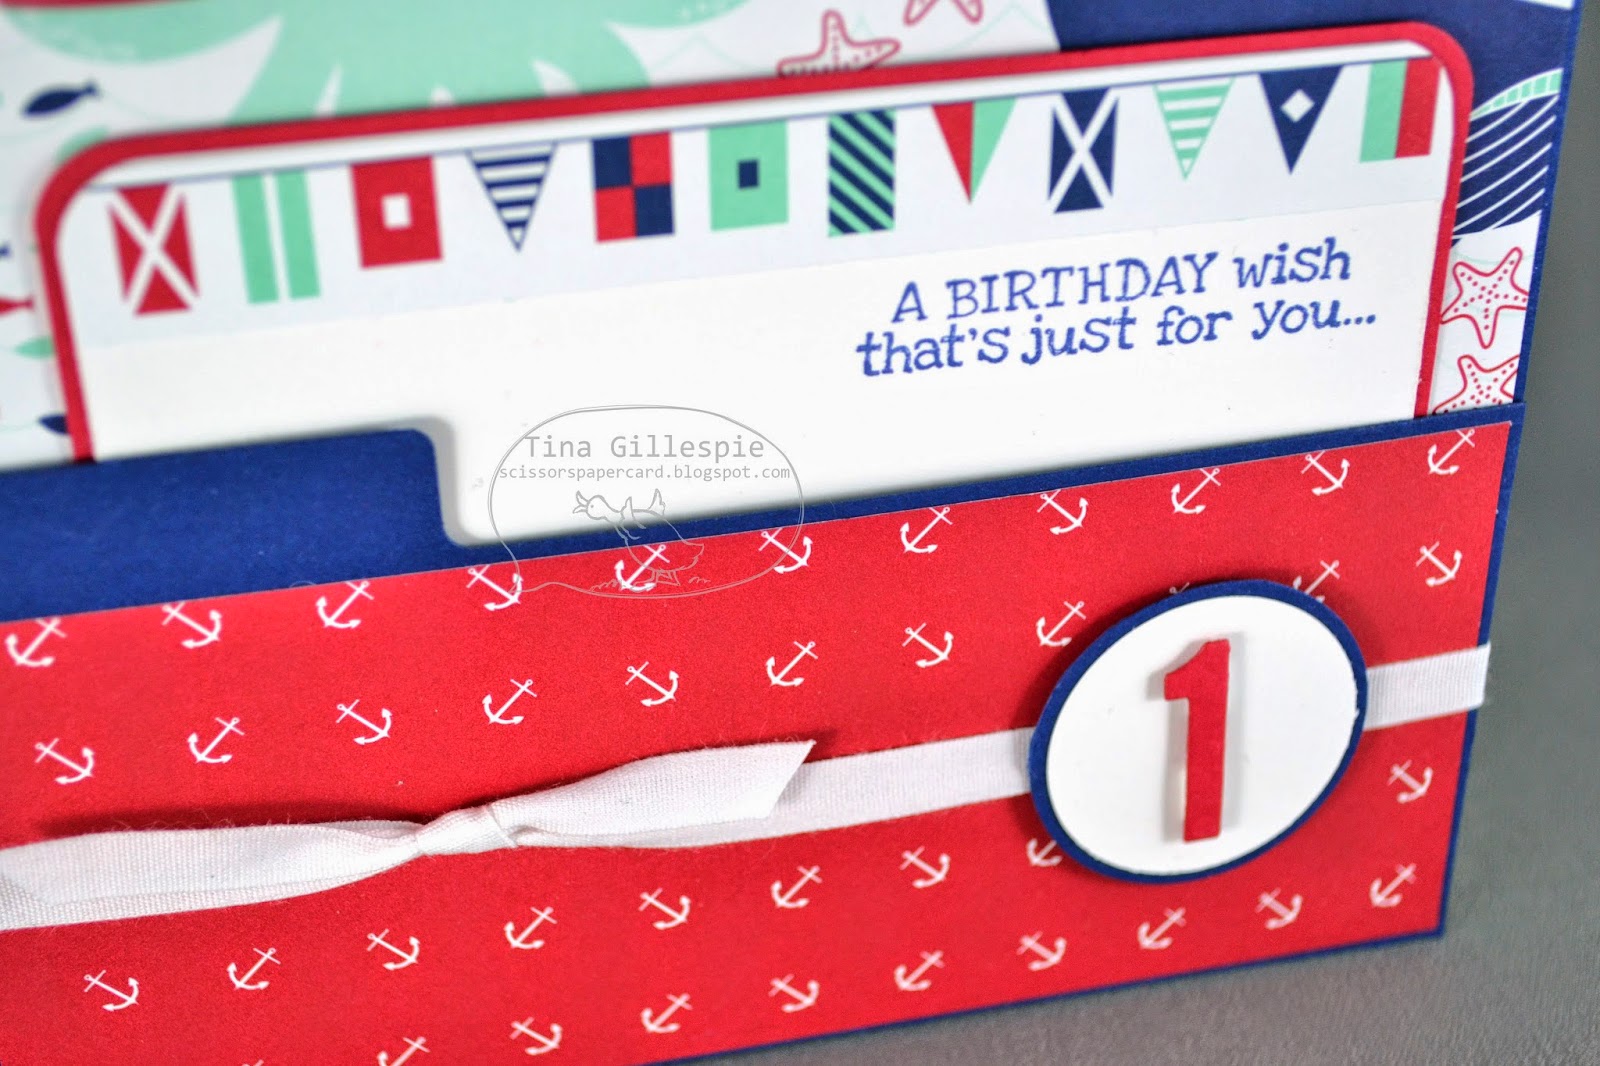
Today I have a card for you that I CASEd from another Demonstator, Paula Stringer.  You can see her original card here.  I had wanted to make a file folder card and her's was the cutest sample I could find in a quick Google images search.


I used the same DSP, Maritime, but changed up a few of the elements to suit my purposes a little better.


I love the cute File Tab Edgelits  to create an interesting little feature on the card.  If you don't have the Edgelits, you could use the Envelope Punch Board to create a similar look.


Here's the insert I created for the card.  I love the look of the rounded corners on the card, and I carried the Maritime theme through by using the row of flags across the top of the insert.

Bye for now,

Tina.

Friday, 17 October 2014

JAI #236: Just Add Inspiration

Hi!

Woo hoo, it's time for another Just Add Ink Challenge!  We are doing an inspiration challenge this week, selected by the lovely Nikki.  I have been itching to do this challenge ever since I knew it was coming up - it's so pretty!


Isn't it a fabulous inspiration photo?  There are so many possibilities, and the Design Team have come up with some majorly stunning samples to inspire you.


I decided to attempt a stylised peacock tail, and I'm thrilled with how it turned out. I used the retired Scribbles Swirls Sizzlit to cut a heap of shapes and arranged them on my card to replicate the tail feathers.


It was such a fiddly card to make, but I was really pleased with how it turned out, so I didn't mind the fiddliness so much!  I thought the sequins were a nice finishing touch too.


I used some of the offcut pieces to finish the inside.  I had thought I was finished with them when I completed the front, so I had to rescue them from my bin to do the inside!

What do you see in the inspiration photos?  Why don't you join in the fun over at Just Add Ink?

Bye for now,

Tina

Friday, 10 October 2014

JAI #235: Just Add Colour

Hi!

Are you ready for another Just Add Ink Challenge? This week Kim has put together a fabulous colour combination for us to use.


I really like the girly colours with the blue thrown in - so pretty!


I went a bit old school on this card by throwing in a crimped strip.  How long has it been since you used your paper crimper?


As this was for a 21st I also used my new Gift Box Punch Board to make a matching box.  I love how easy it is with the punch board!


I love the retired Dress Up framelits for a fab card for older girls. In this case I used one dress for the dress and cropped the second dress to create the cardigan.


I hope you can find time to play along at Just Add Ink this week with Kim's fabulous colour combination.

Bye for now,

Tina

Friday, 19 September 2014

JAI #232: Just Add Inspiration!

Hi!

How did you like our colour combination last week?  It was a fantastic combo!  This week we have just as fabulous a challenge for you at Just Add Ink.  Kim has found these gorgeous pictures to inspire our creativity.


Aren't they pretty?  I really loved how the flowers are the vibrant pink with the gold through them as well, so that's what I started with on my card.


I made some simple scrunched flowers using my scallop circle punch.  I took some Strawberry Slush cardstock and punched the scallop circles.  Next I scrunched the cardstock to soften it and then I split the cardstock to make it thinner and give it a suede, soft look.  I also punched some of the new Natural Filter Paper with the same punch and then layered it in between the layers of cardstock.  I was really pleased with how these flowers turned out!


The do make the card quite bulky though, so it will be a hand delivered card only!


I really like how the inside turned out too!

I hope you can play along with us this week at Just Add Ink!  See you over there on the blog.

Bye for now,

Tina