Hi!
Hello, and welcome to the final Just Add Ink challenge of 2019! This will be a non-competitive challenge, running through until the start of January. So what have we got for you? A sketch challenge, designed by the wonderful Jackie!
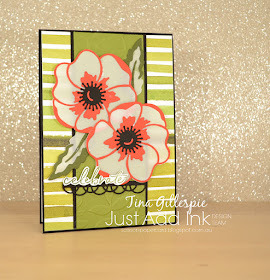
I've been looking forward to this sketch for a while now - I think it's fabulous, and great for a wide range of themes. I toyed for a while with doing a dinosaur card, but in the end I reached for my new Poppy Moments Dies.
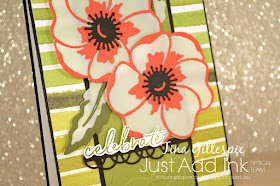
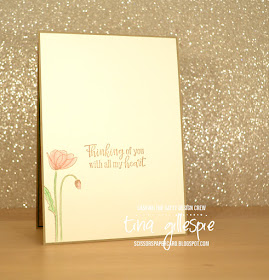
The poppy dies have three layers - the solid base, the outline and the centre. I cut the base in Vellum, the outline in Poppy Parade and the centre in Basic Black. I like the translucent look of the vellum - a little more interesting than stark white in this case! I accidentally got the circle elements of the sketch the wrong way around. Ooops! That's what I love about a sketch though - it's open to interpretation, as long as you can still see the original in the card.
I couldn't resist adding the little scallop border piece onto the card, from the new Painted Labels Dies. It's so sweet, but in Basic Black it's a little dramatic too! I think I will be using it lots. The sentiment is from a new Sale-A-Bration set, Happy Birthday To You. I added a couple of leaves to the card, cut from vellum and Mossy Meadow cardstock.
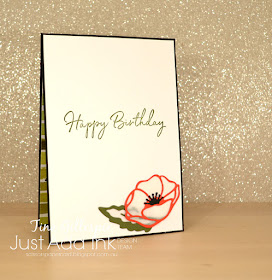
I used another leaf and the smaller poppy on the inside. The large poppy is beautiful, but a little big for the inside! The sentiment is also from Happy Birthday To You. I love the scripty font!
Thanks for joining me for another year of Just Add Ink challenges. I love being a part of the JAI team, and I look forward to more crafty fun with them in 2020. I hope you can join in our challenges, we love seeing what everyone makes for them.
That's all for me on my blog for 2019. I'll be back in early 2020 after a short break with my family. Have a wonderful Christmas and a fabulous New Year. I hope Santa brings you some new crafty goodies to play with!
Bye for now,
Tina
Pages
▼
Thursday, 19 December 2019
Sunday, 15 December 2019
CTC #259: Anything Holiday Catalogue
Hi!
I can't believe I'm saying this, but welcome to the very last CASEing The Catty Sunday Challenge Blog Hop for 2019! The year is nearly over and the Crew are taking a small summer break. We'll be back on the 5th January to kick off the new catalogues in style though. But for now, we have a Hop to do! I'm the first stop on this week's Hop, but we are all linked in a circle, so you can start anywhere. Just keep on going until you get back to where you started. You don't want to miss any of the gorgeous projects in the Hop!
For the final Holiday Catalogue challenge, we were able to choose anything in the Holiday Catalogue to CASE. Wow, what a tough choice - there are soooo many fabulous projects. In the end, I selected this tiny tag on page 22 to CASE.
I chose not to CASE the tag itself, rather, the technique. The image from Elfie was stamped in Memento and then coloured with Watercolour Pencils, starting with a layer of the Whisper White pencil. The colours are then layered over the top. The white base gives the colours vibrancy, even though the image was stamped on Crumb Cake.
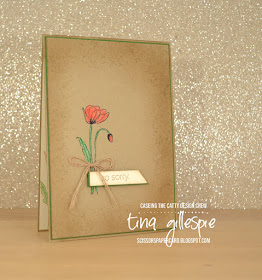
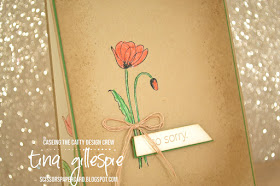
I'm pretty much done with Christmas cards, so it was time to play with some new stuff this week! I used the Painted Poppies stamp set to stamp the poppy image in Memento on my Crumb Cake card. I also stamped the large splatter stamp around the edges in Crumb Cake, then sponging more Crumb Cake ink over the top.
I coloured the poppies first with my Whisper White pencil, with Real Red and Garden Green over the top. To finish the front, I added a sentiment from Genuine Gems and a Crumb Cake twine bow. I used the CC twine from the Nature's Twine pack, but I only used a few strands, as the whole piece was too thick and chunky for the look I was after.
I stamped the same poppy image on the inside, this time in Crumb Cake ink. I coloured it softly with the Real Red and Garden Green pencils. The sentiment is from the new Peaceful Moments stamp set. I think you'll see that set a lot, as there's a great mix of sentiments and the fonts are fabulous.
Thanks for joining me for the CTC Blog Hops this year. I've loved being part of the Crew, and I look forward to returning with them in 2020. You can join in the fun in our Facebook group too. It's so easy - just make a card to fit the challenge, photograph it and upload it into the group. Done!
Before you do, don't forget to finish the Hop! Next up is the lovely Julia with her gorgeous floral project. I won't spoil it too much!
Bye for now,
Tina
Thursday, 12 December 2019
AWH December Blog Hop: Add A Little Sparkle
Hi!
Welcome to the final Art With Heart Blog Hop for 2019. Getting in the spirit of Christmas and New Year celebrations, this month our theme is ‘Add A Little Sparkle’. We have a huge range of sparkly projects to share with you featuring products such as Glimmer Paper, Rhinestones, Delicata Ink, Shimmery White cardstock and much more. All of these products are available from Stampin’ Up! and any of these lovely ladies would be happy to assist you.
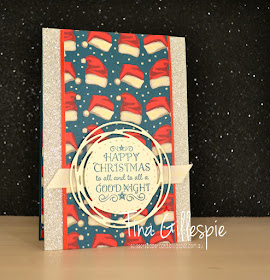
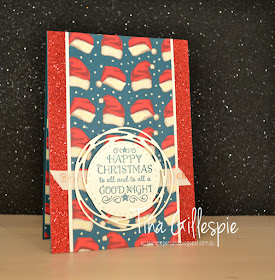
I'm still in Christmas card mode, and so my sparkle was some Glimmer Paper on my card. I hadn't used this Santa hat DSP from the Night Before Christmas pack, so it was well past time to chop into the paper. I cut one piece in half, which was enough for two card fronts. I then added a narrow strip of Poppy Parade cardstock in between the DSP and the Silver Glimmer Paper.
The sentiment, from Greatest Part Of Christmas, fits so nicely into a new die from the Painted Labels Dies, available from January 3rd.
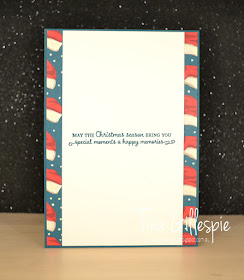
I finished the inside with another couple of strips of the Santa hat DSP. I like how it copies the design from the front, just much more simplified.
I said earlier in my post that I cut one piece of DSP in half, and so I made another card. I couldn't decide if I wanted to use Silver or Real Red Glimmer paper, so I made a card with each!
I made one other change - this time I flipped the ribbon to be sentiment side up! Which do you prefer - Silver or Real Red Glimmer paper? I can't choose!
Have you had enough sparkle yet? I hope not! Now you off to the very sparkly blog belonging to Rachel Woollard!
If you have a broken link or have come to this blog hop midway, you can view all the participants below:
Bye for now,
Tina
Sunday, 8 December 2019
CTC #258: Wrapped In Plaid
Hi!
Hello, and welcome to our second last CASEing The Catty Sunday Challenge Blog Hop for 2019. After next week's challenge, the DT will be taking a little break until January. This week, though, we are looking at the Wrapped In Plaid suite in the Holiday Catalogue. Did you come from Siobhan's blog, or are you starting here? You know the drill - just keep going until you get to where you started!
I have a little confession to make - I really dislike plaid! There are some really gorgeous projects in the suite, but I just can't get past the plaid. So when I was looking at the cards, trying to decide which one to CASE, I had to think a bit laterally. In the end I chose this card from page 15.
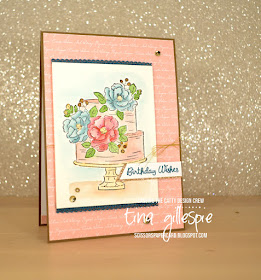
The colours really appealed to me, so that's what I chose to CASE - the colour combo. The colours used in the catalogue card are Very Vanilla, Crumb Cake, Soft Suede, Garden Green, Pretty Peacock, Cherry Cobbler and Gold Glimmer. I used all of these, except I swapped Very Vanilla for Whisper White, on my card, plus Blushing Bride and Balmy Blue.
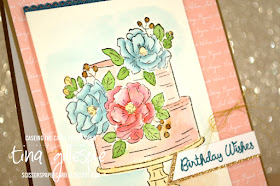
I was so thrilled with how this turned out. I stamped the cake from the new Sale-A-Bration set, Happy Birthday To You, in Stazon on watercolour paper, and then coloured the image using my Aqua Painter and ink pads. I chopped a piece of Pretty Peacock Scalloped Linen Ribbon in half longways and added it to the top and bottom of my image panel. I also used some retired Gold Thread to bring in some more of the gold in the colour combo.
Speaking of gold, it's a little tricky to photograph, but the flower centres, buds and the cake plate are all coloured with Golden Glitz Delicata ink. I simply tapped the inkpad onto a clear block and then used my Aqua Painter to pick it up and paint it on, just like our regular ink.
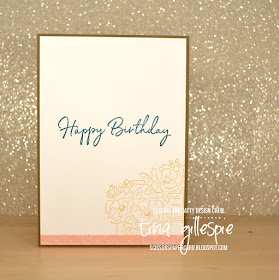
I also used the Golden Glitz ink to stamp the cake again on the inside of my card.
Do you like the Wrapped In Plaid Suite? Luckily for me, you don't have to like it to enter our challenge, you can take your inspiration from anything in pages 12-17 of the Holiday catalogue. You can add your card to our Facebook group to enter.
Thanks for stopping by! You can continue the hop by clicking on the next button below. This will take you to Julia's blog - I'm pretty sure she falls into the 'love' category with the Wrapped In Plaid Suite!
Bye for now,
Tina
Thursday, 5 December 2019
JAI #485: Just Add A One Layer Card
Hi!
Welcome to the new Just Add Ink challenge. This week Jan has challenged us to make a one layer card. Just to clarify - that's the card base and *no* other layers. It certainly got the JAI Design Team thinking!
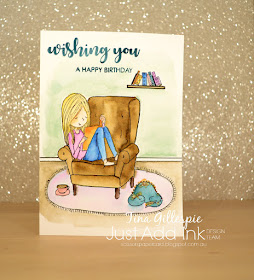
I had a lot of fun creating scenes with my presentation in Sydney, so I decided to create and watercolour a scene on my Shimmery White card base.
I've had this stamp set, Read Past Your Bedtime by Uniquely Creative, for a couple of months but hadn't had the opportunity to ink it up until now. I used my Stamparatus to stam the images with Stazon onto the Shimmery White card. I then added a few hand drawn elements to tie it all together. These were the rug, the skirting board and the shelf that the books are sitting on - the rest are stamps.
The hardest part about this card was waiting for it to dry in between colours. I'm not very patient, and sometimes I jumped the gun a little. I think I need to try this card again, but using waterolcour paper and a tad more patience.
In case you're wondering here are the colours I used: Pumpkin Pie: book and dino scales; Pretty Peacock: dino, sentiment; Blueberry Bushel: jeans; Sahara Sand: floor; Mint Macaron: wall; Gorgeous Grape: t-shirt; Rococo Rose: tea cup and saucer; Petal Pink: skin; Early Espresso: chair legs; Soft Suede: chair, tea, bookshelf; So Saffron: hair; Purple Posy: rug. That's a big stack of ink pads!
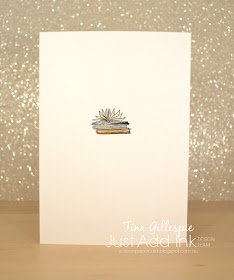
I got a bit lazy for the inside and just stamped the little stack of books, colouring it with Sahara Sand (pages) and Pretty Peacock and Pumpkin Pie for the covers.
Is your mind whirring with ideas for a one-layer card? I hope so! Jump on over to the Just Add Ink blog, where you can see the rest of this week's Design team cards for more ideas.
Bye for now,
Tina
Wednesday, 4 December 2019
AWH HOC Week 16
Hi!
Sob! Welcome to the last week for 2019 of the Art With Heart team's Heart Of Christmas Blog Share. We've been going strong for the past 16 weeks, and hopefully we have provided you with endless inspiration for your Christmas card making. I will miss these weekly posts, but it is nearly time for the cards to be going in the mail!
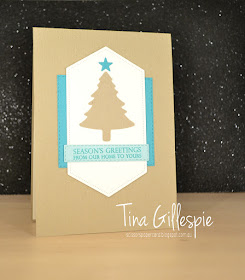
This week's card was made from a left over card kit that I found on my desk when I was doing some tidying up. It was a Heart Of Christmas card from 2017! You can see the original card here. I no longer have the stamps and dies that I used on that card, so I decided to see how creative I could be with the bits and pieces in the kit. I was quite pleased with how it turned out!
I like the masculine feel of the card - there's nothing pretty or fussy on the card. Rob has a few single mates that we send cards, so this will be perfect. You might be able to see that I embossed the Pine Tree with the Subtle Embossing folder. I also embossed the Crumb Cake background, but that's harder to see - it really is subtle!
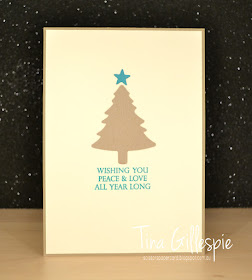
Another embossed tree finished off the inside. The stars were cut from the swirly star die in the Stitched Stars set, it's just one of the stars that pops out of the shape.
Judy is hosting the Blog Share for our final week, so please do head on over to her blog, where you can find the rest of this week's links.
Bye for now,
Tina
Tuesday, 3 December 2019
OnStage Sydney Beautiful Moments Presentation: Avid Samples
Hi!
Here's the third and final part of my OnStage Presentation sample posts. This time I have my Avid Crafter samples for the gorgeous Beautiful Moments stamp set. An Avid Crafter is one who stamps nearly every day and has to have it all! Sound familiar? I am definitely an Avid Crafter!! They definitely want more difficult projects and are willing to spend a lot of time (and money) on one card.
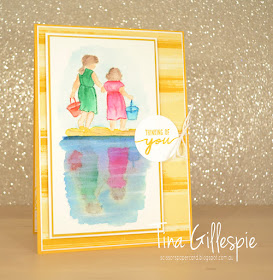
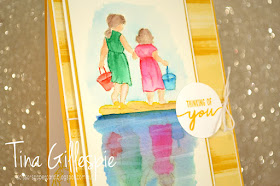
This card, using the Reflection Technique on my Stamparatus, was the card I demonstrated live on the day. It was a little nervewracking, but I did it! The hardest part is getting the water wash over the reflection part of the image to look right. I used Blueberry Bushell ink and an Aqua Painter. The rest of the image was coloured beforehand with my Aqua Painter and ink pads.
Once the Blueberry Bushell was was dry, I flicked my Chalk Marker over the top to give the look of light reflecting off ripples in the water.
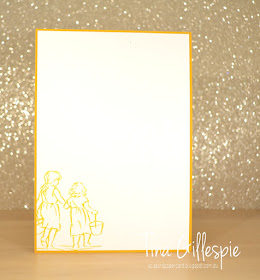
I finished the inside with the image again in Crushed Curry Ink.
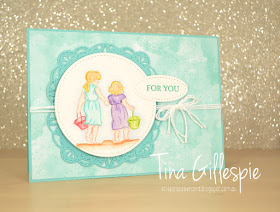
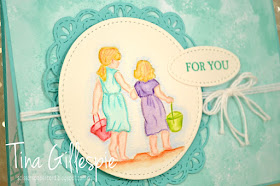
This image was originally a 'just trying things out' sample that turned out nicely enough to go on a card. I stamped the image on Shimmery White card using a no-line stamping technique and then coloured them with my Watercolour Pencils and an Aquapainter.
I layered two of the Stitched Labels to go behind the image panel.
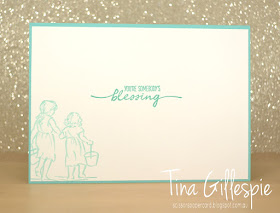
The girls were stamped in Coastal Cabana to finish off the inside.
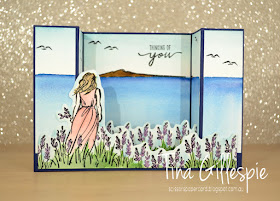
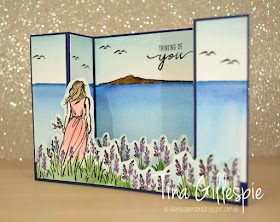
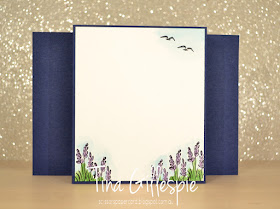
I used the Bridge Fold to create this card. All of the colouring was done on Watercolour Paper using my ink pads and Aqua Painter. I stamped using Stazon Ink.
I added a second row of flowers to the middle of the card, between the front layer and the back, to give the card more depth.
The back of the card uses Shimmery White card, as it copes well with watercolouring, but is smooth to write on.
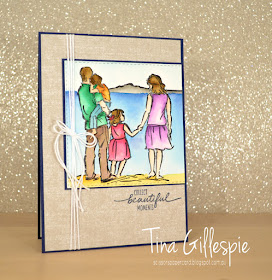
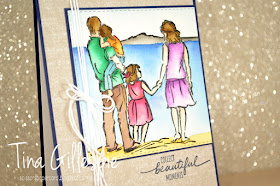
This card is my absolute favourite of all the cards I made. It was the very first idea I had when I saw Jacque's stamp set - how well it would work with A Good Man. 'Perfectly' is the answer!
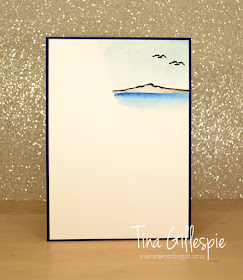
I used my Stamparatus and stocky notes to stamp and mask the images, starting with the dad/girl, then the mum/girl, and finally the island - which is actually an outline of Rangitoto Island, just off Auckland. A nice homage to Jacque's adopted hometown! I stamped on watercolour paper using Stazon ink and then coloured with my ink pads and Aqua Painter.
Once again, I used Shimmery White cardstock on the inside so that I could watercolcour.
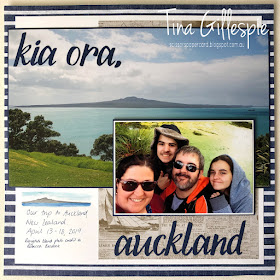
I also made a couple of scrapbook pages for the Presentation, to show how versatile the set is for all paper crafters. I'd recently been in Auckland for April's OnStage event, so I scrapped a photo of the family there, and another of Rangitoto Island. This will be the opening page of my album.
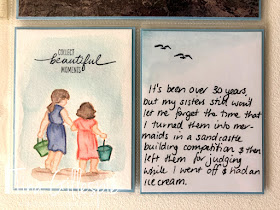
I also made a pocket page of my sisters and I when we were lots younger and entered a sandcastle building competition.
The two little girls on the beach were the perfect image for this page!
Thanks for checking out my samples. You can see my Beginner Samples here, and my Casual Samples here.
Bye for now,
Tina


